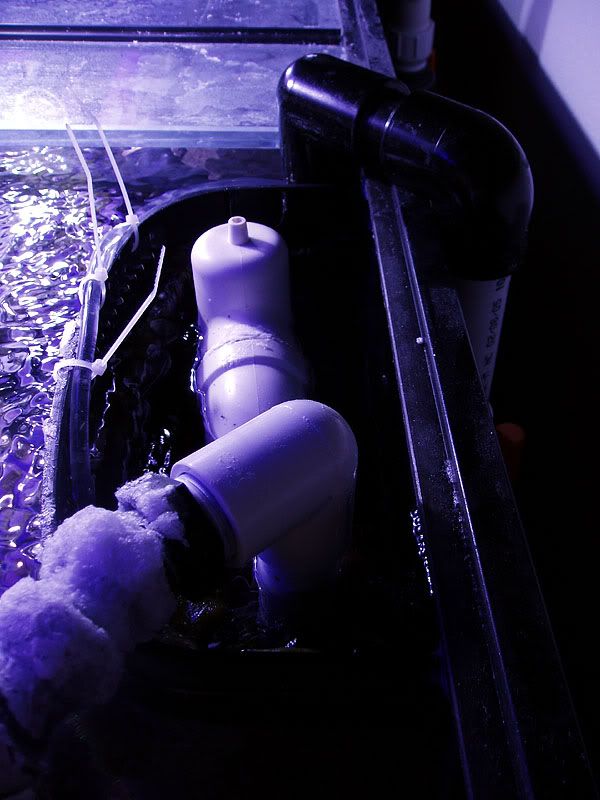
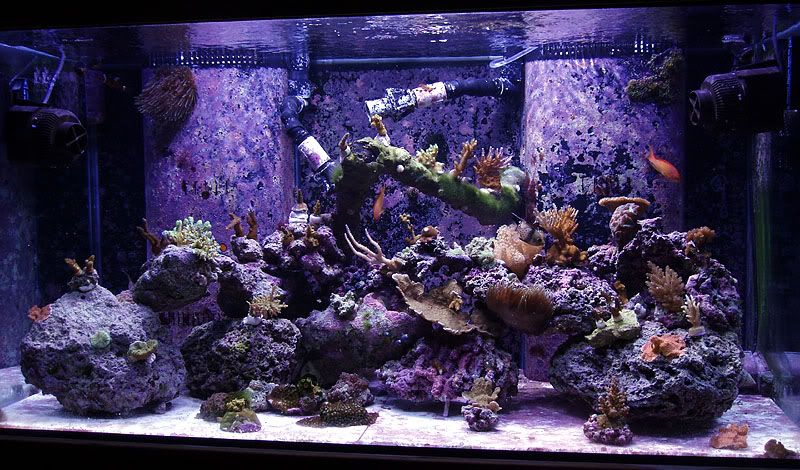
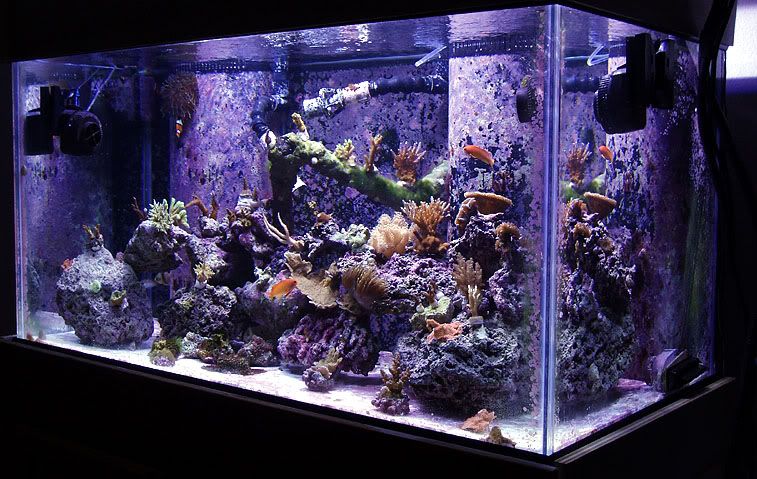
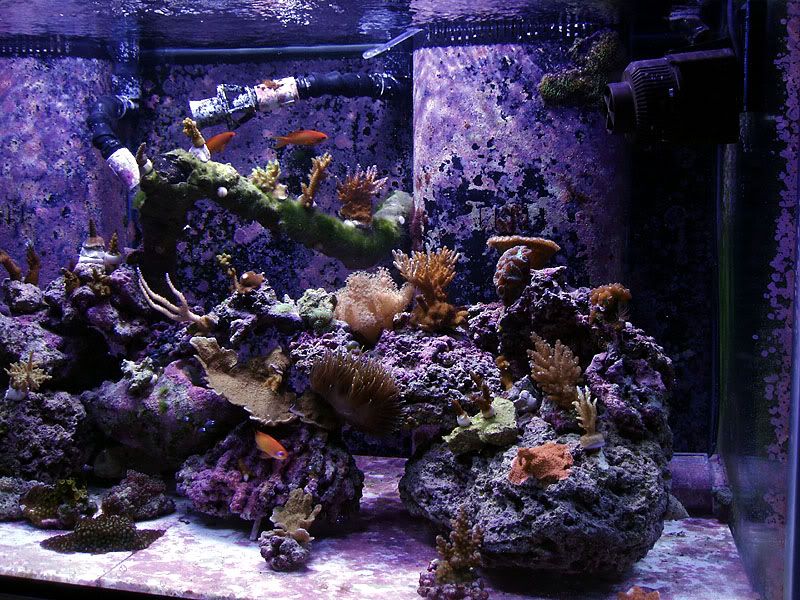
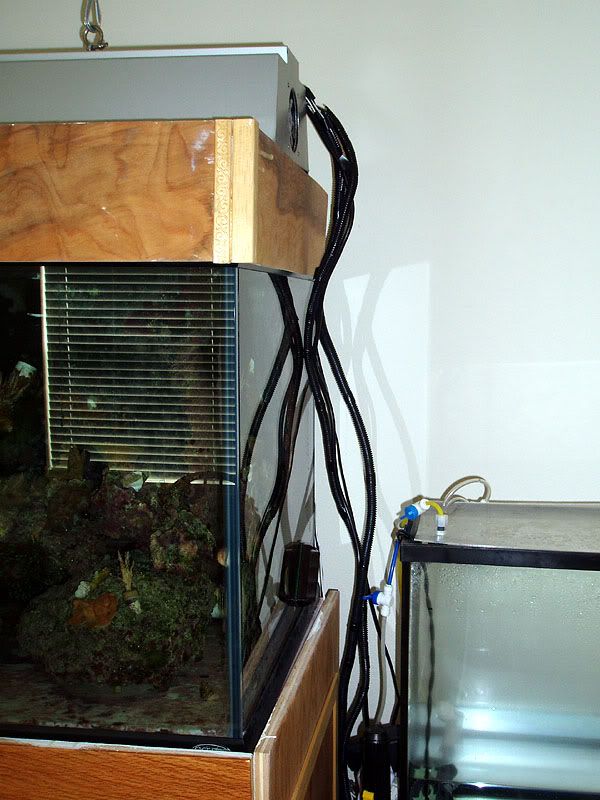
Alright, I took some pictures today of my new plumbing, stand, tunze, and christmas wrasse.
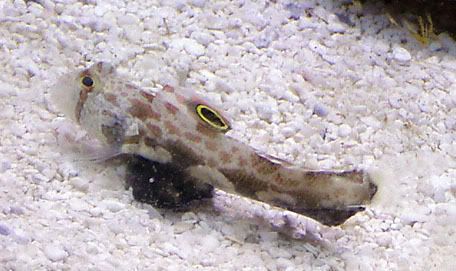
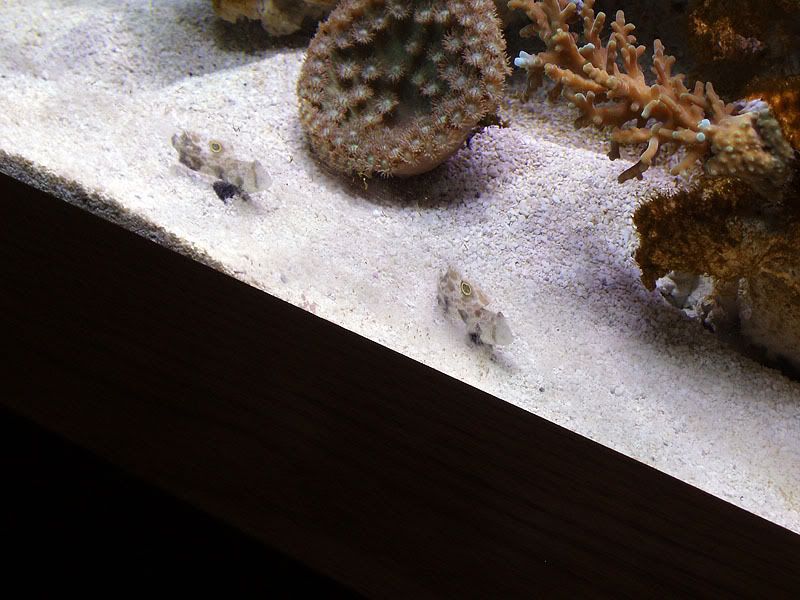
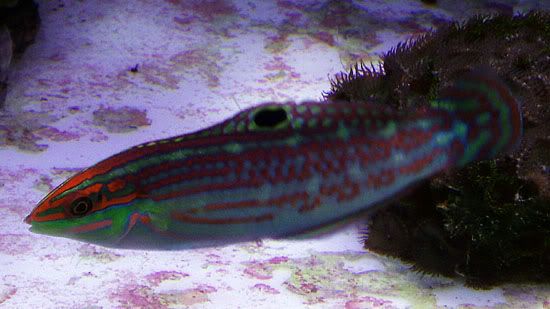
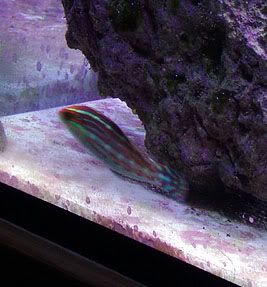
Christmas Wrasse (hopefully he will take care of any AEFW that show up, plus he's got great color)
 alt="">
 alt="">
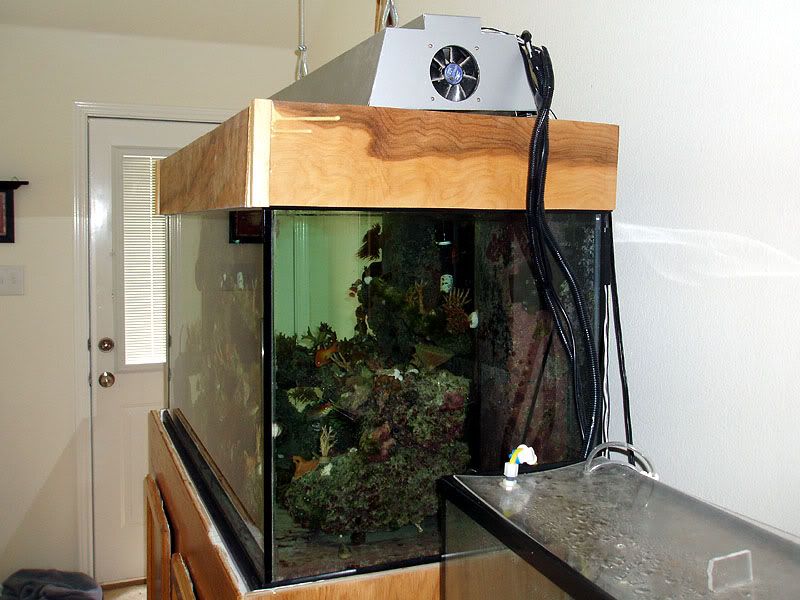
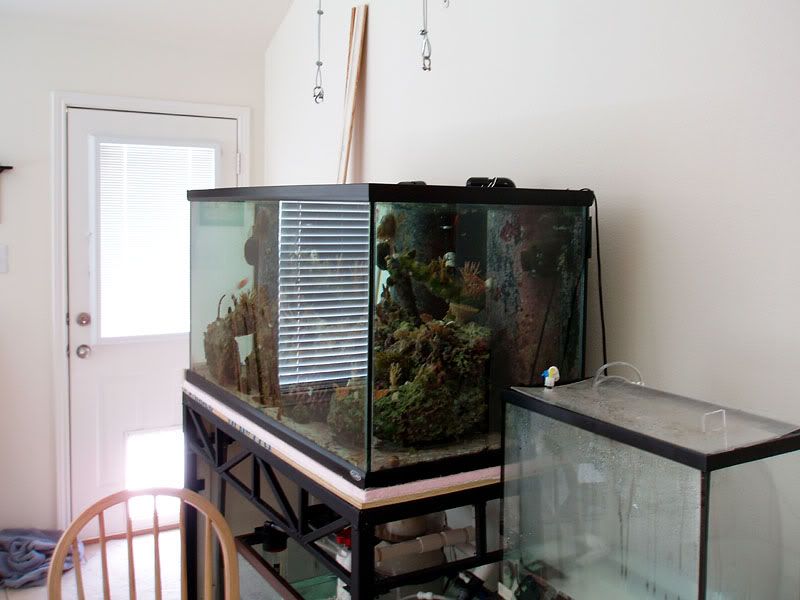
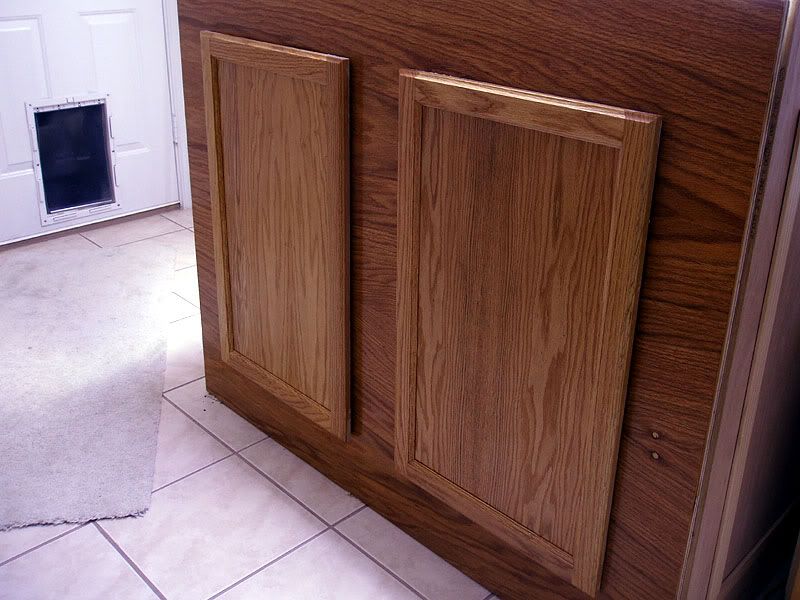
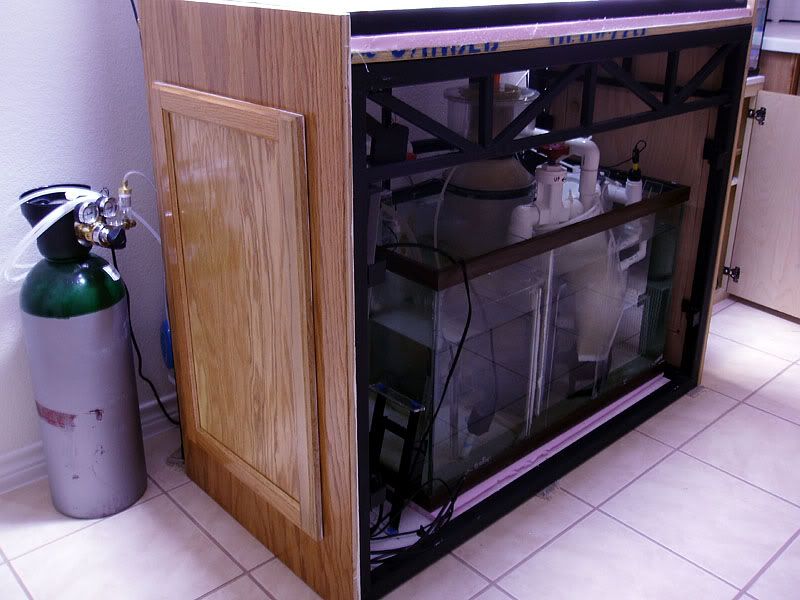
Stand
With doors on:
 alt="">
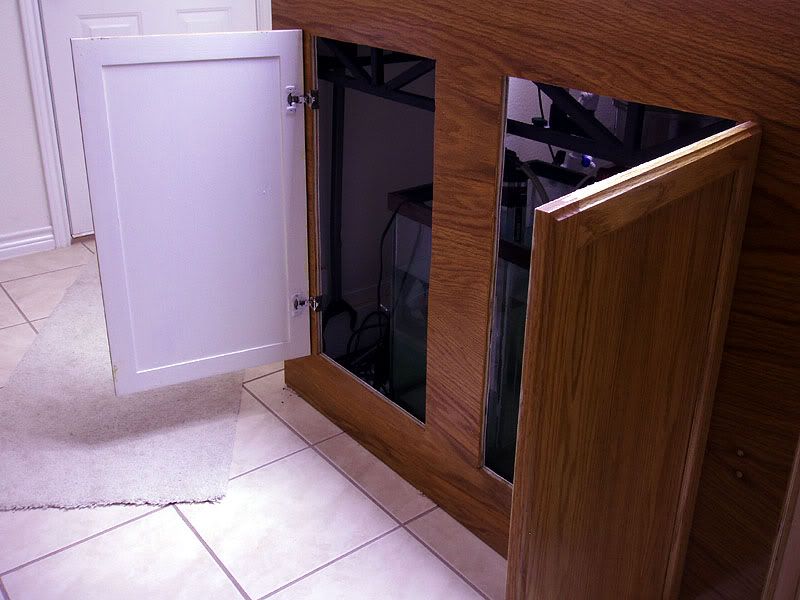
Doors open:
 alt="">
Front off (sides come off the same way):
 alt="">
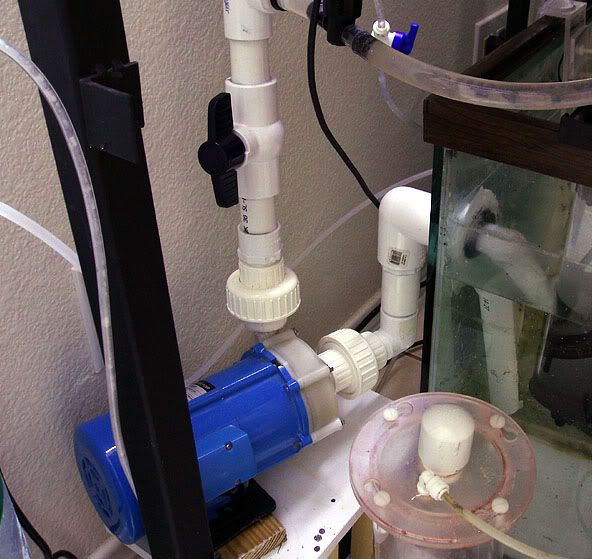
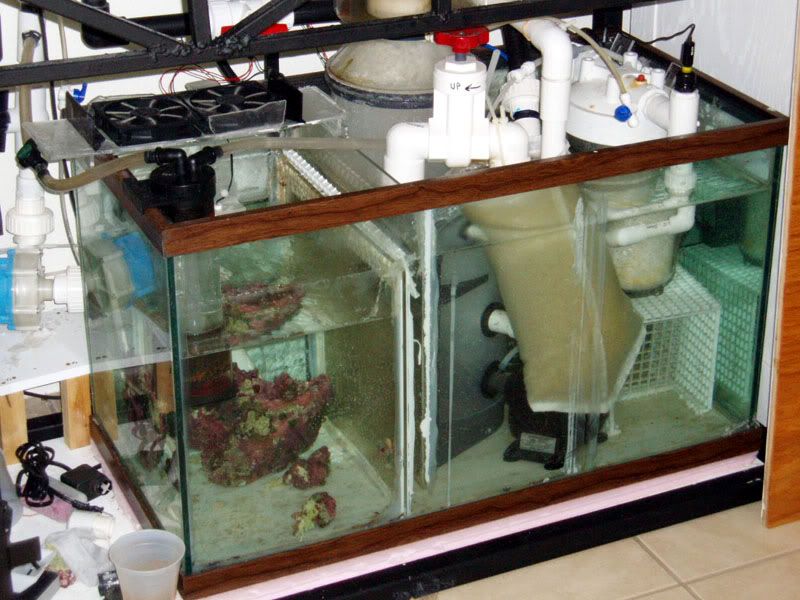
New sump design (one large chamber with a larger return section):
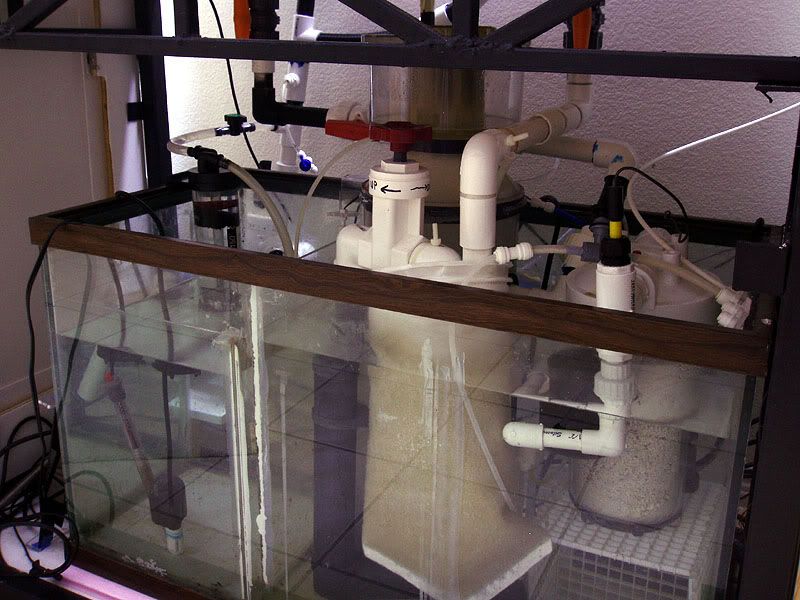 alt="">
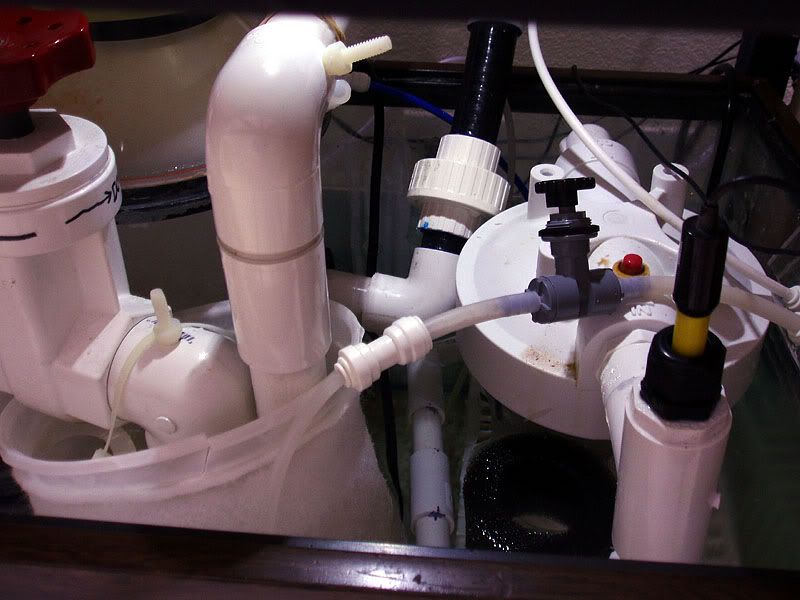
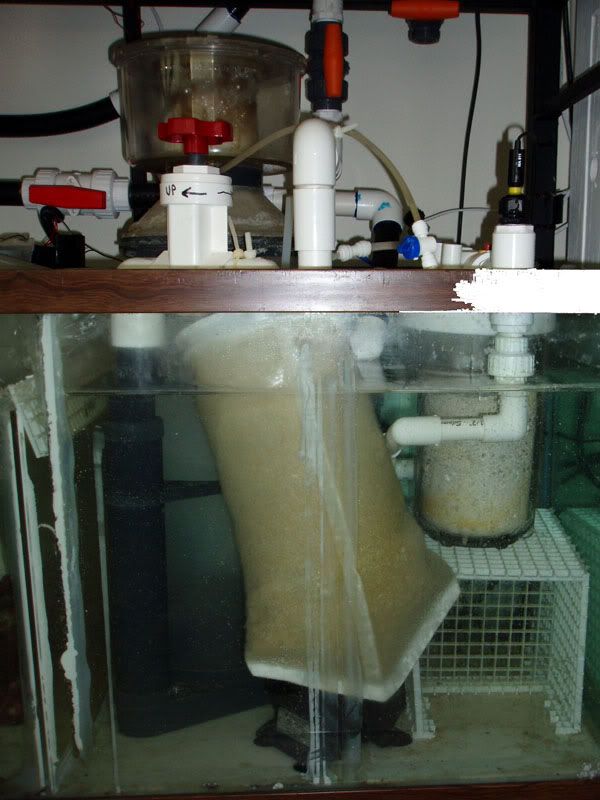
Sump from end:
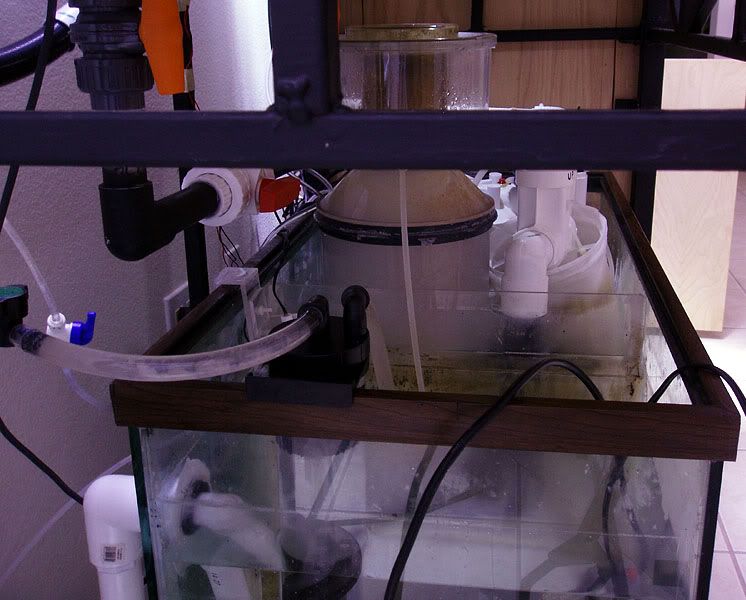 alt="">
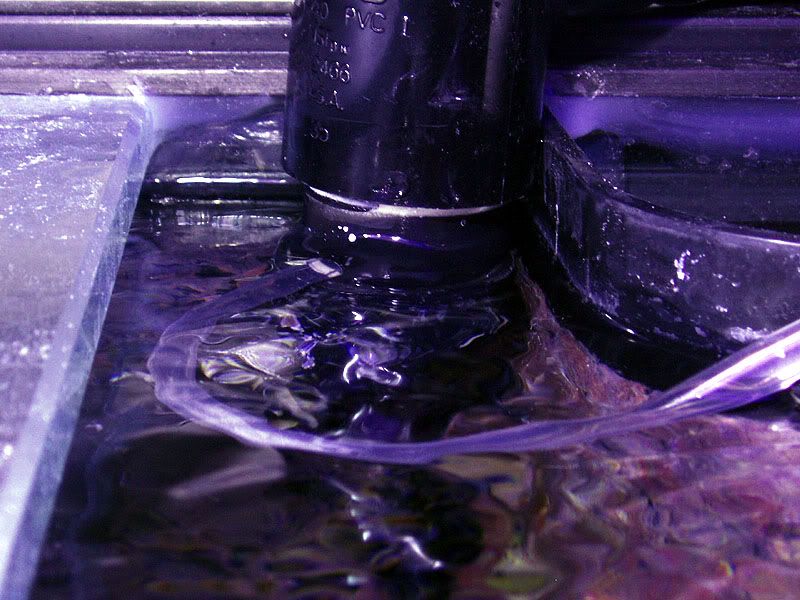
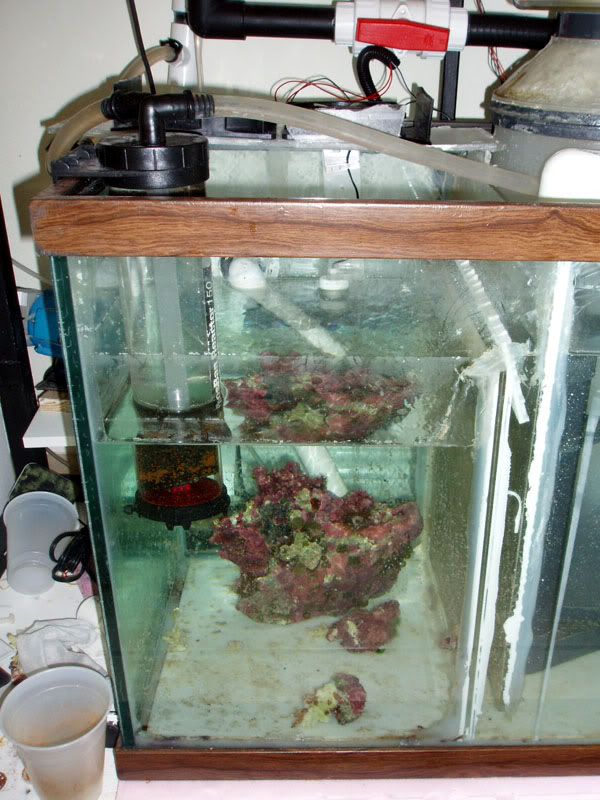
Return section:
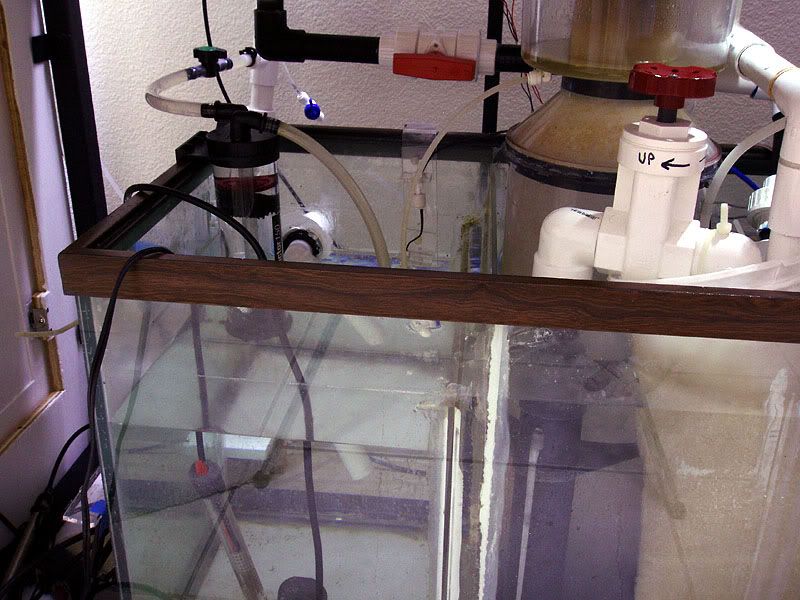 alt="">
More to follow.
Chris
Christmas Wrasse (hopefully he will take care of any AEFW that show up, plus he's got great color)
Stand
With doors on:
Doors open:
Front off (sides come off the same way):
New sump design (one large chamber with a larger return section):
Sump from end:
Return section:
More to follow.
Chris