New 120 on the way

chrisrush

Premium Member
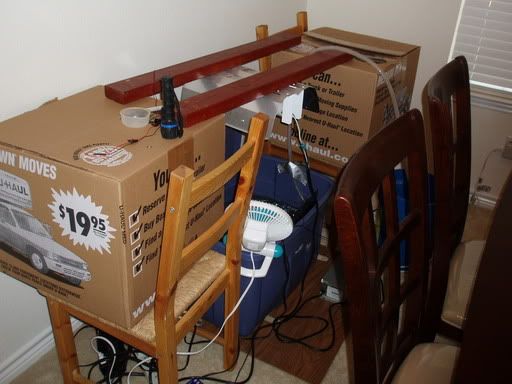
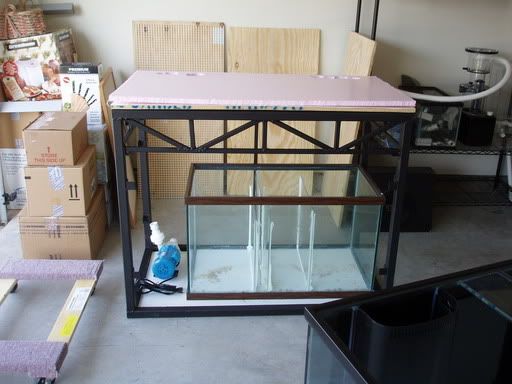
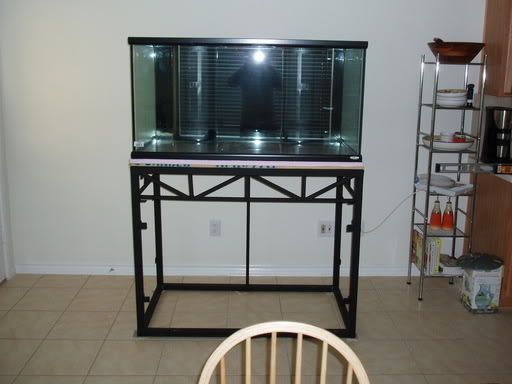
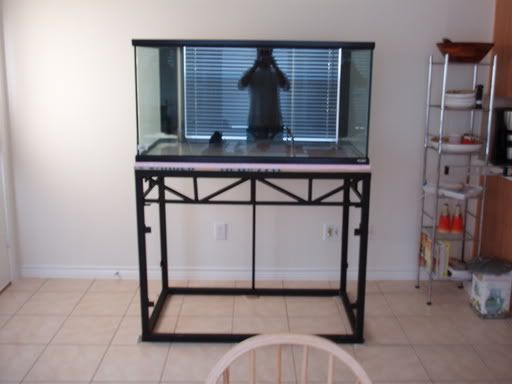
Well, a buddy of mine came over yesterday and we were able to move the tank and stand into the kitchen for a test fit.

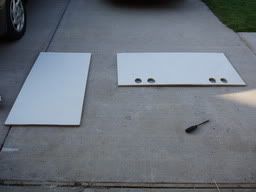
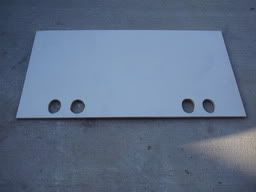
Everything went fine except that I have to take it off and enlarge 2 of the holes in the plywood for the bulkhead nuts. I've learned a lot in setting this tank up so far, and I'm sure there will be more learning to come.

I have more pictures of the tank and the equipment at home but I wanted to post some for the morning crew and I'll list the equipment here in case anyone wants to make any suggestions.

- 120 gallon (4x2x2) Oceanic RR tank barebottom tank
- HDPE bottom cut by DFW plastics
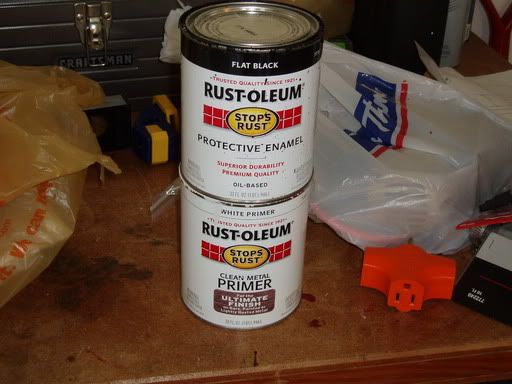
- DIY steel stand (1.5" square steel tubing, designed by grim-bob and
welding by my father-in-law, painted by myself with 2 coats of primer
and 3 coats of black steel paint)
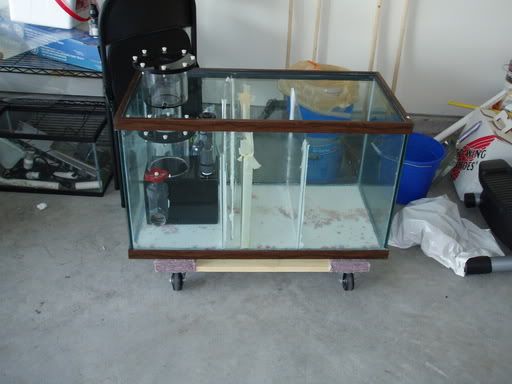
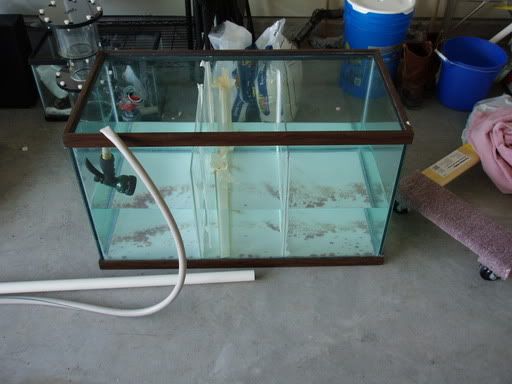
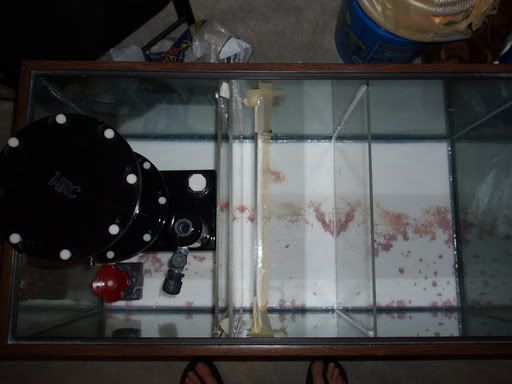
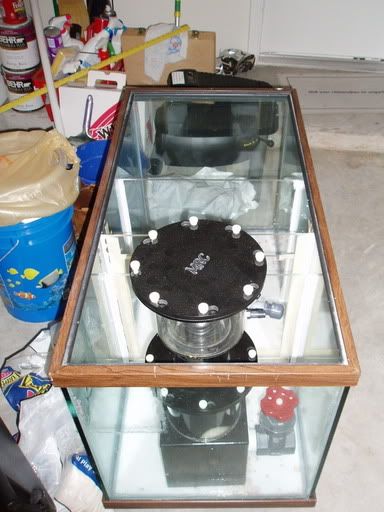
- 58 gallon (36x21x18) DIY sump with skimmer-->return-->fuge setup
- MRC MR-2 skimmer powered by a Gen-X PCX-55 pump
- Mag 9.5 return pump feeding 2 3/4" returns and my soon to be DIY Ca
reactor
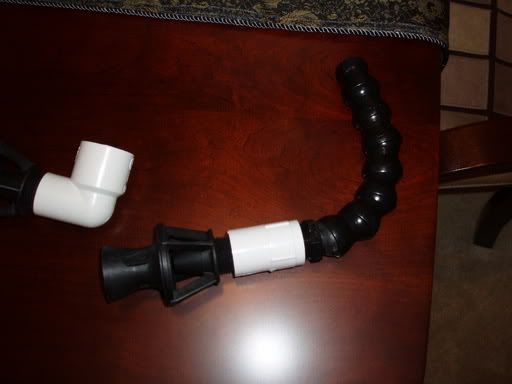
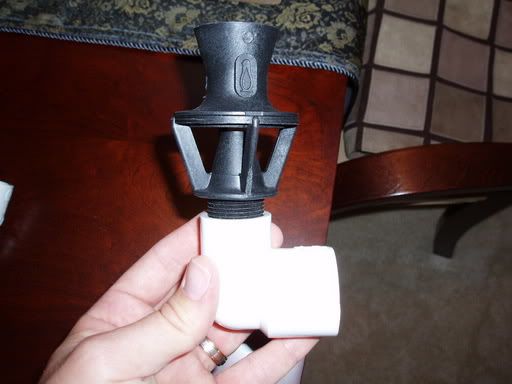
- CL (based on Melev and Keith's suggestions) powered by a second
Gen-X PCX-55 pump into 2 penductors
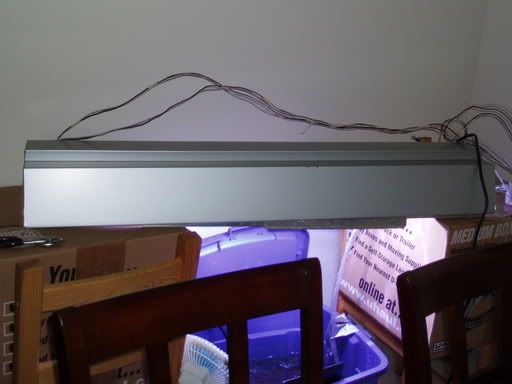
- Reeftanklighting 48" enclosure w/ 2x250w 10k XM MH and 2x46.5 110w
VHO actinics w/ 3 LED (autoillumination.com) moonlights w/ 2 92mm
fans in the canopy
- 2x200w heaters
- Reefkeeper controller
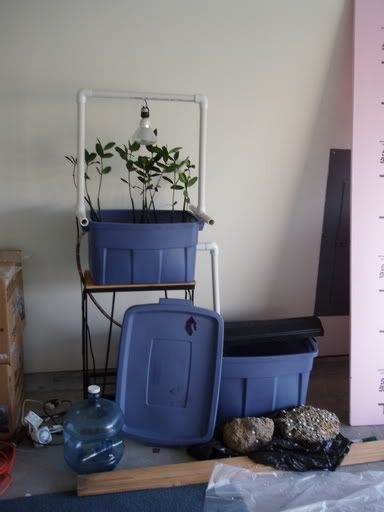
- Fuge filled w/ cheato and possibly mangroves powered by a Melev
special fuge bulb
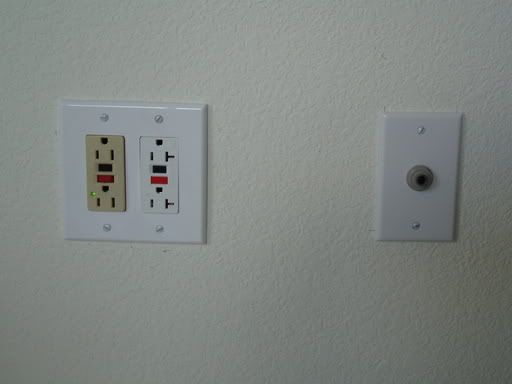
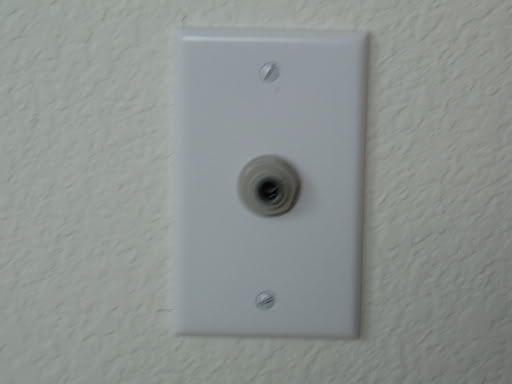
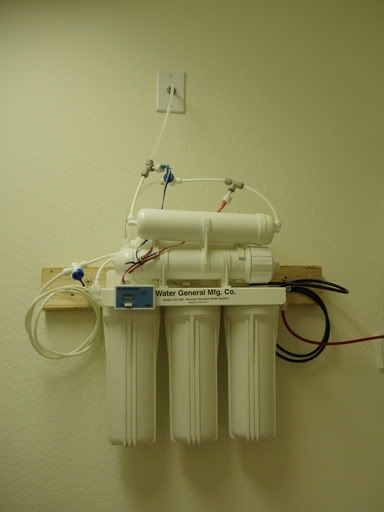
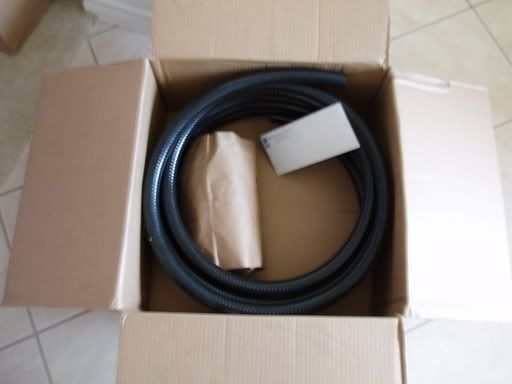
- RO/DI unit installed in laundry room w/ hose routed through attic to
back of tank along with 2 20 amp dedicated GFCI circuits (installed by
myself and my father-in-law)
- Dr. Foster's & Smith Refractormeter

Still to complete:

- Skin stand and build trim around lighting enclosure
- Hook up electrical DJ panels
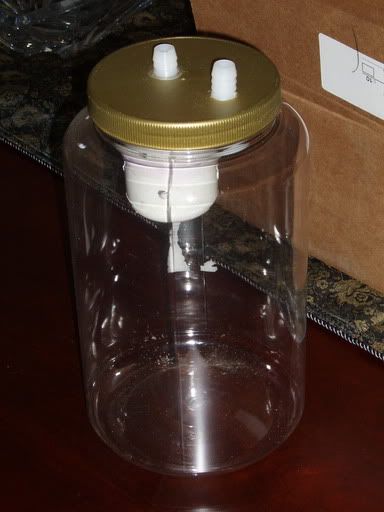
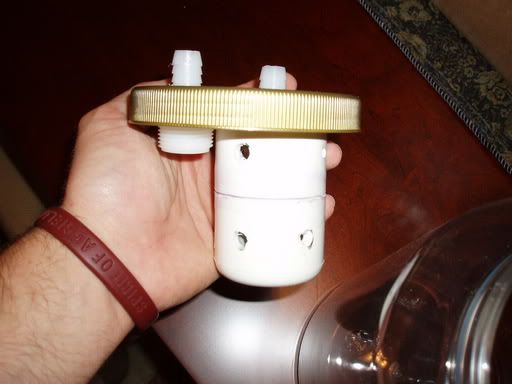
- DIY Ca reactor, Kalk reactor, carbon & phosphate remover
- Put water and fish in

Thanks for looking

Chris

P6120087.jpg
alt="">

P6120088.jpg
alt="">

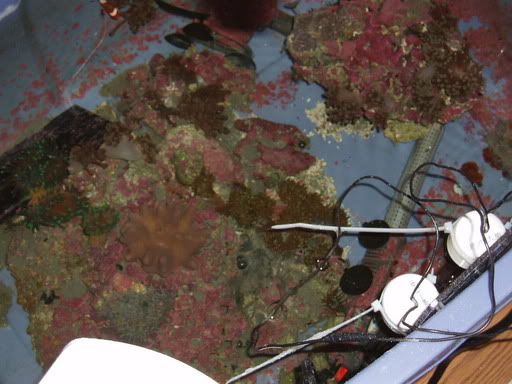
These aren't as good as the mermaid pictures on some people's threads, but it's all I've got.

P6120090.jpg
alt="">

P6120091.jpg
alt="">
 
It's amusing to me to see someone refer to me as Melev on our site. ;)

Looks good so far. Did you ever let the dog out? :lol:

Btw, could you please resize your pictures to 800 pixels wide, so that our text doesn't scroll across throughout the thread?
 
Sorry about that Marc, I forgot that you go by Marc on this board.

Does photobucket allow you to resize to 800 pixels wide? I'm uploading more pictures right now.

My wife thought Houdini (that's the dog) was a window display. He wanted out pretty quickly.

Chris
 
Alright, I think that I figured out how to resize the pictures, let's see if this works better.

Here is a picture from my bar area where I eat breakfast:

P6130002.jpg
alt="">
 
Alright, so now that I've got the pictures resized, I figured that I'd post some more.

BTW, the stand is 39" tall. I didn't realize how tall the top of the tank would be after it was sitting on the stand, but it tops out right around 5'5". My wife can see right under the black trim on the top of the tank. I think that it'll look real good once it's done, but I'll need to buy a new step ladder.

My old setup was a 58 gallon Oceanic, drilled in the back left corner. I had a really hard time with the flow in this tank, but hopefully the penductors will take care of that on this tank. I am using the 58 as a sump tank now, which will replace my old Rubbermaid sump. I have some pictures of the old setup but I’m kinda embarrassed to show them as they are pretty ugly.

Right now, all my corals and fish are in those same Rubbermaid tubs awaiting the completion of the new tank. Here is a picture of the temp. setup:

P6070040.jpg
alt="">

P6070042.jpg
alt="">

My wife really wants her dining room back. One day at a time, I tell her. I was originally going to drill through the wall and put all the equip. in the garage w/ the display tank in the dining room. After several discussions with my wife, we decided that it would be better served in the kitchen.

I have my rock and mangroves in the garage until I can figure out what to do with them. I might be selling the mangroves as I don’t plan to have sand in the fuge in this tank. If anyone wants them, I’ll trade them for some frags in a few weeks. I believe there are around 12 mangroves, all with 2-3 leaf divisons per plant.

P6100075.jpg
alt="">

Before we could move the tank into the house, I wanted to do some home improvements, even though this is a brand new house. My father in law came up to visit so while he was here, I figured that we could climb up in the attic and run some power and h2o lines to the kitchen. Well, after several hot and sweaty hours up in the attic, we installed 2 20 amp dedicated GFCI circuits. While we were up there we ran the RO/DI line from the laundry room to behind the tank.

P6100070.jpg
alt="">

P6100069.jpg
alt="">

P6100068.jpg
alt="">
 
Chris,
Nice work on the wall outlets.
1. As I'm currently cutting wall holes to run 2 new circuits myself (and am toying with running a water line from my RO/DI), I was wondering if you had put both 20 amp circuits into the same box (I assume for the picture...yes). I wanted to stay within electrical code and I don't remember whether it's valid to put 2 separate circuits in the same wall box or not... (it may not stop me though either...just not sure at the moment). Maybe one of our electricians can answer that.
2. I've not seen any wall RO/DI plates such as you have. Did you construct it or if not... where can you get them.
Looks cool though and I'm also thinking about another new tank that size also (after I get the 'other' new one up).

Doug
 
Doug,
I bought a wall plate for a co-axial cable and dremeled out the hole to accomodate the ro/di bulkhead. I couldn't find the bulkheads locally, but Rowatersystems.com had them in stock and I got them in 2 days after payment.

Here is a picture of what I got from them:

P6100065.jpg
alt="">

I did run both those 20 amp circuits into the same box. If it's against code, I can always pull them out and install seperate boxes, not like it's really a big expense.

Chris
 
Cool, that socket on the left has a green light! What is that for? Why is it just on the left one and not the right?
 
So, after we got that installed, I needed to work on the stand and the sump. Like I said earlier, I built the sump out of my old 58. It fit nicely under the stand with a little room left on the side to put the skimmer pump and the CL pump. I still need to build a little stand to hold one of the pumps off the floor (probably the CL pump). I’ve got a question on pump mounting though, can you mount them vertically or on there side?

P6120081.jpg
alt="">

I made the sump by buying some ¼” clear acrylic from DFW Plastics (contact Barbara and tell her I sent you). I have bought several things from them including clear plastic tube (kalk reactor, carbon chamber, etc.), clear acrylic sheeting, and HDPE for the BB. They are very competitive and on my way home from work. They are a little slow sometimes, but very good in pricing.

Here is a picture of the sump and after filling. I still need to install the probes and JG fittings for the top-off h2o, ca reactor, etc. I also need to get another bead of silicone on the baffles. Anyone know how to get silicone b/w baffles? I was thinking of getting a straw or something imbetween the baffles.

P6070015.jpg
alt="">

P6100072.jpg
alt="">

Here is a picture of the skimmer in the sump:

P6070053.jpg
alt="">

As I said before, I’m going with a MRC MR-2 skimmer fed with a Gen-X PCX-55 pump. I think that this skimmer will be a little overkill for my system, but at least I won’t have to buy another skimmer for a while. I bought the tank and the skimmer from a guy in Houston who was going with a different setup. Got a great deal on a brand new tank and a used skimmer. The skimmer has been drilled for 2 beckett injectors but at this point, I’m only going to use a single beckett. I need to drill out the ¾” beckett or upgrade to the 1” version that Andy at MRC has come out with, only problem is that $80 price tag.

P6070051.jpg
alt="">
 
I also DIY’ed a skimmer collection container from a 1 gallon tea bottle. It was pretty easy after I found all the parts. I will probably need to upgrade to a larger bucket after a while, but this will suffice for now.

P6070031.jpg
alt="">

P6070032.jpg
alt="">

Like I said before, I am going BB w/ HDPE from Nationwide Plastics. This was the cheapest place that I could find it locally and other that having it shipped from the cuttingboardcompany.com, which in the end would have costed more, I decided to call up Barbara and have Nationwide Plastics cut me some. I actually had a brain fart and mis quoted them on the dimensions but they were able to cut me a larger piece and substitute it for me. I cut out the overflows and installed it. I had this same color on my old 58 and really liked how it looked after a few months w/ coralline covering it. I plan on having some zoas and maybe GSP covering the bottom of this new tank.

P6070014.jpg
alt="">

P6120082.jpg
alt="">

P6070049.jpg
alt="">

For circulation, I decieded to keep my Mag 9.5 that was from my 58 and use it as a sump return. I don’t want that much flow through the sump to avoid the microbubble issue and to give my skimmer, fuge, and other reactors time to clean the water. This mag 9 will be split into 2 ¾” returns finishing in loclines provided by Oceanic.

In tank circulation will be provided by a Gen-X PCX-55 powering 2 penductors. I contacted Andy at MRC and we talked about these along w/ Keith here on DFWMAS. I figure that I can get about 2000 gph out of each penductor w/ adding any powerheads to the display. I might later on add a Seio on a wavemaker (6hrs on, 6 hrs. off) to add some random currents. The penductors will be attached using locline as well so that I can aim the flow throughout the tank.

P6070030.jpg
alt="">

P6070029.jpg
alt="">

P6070028.jpg
alt="">
 
Once I got the stand painted with this paint:

P6070016.jpg
alt="">

I was able to cut out the bulkhead holes in the ¾” foam and the ¾” plywood. This was suggested to me by several people and I think that it’s probably the safest way to build a proper setup, especially with a steel stand. The only problem that I had was cutting out the holes. I measured the bulkheads and then I measured from the wood, not accounting the stand and the trim. I had to remove the tank off the stand 3x to redrill the holes so that I could get the bulkhead nuts on. My friends weren’t too happy about that, but that’s what they get for being friends.

Here is a picture of the wood, painted with Kilz to protect it. I plan on putting the sump on the smaller piece of plywood along w/ some foam to protect it as well.

P6100073.jpg
alt="">

P6100074.jpg
alt="">

I plan on putting a wooden skin on the stand and I’ll protect the inside of the wood with Kilz as well.

That's all the pictures for now. When I get home, I'll take some pictures of the light box that I'm going to use. If anyone wants to see any additional pictures, let me know

Chris
 
This is a great thread, and your attention to detail in your project as well as in your documentation is excellent.

No worries about my name. I just thought it was amusing, and I believe you are the first to call me that on our board (2.5 years...).

In the picture from your breakfast nook, it is apparent that Houdini escaped! (Btw, you better eat that banana today, as it won't last much longer.) :lol:

I love your RO connection! That is soooo nice, and a great idea. You might consider swapping out that one fitting (if possible) with a 90 degree elbow fitting. I always worry about tubing tugging on fittings, and gravity is relentless after all. Just keep an eye on it, or maybe use a clamp to affix the tubing to the wall beneath it to keep it supported.

I can't believe the coralline you have in your temporary display. Nice!

What do you attribute the success of your mangroves' health? They look great. I'm not able to keep them alive for extended periods of time. I like your garden setup. You give me ideas for my own setup. ;) (And that is NOT just the coffee talking!) :lol:

Applying silicone to baffles is tough. I usually recommend you only do two of them, get them done well, let them cure, then finally add the last one the next day.

For the PVC fitting on your penductor, get a Sharpie marker, and color it black. It is reef-safe, and you won't have to look at the white. Others have painted it with PVC Cleaner so it looks purplish like coralline, but the outer pieces are black so I'd just use the black marker instead.

Nice waste collector. Did you do anything special at the lid to keep it air tight? I can't see silicone in those images.
 
This is a great thread said:
Thanks, that is a huge compliment coming from you. I've been following your website and thread on RC as well as the other large tanks. I think that is the best place to gain knowledge. The bigger the tank, the more inspired I am.

The wife also just got a new camera so that's why there are so many pictures. Olympus Stylus 500. I'm still working on it, but hopefully I can get some good shots out of it. I'd like to get a digital SLR but those things can get a little pricey.

In the picture from your breakfast nook said:
Yea, Houdini did live up to his name, and he's gone. Even with the chained straight jacket he got out. I brought that banana to work but it was pretty rotted by the time I got to it. Oh well, I should have let the wife make some bread out of it.

I love your RO connection! That is soooo nice said:
Thanks, I found it somewhere on RC. I'll keep an eye on that fitting. I plan on permenantly affixing it to my 10 gallon top-off container so it shouldn't get moved much once everything is said and done.

I can't believe the coralline you have in your temporary display. Nice! said:
Yea, I was noticing that the other day. I haven't added anything to that tank since I set it up in late Jan. Just top-off water. No skimmer or anything.

What do you attribute the success of your mangroves' health? They look great. I'm not able to keep them alive for extended periods of time. I like your garden setup. You give me ideas for my own setup. (And that is NOT just the coffee talking!) said:
Not sure what's promoted the growth. Could just be my green thumb. Let's hope the corals in the main tank grown that well. I have a mj900 pumping the water from the bottom tank (rocks) up to the mangroves and then it drains back down. I think that spraying the leaves (which I read on your site) helps them grow.

Applying silicone to baffles is tough. I usually recommend you only do two of them said:
Well, I guess I could cut them out. Do you recommend doing the outside 2 baffles and then the middle after they are cured? I would imagine those 2 are the more important baffles.

For the PVC fitting on your penductor said:
I'm with you on that one. I think that I spray painted them last time, but I'll probably go w/ a Sharpie on these since there isn't much.

Nice waste collector. Did you do anything special at the lid to keep it air tight? I can't see silicone in those images. said:
Well, the lid can't be siliconed since it has to be removable. I haven't tested it out yet, so I might need to modify it slightly.

Chris
 
I was referring to siliconing the fittings, but maybe that doesn't matter after all. I've never used a waste collector, but upon thinking about it for a minute, the ping pong ball floats up to stop air from coming down the drainline, which in turns stops the bubbles in the skimmer. I guess it doesn't matter after all. :oops:


I would glue the two baffles that are side by side. Then add your last one. The middle one is the tough one. So getting that one done would be the most important one to start with. The outer ones can be siliconed and resiliconed until you are happy - or run out of silicone. ;)
 
I was referring to siliconing the fittings said:
Actually, I think that I put some weld-on on the fittings. Silicone would have worked better and I'll probably go over it with silicone. It has to be an airtight so that the pingpong ball will plug the hole.

I would glue the two baffles that are side by side. Then add your last one. The middle one is the tough one. So getting that one done would be the most important one to start with. The outer ones can be siliconed and resiliconed until you are happy - or run out of silicone. said:
I might pull them out and resilicone them this week. Depends on how much time I've got to get to it.

Thanks for your suggestions.

Chris
 
Got a shipment in when I got home from work today. 30 ft. of black 1" flex tubing and 4x1" true union ball valves w/ 2x3/4" true union valves. I'm going to dry run the plumbing in the next few nights.

P6140001.jpg
alt="">

P6140003.jpg
alt="">

I was supposed to get some fittings for my loc-line but I guess they are on back order.

Chris
 
Here is the lighting hood that I'm planning on using. I got it from Reeftanklighting.com. It will hold 2x250w 10k XM MH bulbs (one Icecap ballast & one EVC ballast) with 2x110w 46.5" URI actinics. Three moonlights from autoillumination.com were installed. I'm waiting on 2 Vantec Stealth fans (92mm) to finish the wiring. Here is a picture of the canopy with 1 250w 14k MH bulb over my temp setup.

P6140004.jpg
alt="">

I really like this fixture, but it took a long time to get since it was on back order for nearly 2 months. I'm going to mount this using L-brackets behind the tank.

Chris
 
Well, I got most of the plumbing done last night and I hung the l-brackets for my light box. I'm waiting on some hardware to install it.

I made a rookie mistake last night when I was plumbing a union to the mag 9.5 that I plan on running.

I'll post some pictures when I get home tonight. I hope to do a fresh water test tonight and start filling w/ ro/di by this weekend.

Chris
 
Top