hoopsdaddy
Premium Member
Well, I guess it is time to start my build log....
History- I have been in this hobby for 7 years. When my wife and I married 7yrs ago I had a 75g FW tank and when we bought a house together after the wedding it just set dry in the garage. She wanted me to set it back up, but I was bored with freshwater and was looking for inspiration. I found it one day while checking out the saltwater section....a red Mandarin goby, and then i saw a blue hippo tang and I was hooked. [smilie=surprised.gif]
I upgraded a year later to a 165g and have really cut my teeth on this tank. I currently have a beautiful blue hippo tang, but I learned the hard way that Mandarin's can be tough to keep.
Fast forward--
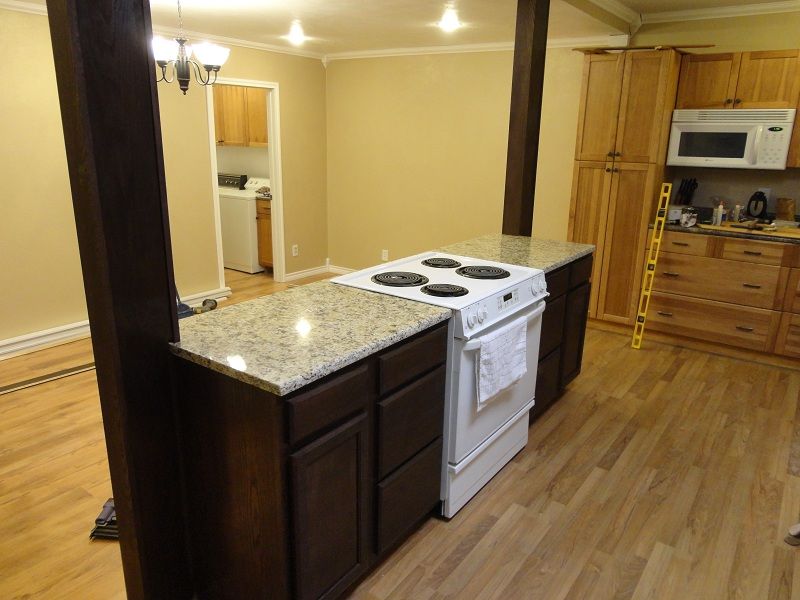
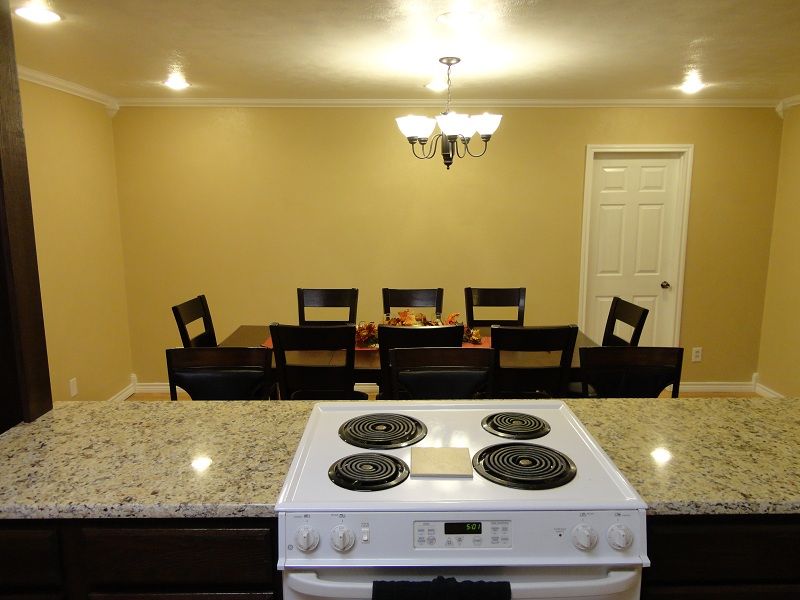
I have been looking forward to this day for about 8 months. I bought this tank in April of this year. Around January my wife and I had been discussing a remodel of our kitchen and turning our garage into a dining room and laundry room. Our garage was more of a storage place for us than a real garage and mostly just wasted space. We had just finished a remodel of our living area and opening up the whole main part of the house. After we started discussing this she said I think when we do this remodel you need to put a huge fish tank in the dining room wall. I was pumped needless to say! [smilie=rofl.gif]
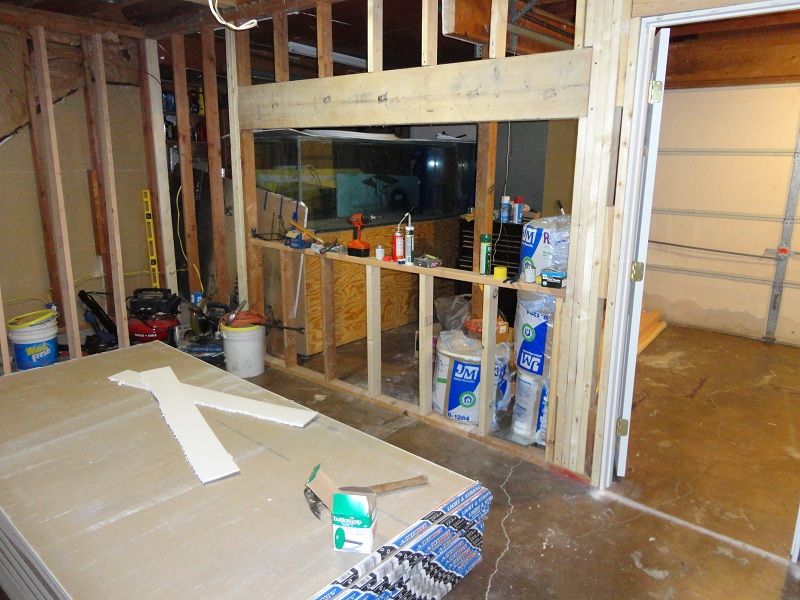
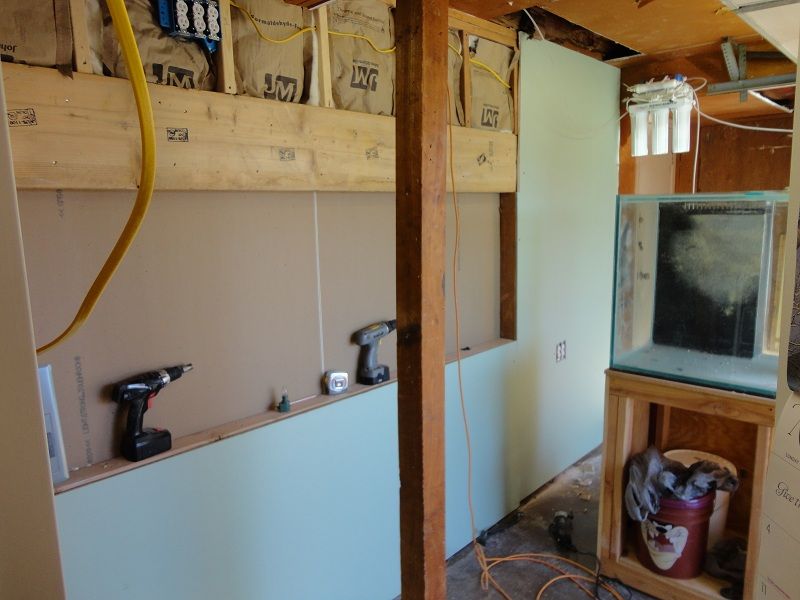
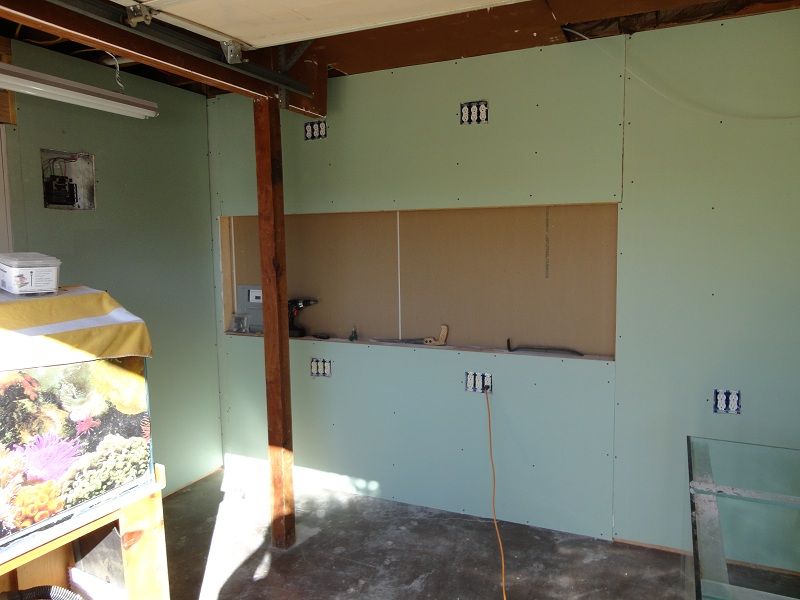
So I started on the process of turning our existing garage into a large dining room, laundry room, and a fish tank room in Sept. Now my own restrictions were that I wouldn't start on the fish tank room until last as I know that I would have just forgotten about all the rest of the projects if I started on it first. Also, we were having a bunch of friends over in October and then we were planning to host Thanksgiving at our home for the first time ever. So it has all come to pass and I have completed the remodel and Thanksgiving was the best ever and now I am plunging head first into the fish tank room and the tank build.
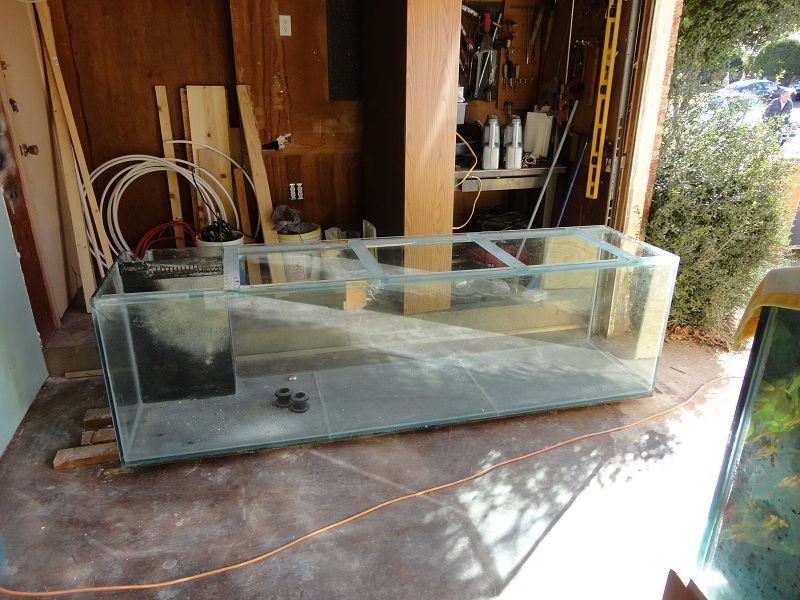
The tank is 96x24x27, and done as a build in. It will be primarily an SPS tank with a large variety of small fish and a couple of larger peaceful fish.
The basic plan is to accomplish a lot of the things I have always wanted to do with a fish tank room. Including but not limited to--
--a large sump that has open access. --
--large fuge for macro growth and hang out for bad fish--
--frag tank that is plumbed into the main tank--
--saltwater and top-off water station for quick water changes and top-off--
--large QT setup for supplying new and existing tank with a great place to watch and treat fish--
--walk way behind stand for ease of access to the display--
--and many more goodies to come--
Well, that is the basics. I hope that many of you will join in with me and help me make this the build of my dreams. I will post pictures soon of the remodel and the plans for the fish tank room.
History- I have been in this hobby for 7 years. When my wife and I married 7yrs ago I had a 75g FW tank and when we bought a house together after the wedding it just set dry in the garage. She wanted me to set it back up, but I was bored with freshwater and was looking for inspiration. I found it one day while checking out the saltwater section....a red Mandarin goby, and then i saw a blue hippo tang and I was hooked. [smilie=surprised.gif]
I upgraded a year later to a 165g and have really cut my teeth on this tank. I currently have a beautiful blue hippo tang, but I learned the hard way that Mandarin's can be tough to keep.
Fast forward--
I have been looking forward to this day for about 8 months. I bought this tank in April of this year. Around January my wife and I had been discussing a remodel of our kitchen and turning our garage into a dining room and laundry room. Our garage was more of a storage place for us than a real garage and mostly just wasted space. We had just finished a remodel of our living area and opening up the whole main part of the house. After we started discussing this she said I think when we do this remodel you need to put a huge fish tank in the dining room wall. I was pumped needless to say! [smilie=rofl.gif]
So I started on the process of turning our existing garage into a large dining room, laundry room, and a fish tank room in Sept. Now my own restrictions were that I wouldn't start on the fish tank room until last as I know that I would have just forgotten about all the rest of the projects if I started on it first. Also, we were having a bunch of friends over in October and then we were planning to host Thanksgiving at our home for the first time ever. So it has all come to pass and I have completed the remodel and Thanksgiving was the best ever and now I am plunging head first into the fish tank room and the tank build.
The tank is 96x24x27, and done as a build in. It will be primarily an SPS tank with a large variety of small fish and a couple of larger peaceful fish.
The basic plan is to accomplish a lot of the things I have always wanted to do with a fish tank room. Including but not limited to--
--a large sump that has open access. --
--large fuge for macro growth and hang out for bad fish--
--frag tank that is plumbed into the main tank--
--saltwater and top-off water station for quick water changes and top-off--
--large QT setup for supplying new and existing tank with a great place to watch and treat fish--
--walk way behind stand for ease of access to the display--
--and many more goodies to come--
Well, that is the basics. I hope that many of you will join in with me and help me make this the build of my dreams. I will post pictures soon of the remodel and the plans for the fish tank room.
")