Well, the wall is down and the tank is ordered, so no turning back now! [smilie=clapping.gif]
Basic spec's of the tank and stand will be:
-450g - 96"x36"x30"
-Starphire front pane glass
-Double-bottom eurobrace trimless
-External calfo overflows on both the sides of the tank
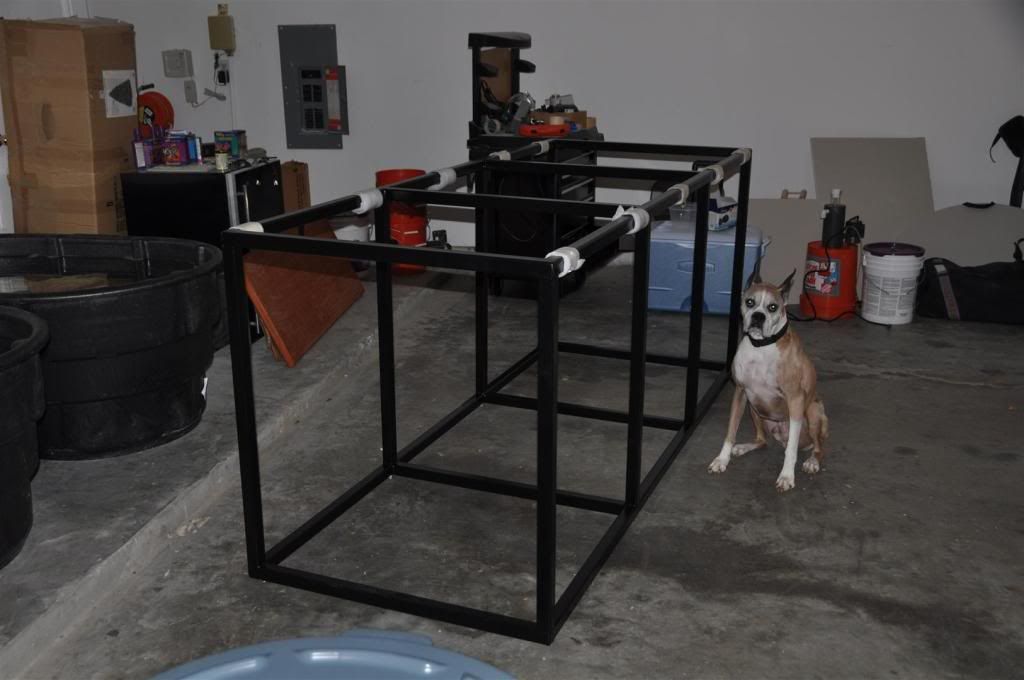
-Powdercoated steel support stand, 41" tall
Have not completely spec'ed out the equipment yet, but will update over time.
Basically, the plan is to knock down a wall that was intended to be for separation of the laundry room from one of our living rooms. The laundry room will no longer be called a laundry room and rather be a fish-room now [smilie=smile.gif]; the laundry room has now been moved to the garage and work done to put in new ducts, etc, for that. I had 3 new dedicated 20 amp circuits added to the room, should be enough if not overboard a bit.
Below are some pictures of the transition!
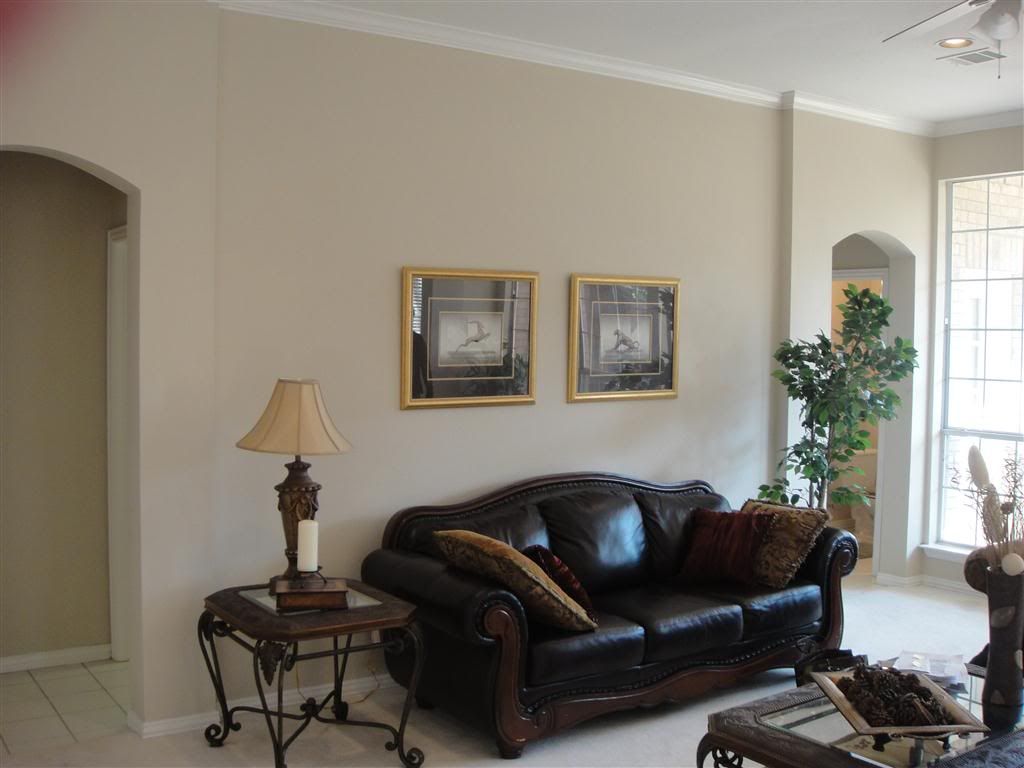
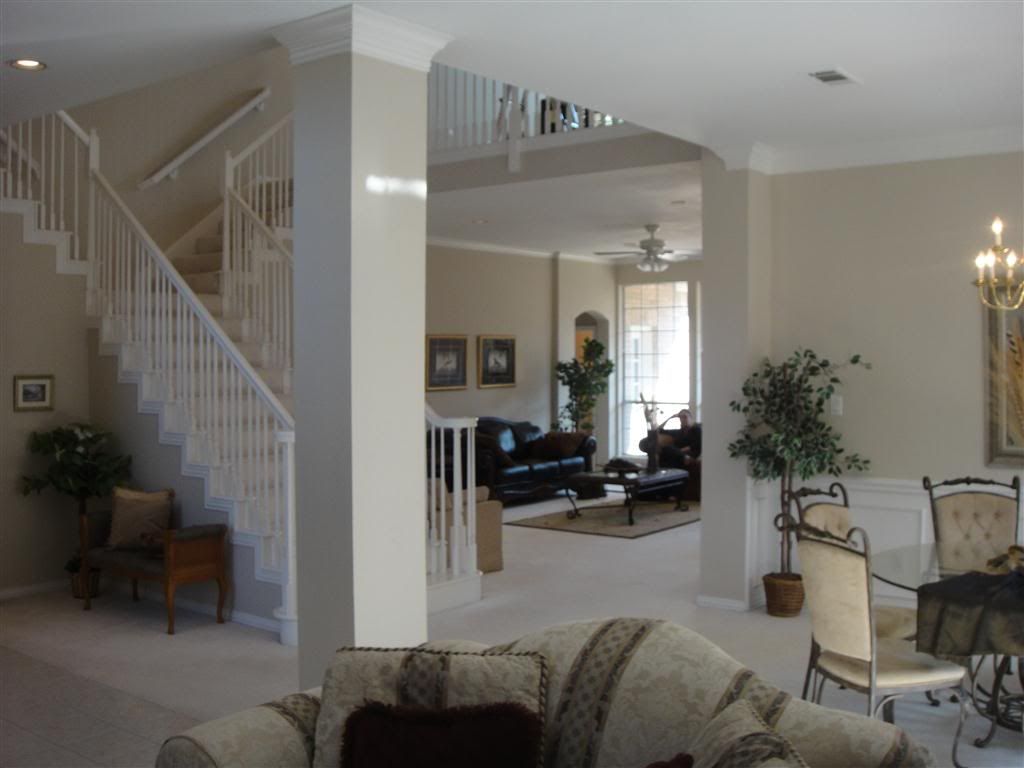
The wall... this was from a picture I took when looking at houses to buy, not my furniture. This in-wall tank project was part of the plan when looking for a house, and found this one to be pretty much perfect (knowing a bit of elbow grease would be necessary of course):
 alt="">
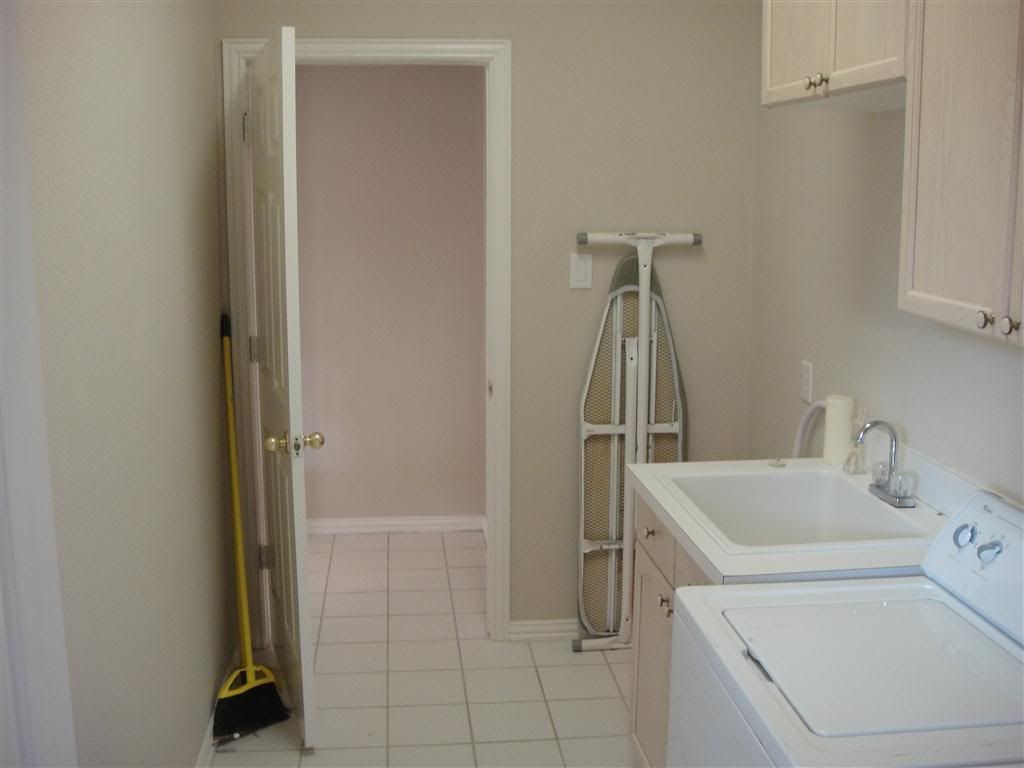
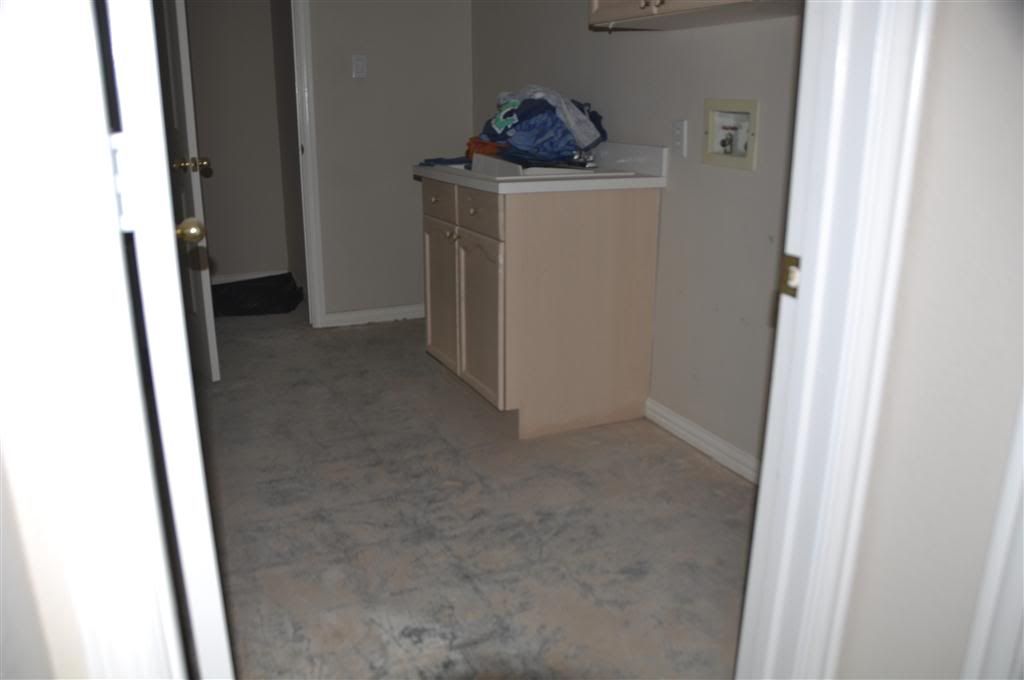
The original look of the laundry room. About 6 feet wide. It is double-entry style with doors that swing inwards, an obvious necessary correction down the road.
 alt="">
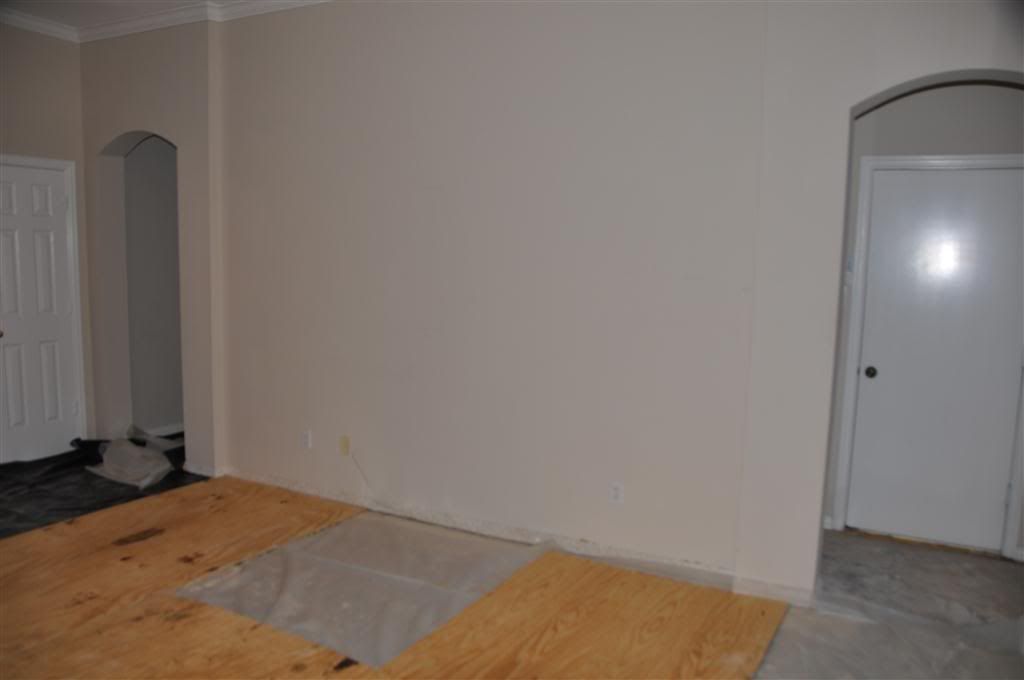
View from the rest of the house of that wall, just for perspective purposes... not really a great pic but worth posting anyway")
 alt="">
We didn't like the white carpet in the house so decided to switch out with hardwood flooring, stained dark, and go with tile in the fish room, so first step = rip out the flooring:
 alt="">
 alt="">
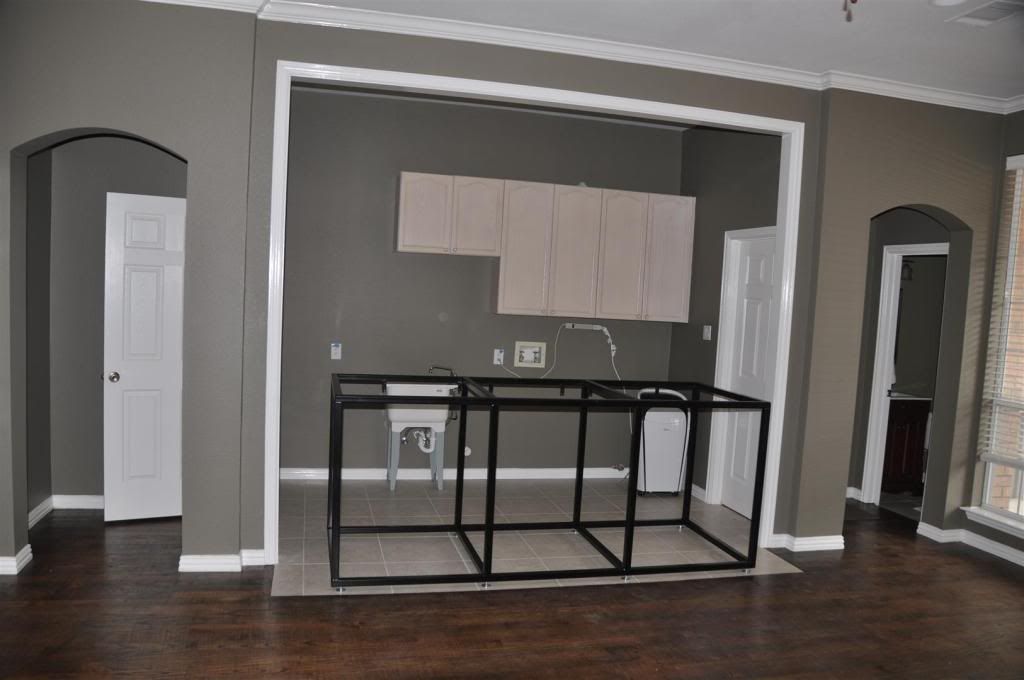
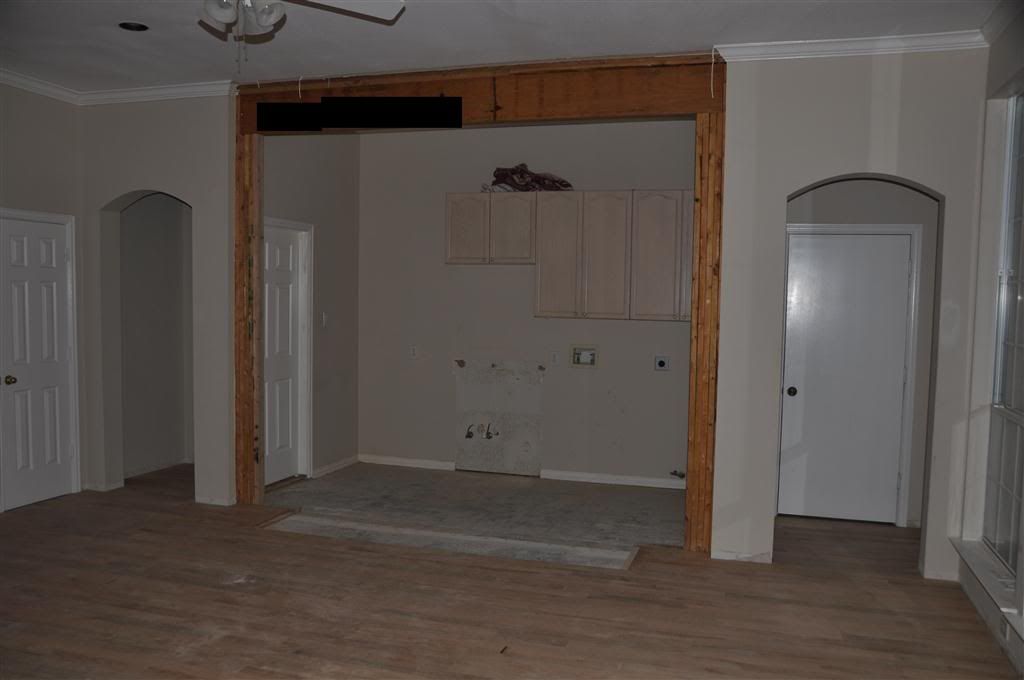
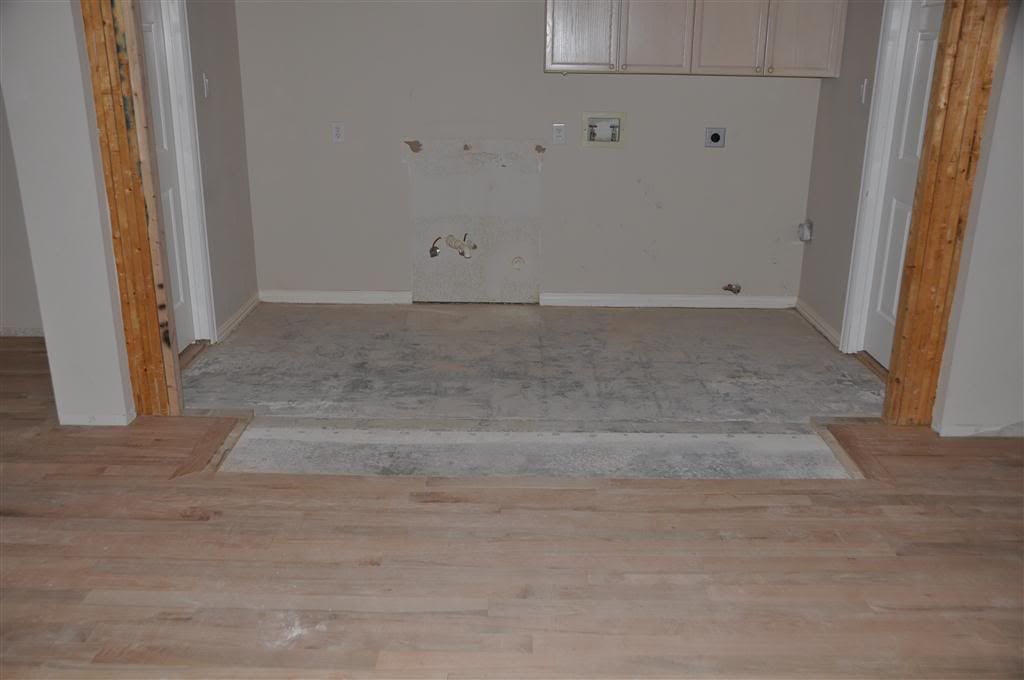
Wall comes down! Flooring in living room put in (staining has not occurred yet so appears light in color for now), tile hasn't been put in yet. First issue we had to deal with was that the wall was a load-bearing wall, so had to have a structural engineer put in support beams... pain, but no real choice in the matter unless we wanted out upstairs to crash down on us! They wrote my address really big across the beams for some reason so I blacked it out in photo editor Also notice that I had the sink ripped out and will be putting in a smaller one; I realized that I would be quite crammed back there with the 36" width of the tank, and the sink was the main hindrance to giving me enough space. The doors have now been reversed to open outward instead of inward as well.
 alt="">
Closer up view of the wood-work. As above with the sink, I needed more space back there in that room to not feel closed-in while working on it, so opted to pull the tank out about an extra 10" from where the wall would normally look flush with the in-wall tank (once put in). So we will now be building the new dry-wall out a little and then flush with the tank. The cut-out area as mentioned above will be tile soon, the tank will sit on the tile to the point of looking pretty much exact/near-enough flush with the hardwood floor in front of it.
 alt="">
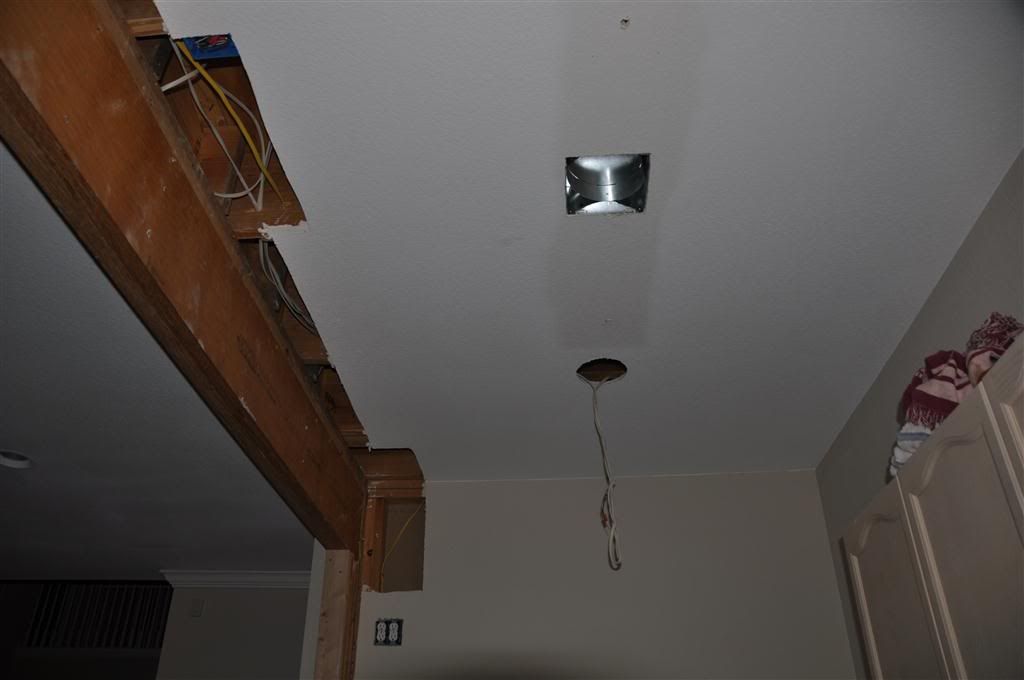
The laundry room had no ventilation other than where the dryer vented to, so needed to put in a vent on the ceiling to get out the humidity and pull fresh air into the room. There was originally a light-strip up on the ceiling but we removed that and opted for 2 lamps (probably a more technical term) up there instead. Thinking of going with a 140 CFM / 2 Sonar fan, running near 24/7. Notice in the picture the 4-slot power port... not really what I had intended, but the electricians put them up there at about 9 feet high! Oh well, will be nice for the lights I suppose... or will figure something out. There is one on both sides of the wall. Each with a dedicated 20 amp circuit.
 alt="">
So, that is where I am out as of today 9/25/2010. Work on the fish-room will go on over the next 2-3 weeks and the tank and stand should be ready in 4-5 weeks, so expecting to get going on getting the tank flowing by end of October!
I welcome any questions and comments on my plans, especially any war stories that anyone has to offer for me to expect as potential issues down the road. Will be much easier to fix things now prior to the tank getting in and installed!
Basic spec's of the tank and stand will be:
-450g - 96"x36"x30"
-Starphire front pane glass
-Double-bottom eurobrace trimless
-External calfo overflows on both the sides of the tank
-Powdercoated steel support stand, 41" tall
Have not completely spec'ed out the equipment yet, but will update over time.
Basically, the plan is to knock down a wall that was intended to be for separation of the laundry room from one of our living rooms. The laundry room will no longer be called a laundry room and rather be a fish-room now [smilie=smile.gif]; the laundry room has now been moved to the garage and work done to put in new ducts, etc, for that. I had 3 new dedicated 20 amp circuits added to the room, should be enough if not overboard a bit.
Below are some pictures of the transition!
The wall... this was from a picture I took when looking at houses to buy, not my furniture. This in-wall tank project was part of the plan when looking for a house, and found this one to be pretty much perfect (knowing a bit of elbow grease would be necessary of course):
The original look of the laundry room. About 6 feet wide. It is double-entry style with doors that swing inwards, an obvious necessary correction down the road.
View from the rest of the house of that wall, just for perspective purposes... not really a great pic but worth posting anyway
We didn't like the white carpet in the house so decided to switch out with hardwood flooring, stained dark, and go with tile in the fish room, so first step = rip out the flooring:
Wall comes down! Flooring in living room put in (staining has not occurred yet so appears light in color for now), tile hasn't been put in yet. First issue we had to deal with was that the wall was a load-bearing wall, so had to have a structural engineer put in support beams... pain, but no real choice in the matter unless we wanted out upstairs to crash down on us! They wrote my address really big across the beams for some reason so I blacked it out in photo editor
Also notice that I had the sink ripped out and will be putting in a smaller one; I realized that I would be quite crammed back there with the 36" width of the tank, and the sink was the main hindrance to giving me enough space. The doors have now been reversed to open outward instead of inward as well.
Closer up view of the wood-work. As above with the sink, I needed more space back there in that room to not feel closed-in while working on it, so opted to pull the tank out about an extra 10" from where the wall would normally look flush with the in-wall tank (once put in). So we will now be building the new dry-wall out a little and then flush with the tank. The cut-out area as mentioned above will be tile soon, the tank will sit on the tile to the point of looking pretty much exact/near-enough flush with the hardwood floor in front of it.
The laundry room had no ventilation other than where the dryer vented to, so needed to put in a vent on the ceiling to get out the humidity and pull fresh air into the room. There was originally a light-strip up on the ceiling but we removed that and opted for 2 lamps (probably a more technical term) up there instead. Thinking of going with a 140 CFM / 2 Sonar fan, running near 24/7. Notice in the picture the 4-slot power port... not really what I had intended, but the electricians put them up there at about 9 feet high! Oh well, will be nice for the lights I suppose... or will figure something out. There is one on both sides of the wall. Each with a dedicated 20 amp circuit.
So, that is where I am out as of today 9/25/2010. Work on the fish-room will go on over the next 2-3 weeks and the tank and stand should be ready in 4-5 weeks, so expecting to get going on getting the tank flowing by end of October!
I welcome any questions and comments on my plans, especially any war stories that anyone has to offer for me to expect as potential issues down the road. Will be much easier to fix things now prior to the tank getting in and installed!