440g Starphire Custom Dropoff Reef Tank

fjr_wertheimber wrote:
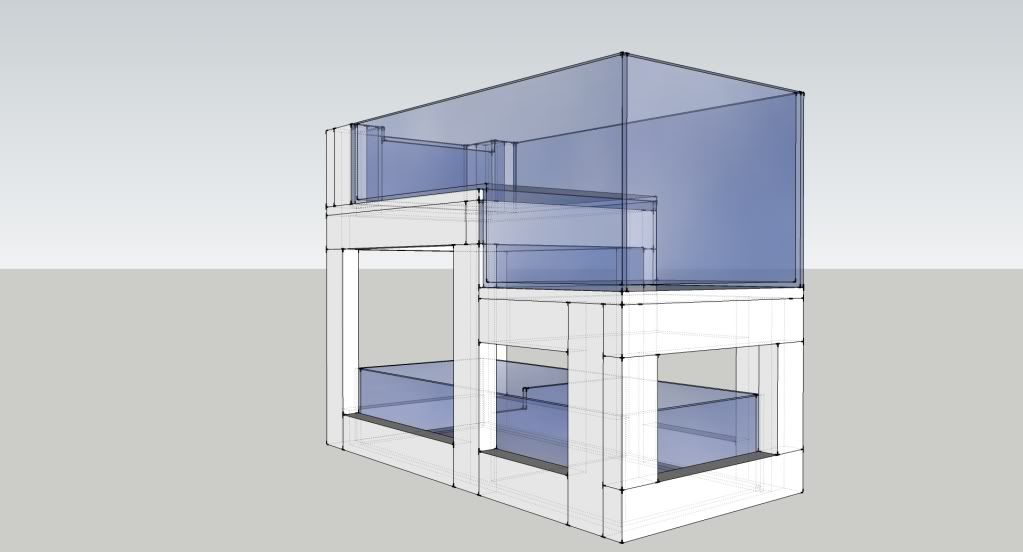
Okay, so here's the planned setup of the LED lighting for the tank. It will be built in a curve over the tank so as to mimic the natural change of lighting angles throughout the day, and allow gradual ramping up/down across the overall fixture for more gradual lighting changes. Well, that's the plan, at least. LOL

I don't care what anyone else says that is cool. I may have missed it but what controller are you gona use to control the lights?
 
Well if it is DIY leds he is kind of limited between two controllers that can send a pwm signal. Reef angel and profilux both apex or rk will not work on what he wants his LEDs to do.


Sent from my iPhone using Tapatalk
 
Have you talked to any professional tank builders on making the front panel out of one piece of glass? They all think there is no issue there?
I am not a tank builder so I have no clue if it is or not, but I am curious on what they say. I love the tank you are designing this after just don't like that seem. Which I know you don't plan on having. I am just curious if the pros think it has to be 2 pieces.
 
What seam in the front panel? Oh, you mean in the side panels? No, shouldn't be any issue, I'm buying a single large pieces and having them cut on a CNC waterjet.
 
After getting a bunch of quotes from various electricians I finally went with Jeff Gray from Grayzer Electric LLC. Jeff and his apprentice just left here, and I've got to say I'm absolutely THRILLED with the quality of their work, their awesome price, and the speed with which it was all done. In less than an hour they had run the conduit outside, run the new circuits through the ceiling, into the wall, and installed the boxes and faceplates (I'm WAY oversimplifying all they had to do in order to get the circuits run). So, I now have all the electrical I should need for the tank (three dedicated 20amp circuits), woohoo! One step closer!
 
Okay, so one change to the overall design and specification of the tank... I've decided to go with the Reef Angel controller. Why, you ask? Well, let's see: DIY LED control... check. Vortech ES control... check (well, on the way). Dosing pump controls (and dosing pumps)... check. Open source for tinkering and really cool $#!*... check. Oh, AND it's cheaper than 99% of the other controllers out there? Yup, count me in!
 
Nothing really new, tank-wise, bdare, other than the electrical done yesterday, the flooring came in today (gotta swing by Lowe's tomorrow to pick it up). Gonna be a few weeks before anything comes from the metal fab shop, and a few weeks after that before the glass comes in. I'm going to wait until the frame is done before ordering the glass, that way I can base it on the actual dimensions for the cuts, rather than the projected ones. Measure twice, CNC once, if you will.
 
How thick of glass are you going?


Sent from my iPhone using Tapatalk
 
Oh, and on a (semi-) side note, if you're ever looking for a good primer when painting a room, Kilz is it. We used Kilz2 in the fish room, but then figured we'd just use the Valspar primer for our daughter's room, since we're not worried about any moisture in there. Bad idea. Coverage with the Valspar (which is actually a very highly-rated primer) is about 1/2 that of the Kilz. From now on, whether the room will see moisture or not, we're going to use Kilz for our priming needs.

Just opened up the vinyl plank flooring we special ordered from Lowe's and it's PERFECT. Looks great in the room, we can't wait to get the carpet up and put the "wood" down!
 
Nice design! FYI on frame, I had mine built by a fence company in celina. Also out of 2" steel tube and they even did a black powder coat. One tip I can give is to add heavy duty leg levels when it's being welded together.

http://www.iec-corp.com/pdfs/heavy_duty.pdf

My tank is a 525 acrylic and I used 6 of the heavy duty post levelers. When setting up the tank it worked out since floors were not level. Going this route will save you from trying to wedge your tank to be level.

-fruny
 
Yes consider floring first. In my case I'm on first floor where it's concrete and then wood laminate flooring. So far no impression on the floor, and it's been setup since jan 2008.

If your flooring is in wood joist, then I probably wouldn't go with leg levels.
-fruny
 
Yes consider floring first. In my case I'm on first floor where it's concrete and then wood laminate flooring. So far no impression on the floor, and it's been setup since jan 2008.

If your flooring is in wood joist, then I probably wouldn't go with leg levels.
-fruny
 
Yeah, part of the reason I chose this flooring is because when the weight of the tank does squeeze it (and I have no doubt a few thousand pounds will do that) I can easily replace the planks that are damaged. I really can't wait to put it down in the room, it looks great.

Oh, and as for the type of subfloor, it's concrete slab.
 
Some work in progress pics:

The room as it stands tonight. Got the photo print from Kodak today (20"x30" Pro-Print on metallic paper), got the materials to put together the frame and matting, and put it all together and hung it. We still need to get the smaller frames, possibly tomorrow. Pardon the mess, like I said, it's still a work in progress.
Fishroomlarge3.png
alt="">

Some of the vinyl planks. Don't worry about the drips on the floorboards, they're all getting torn up and replaced when we put down the new flooring.
Fishroomlarge2.png
alt="">

The photo lit by the LED light fixture. Looks fantastic (much better than in the photo) in person, almost 3D in appearance. Definitely glad we sprung for the metallic printing.
Fishroomlarge.png
alt="">

We also FINALLY (as you can tell from the first pic) found some drapes we liked. Just need to get the steamer out and steam out the wrinkles and we'll be set as far as that goes. Slowly but surely, the room is coming together...
 
So, as the title says, finally got the floor done and super pleased with how it turns out. Wendy grew up in the flooring business (her parents owned a flooring company) and even she was amazed with how it looks. Now to just find some baseboard I like and put that in, and the room portion of the build is done!
Fishroomlarge31.png
alt="">
Fishroomlarge32.png
alt="">
Fishroomlarge33.png
alt="">

Now, on a (semi) side note... Wendy and I have been talking about putting together a little pico/nano for our son Tito's room. I played around with the idea, and thought, "Hey, why not make a scale version of the big tank?" So, voila!
SmallTank.jpg
alt="">
Just need to pick up some 1"x2" for the stand and some 1/4" acrylic for the rest, and we're in business. Hopefully I can put it together this weekend, or at least start on it. I found some great little LED strips that will work perfectly for lighting it, and a great DIY for a pico skimmer, and Hydor makes some great little nano pumps and powerheads that will fit perfectly. Overall size (including stand) is 24"L x 12"W x 18"H.
 
Top