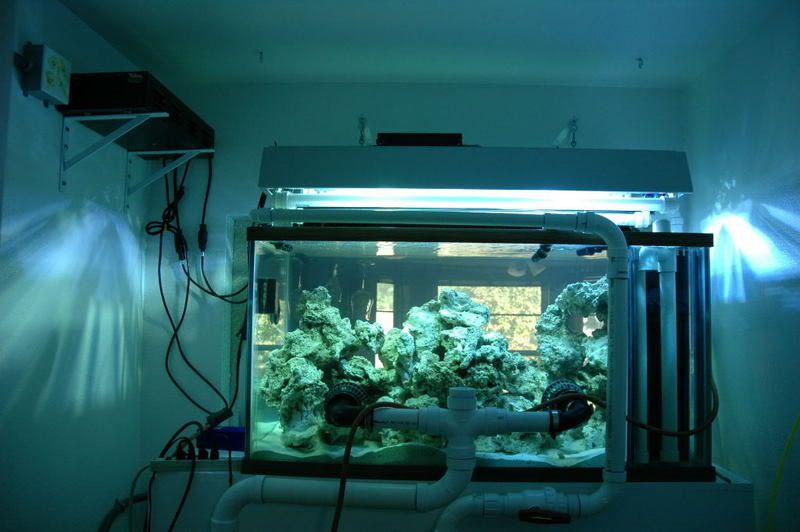
I have been at this project for a while now and decided since it is up and running I would like to share it with the rest of the group. I have to blame Marc for this build because after helping him move his 280 I had to have a seperate room to house the equipment, heat , humidity, and noise not to mention I have a two year old into everything.
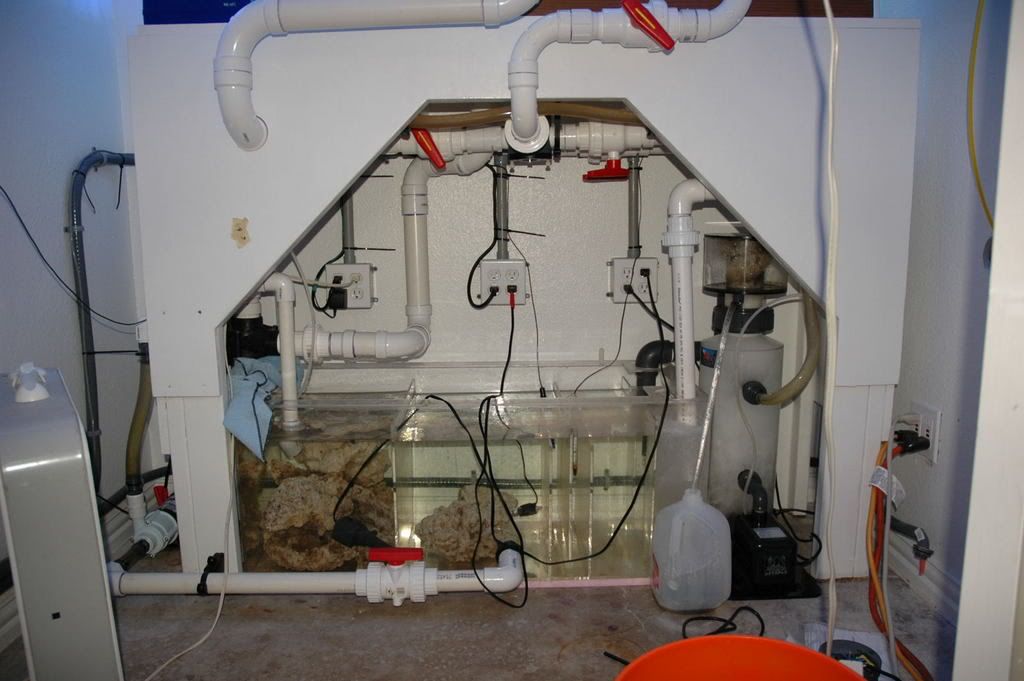
I started by having to relocate my water heater to make room for the tank and stand, then had to cut an opening in a load bearing wall. Next was sheet rock and tape and bedding. Then painted the inside of the room with a high gloss epoxy to help with the humidity.
 alt="">
 alt="">
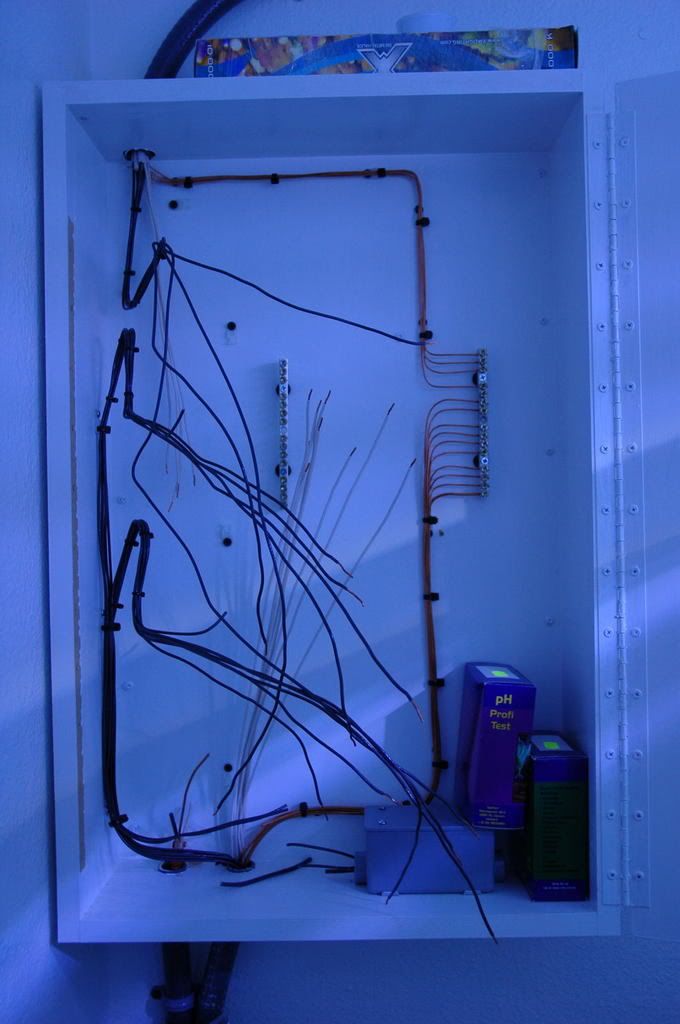
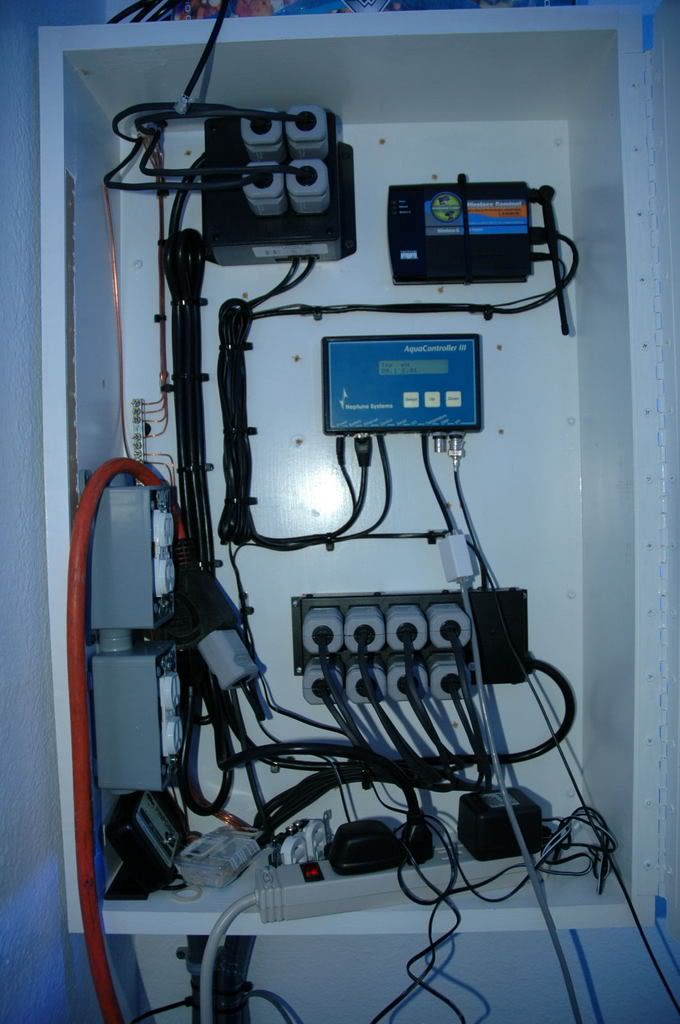
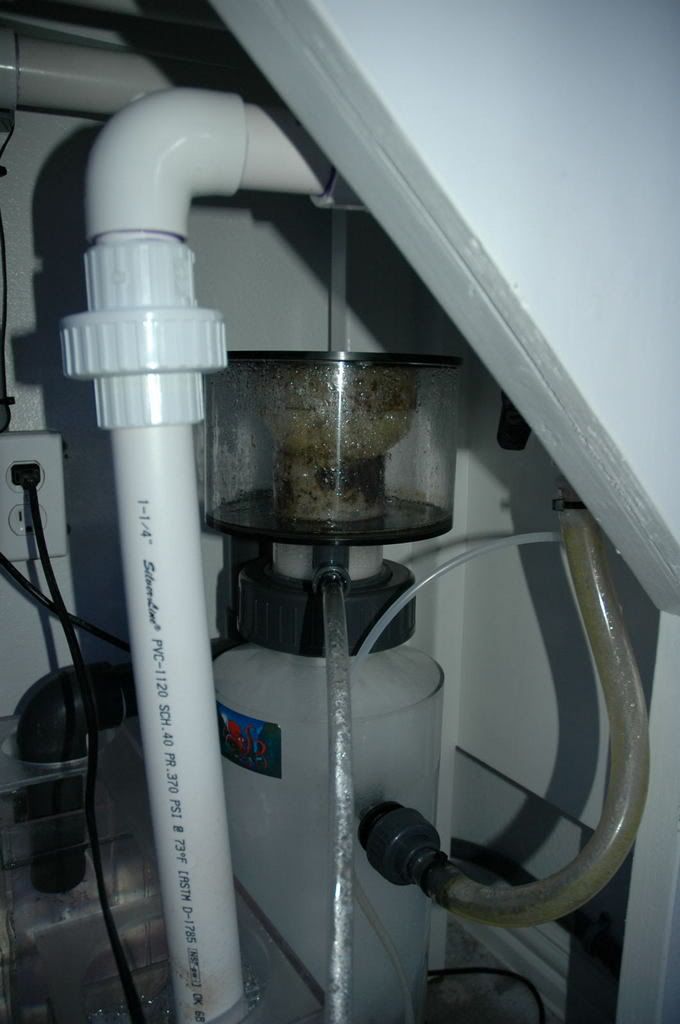
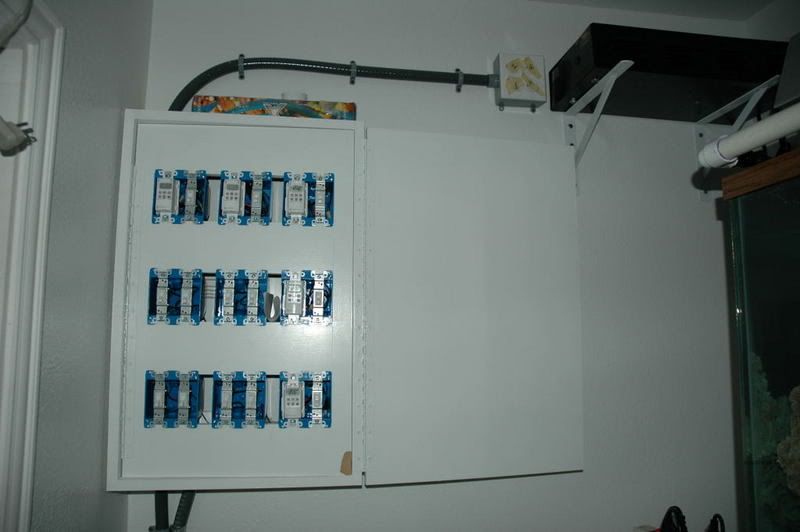
I wanted to keep the power cords clean and neat so I ran outlets from a switch box to controlled outlets layed out to power certain peices of equipment close to its respective outlet. I got a little ahead of my self and now making changes to house a dc8 and dc4 fro a neptune controller.
 alt="">
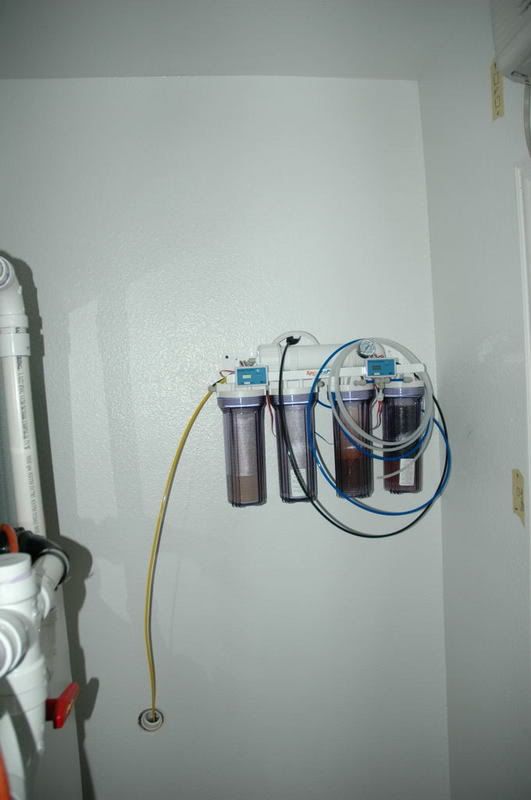
I still need to build a auto topoff, I have enough acrylic left from building the sump and have always thought the weatherson chamber was a very cool way to keep the sump topped off. I just need to get the parts ordered and acrylic cut. I will mount it on a shelf above the RO/DI unit so I have clean source of water and a near by drain for an over flow in case of emergencies.
 alt="">
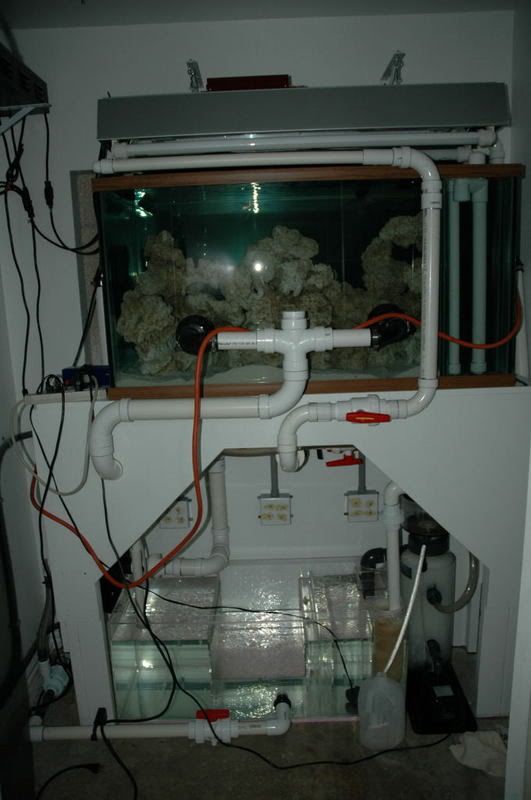
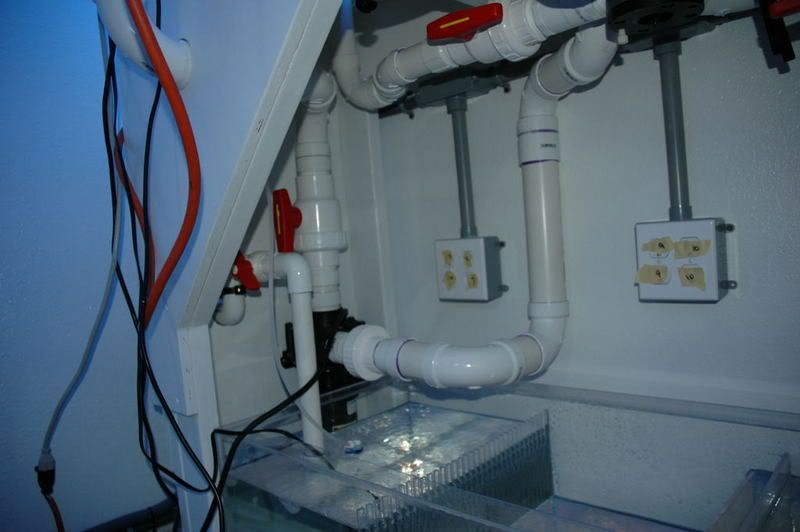
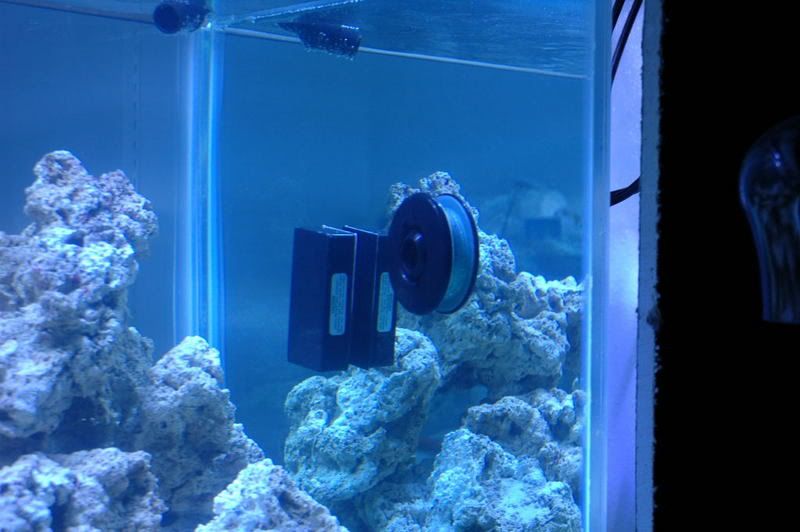
I drilled the tank for a closed loop using an oceansmotions 4 way and a Sequence dart for the bulk of my flow in the tank. I am having a few issues with this. One I drilled the intakes to close to the sand bed and the 4 way is easily locked up with sand, but it is easy to drain and disassemble. I have the drum that opens one port at a time now and it is just too much flow for one jet, I will be ordering the drum that opens two ports and that should solve my sand blowing troubles. On the outputs of the 4 way I have two jets on each end of the tank and split the other two outlets with lockline fittings giving me a jet at each corner of the tank.
 alt="">
 alt="">
 alt="">
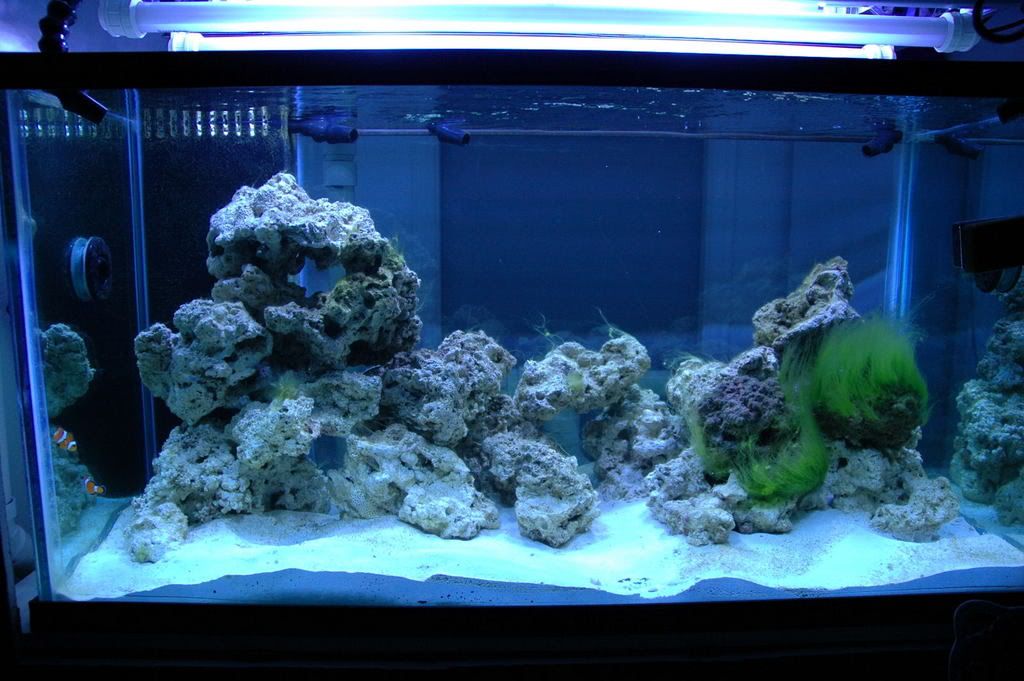
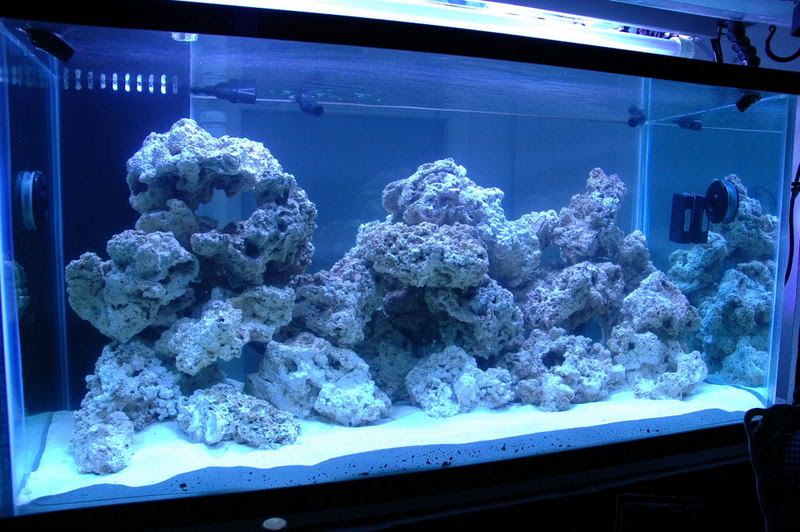
I also still need to trim out around the tank so we can stop being blinded by the 400 watt bulbs.
 alt="">
 alt="">
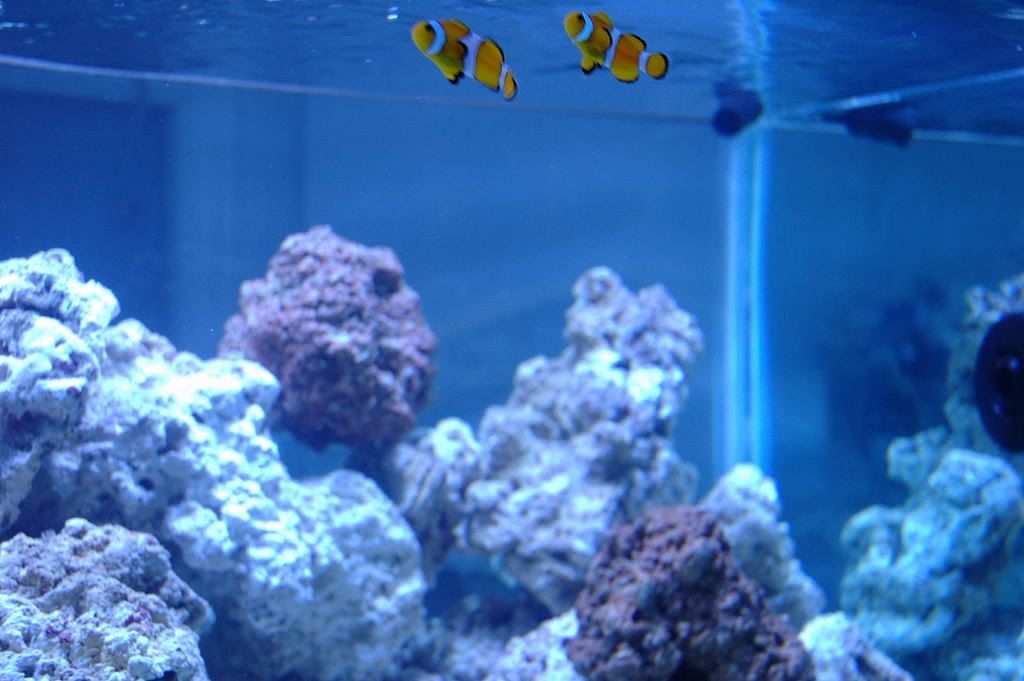
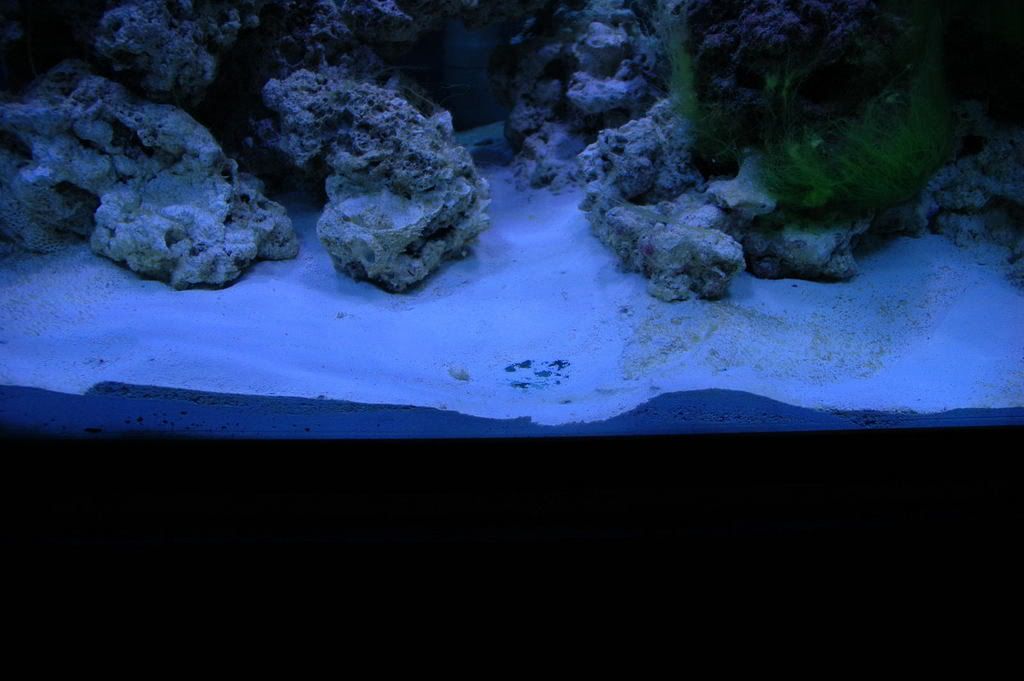
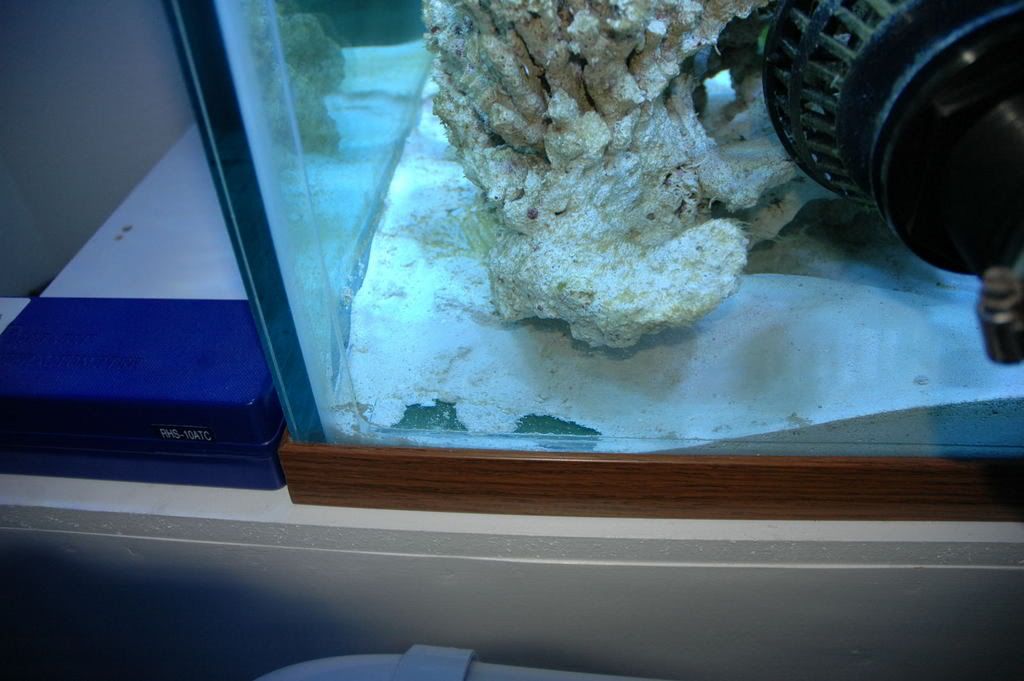
The pictures are a little blue-er than real life but I got tired of fighting with my white balance settings.
Thanks for looking and comments, suggestions are appreciated.
Sorry for the crooked pictures, but I m too lazy to retake them.
I started by having to relocate my water heater to make room for the tank and stand, then had to cut an opening in a load bearing wall. Next was sheet rock and tape and bedding. Then painted the inside of the room with a high gloss epoxy to help with the humidity.
I wanted to keep the power cords clean and neat so I ran outlets from a switch box to controlled outlets layed out to power certain peices of equipment close to its respective outlet. I got a little ahead of my self and now making changes to house a dc8 and dc4 fro a neptune controller.
I still need to build a auto topoff, I have enough acrylic left from building the sump and have always thought the weatherson chamber was a very cool way to keep the sump topped off. I just need to get the parts ordered and acrylic cut. I will mount it on a shelf above the RO/DI unit so I have clean source of water and a near by drain for an over flow in case of emergencies.
I drilled the tank for a closed loop using an oceansmotions 4 way and a Sequence dart for the bulk of my flow in the tank. I am having a few issues with this. One I drilled the intakes to close to the sand bed and the 4 way is easily locked up with sand, but it is easy to drain and disassemble. I have the drum that opens one port at a time now and it is just too much flow for one jet, I will be ordering the drum that opens two ports and that should solve my sand blowing troubles. On the outputs of the 4 way I have two jets on each end of the tank and split the other two outlets with lockline fittings giving me a jet at each corner of the tank.
I also still need to trim out around the tank so we can stop being blinded by the 400 watt bulbs.
The pictures are a little blue-er than real life but I got tired of fighting with my white balance settings.
Thanks for looking and comments, suggestions are appreciated.
Sorry for the crooked pictures, but I m too lazy to retake them.