Finally a build thread for my 295 gallon. Pic intense.

Well my wife wanted to move closer to work. The 2.5 hours a day in the car was wearing on her. I said ok as long as I had a place to put a tank. Preferrably in the wall. Well with the unstable market and having a home for sale in a neighborhood with new homes still being built we finally sold our old home. What a relief to not have two mortgages to take care of.
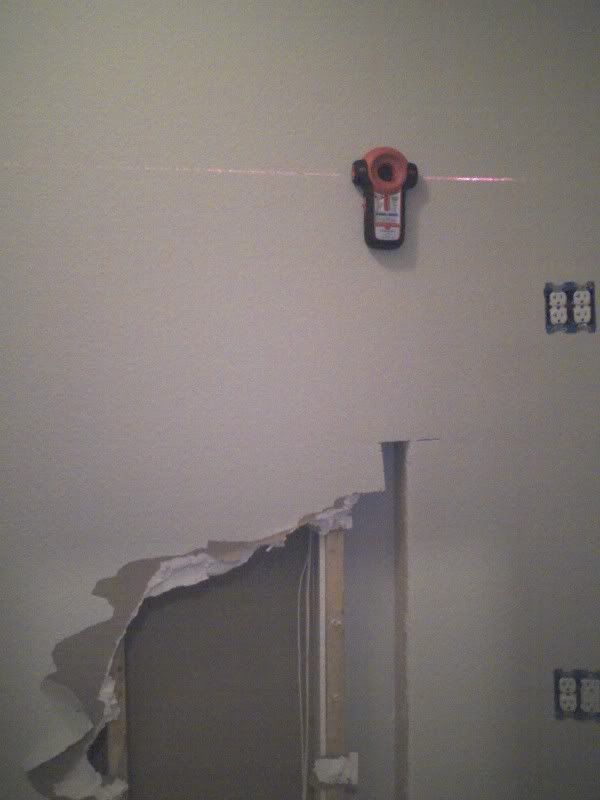
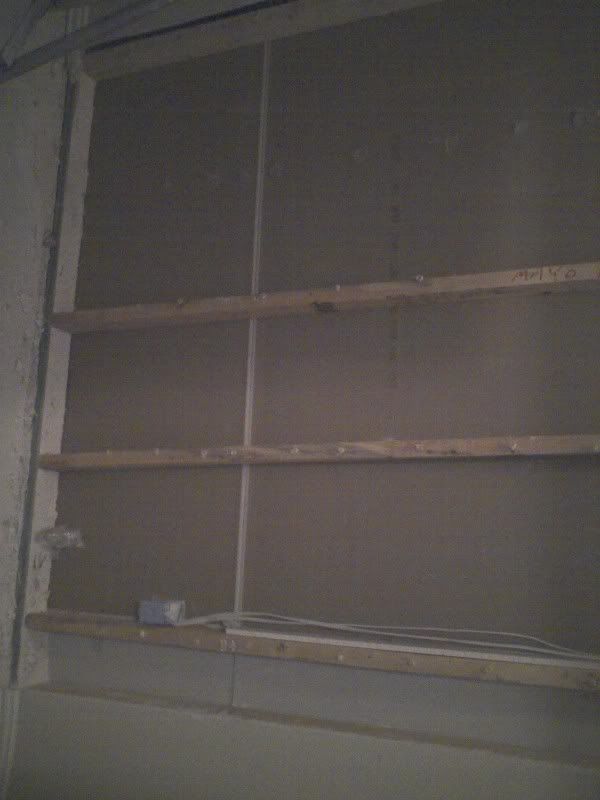
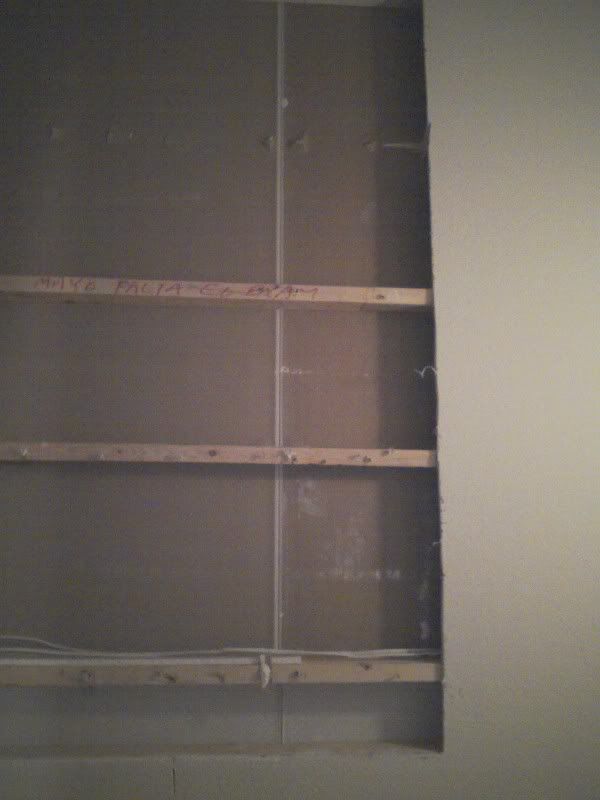
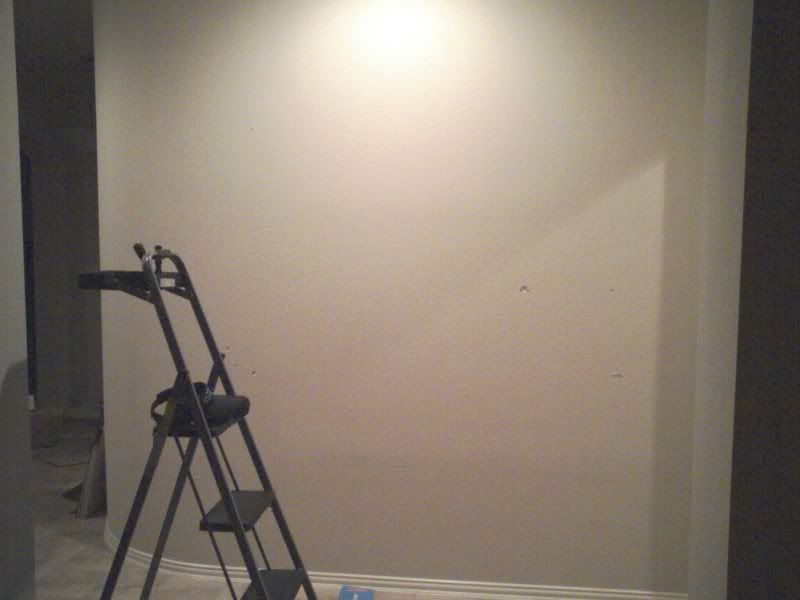
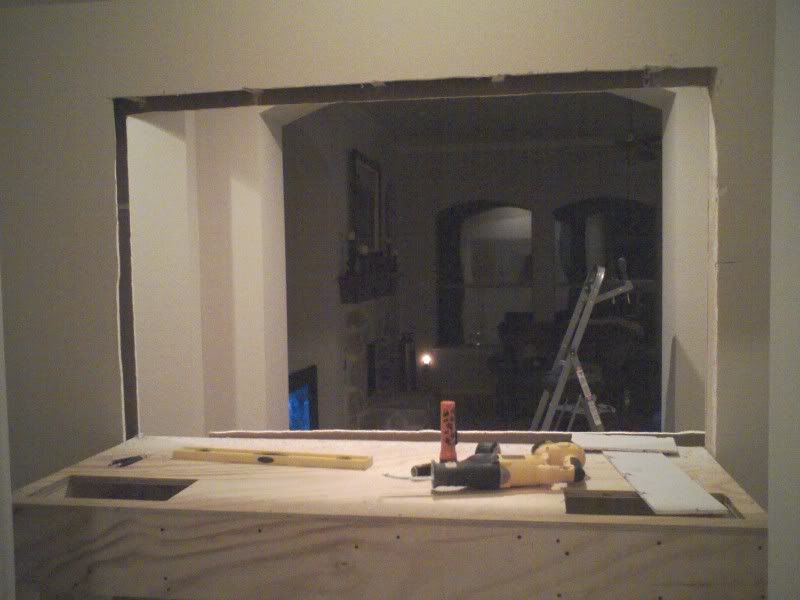
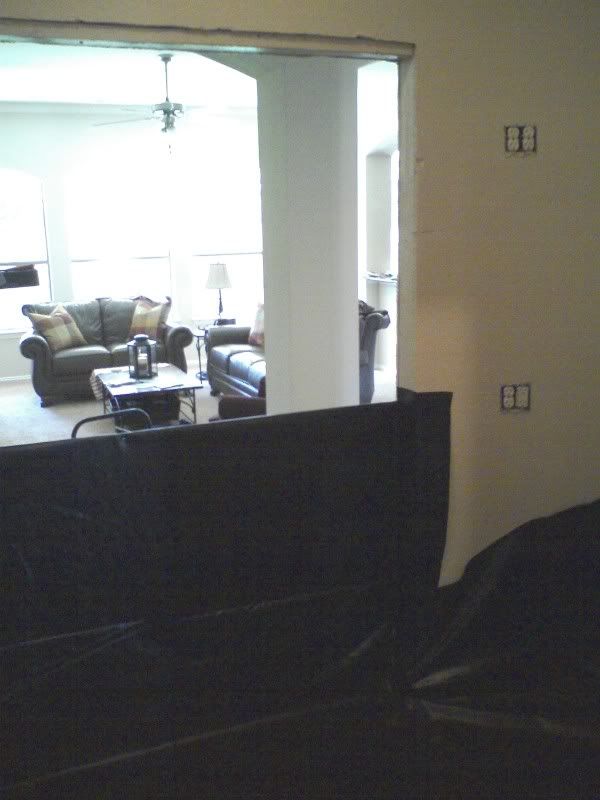
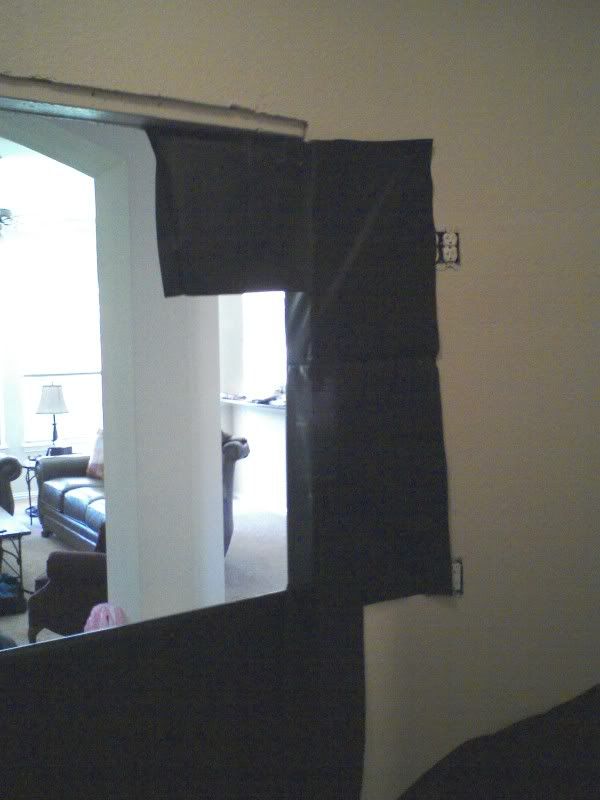
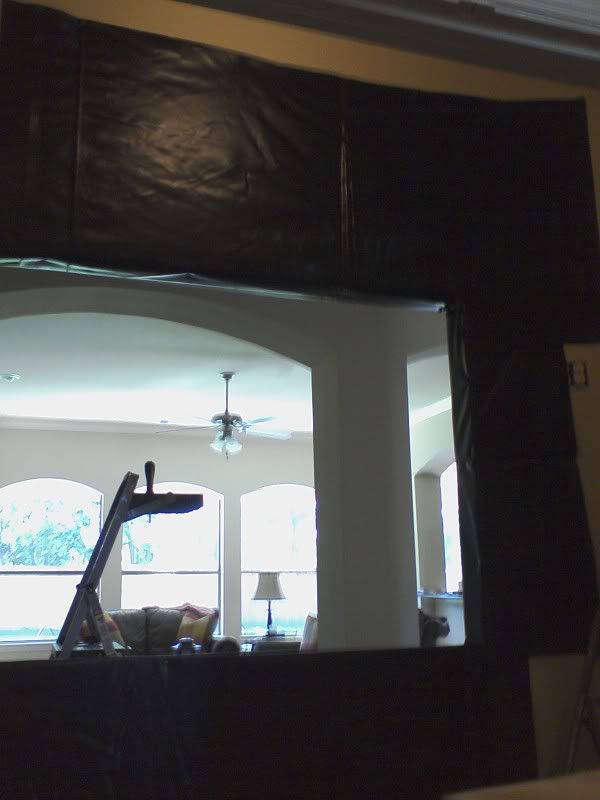
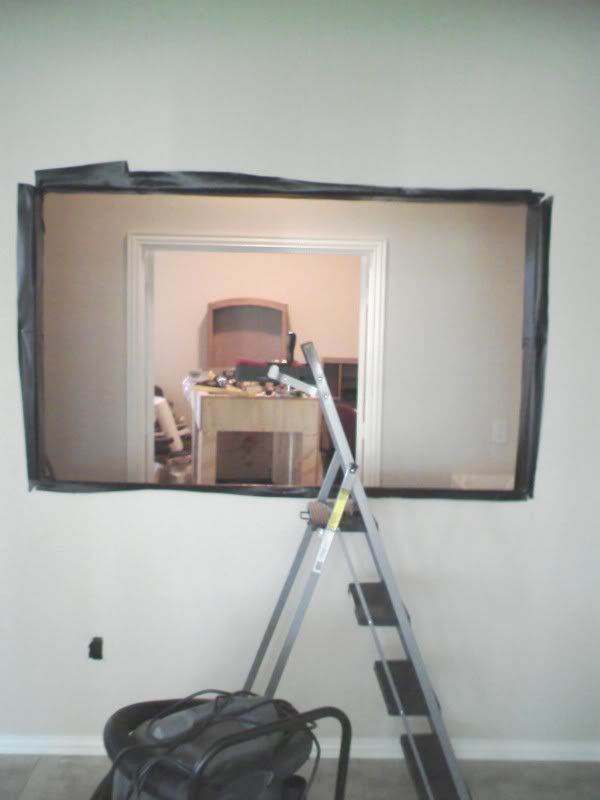
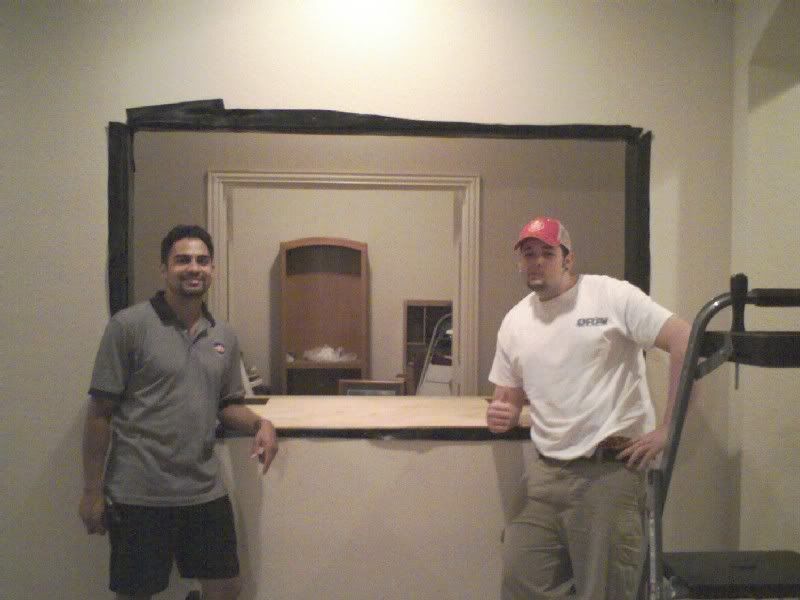
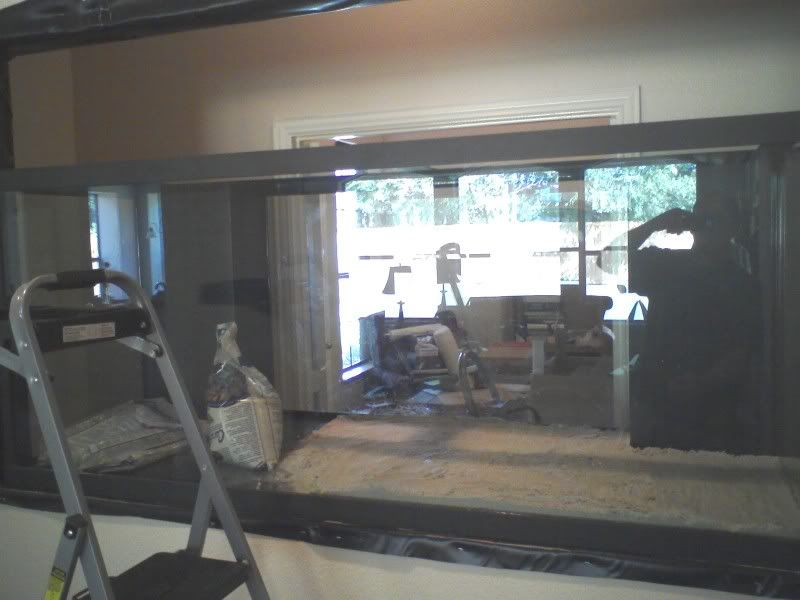
We built our home from scratch so I was able to plan on an in wall tank. I extended a closet to give more room behind the tank. I also had a beam header put across the tank viewing wall so that I could knock out any studs on that wall that I wanted to. I had a sink installed so that I could easily clean stuff up without walking through the house with something wet. I wanted to have a floor drain installed but builder wouldn't do it so I had to come up with another plan to show later.
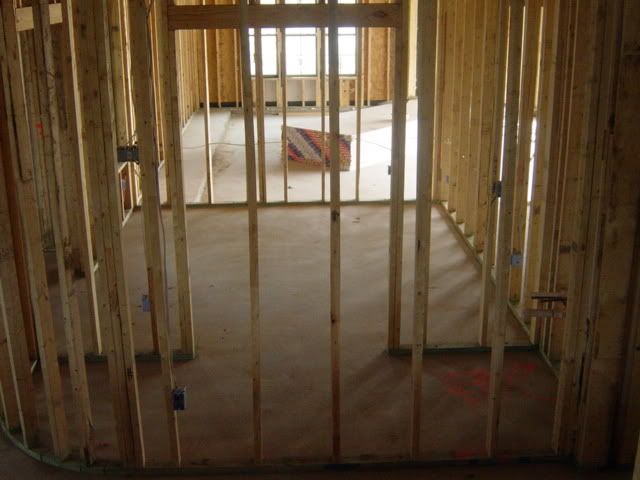
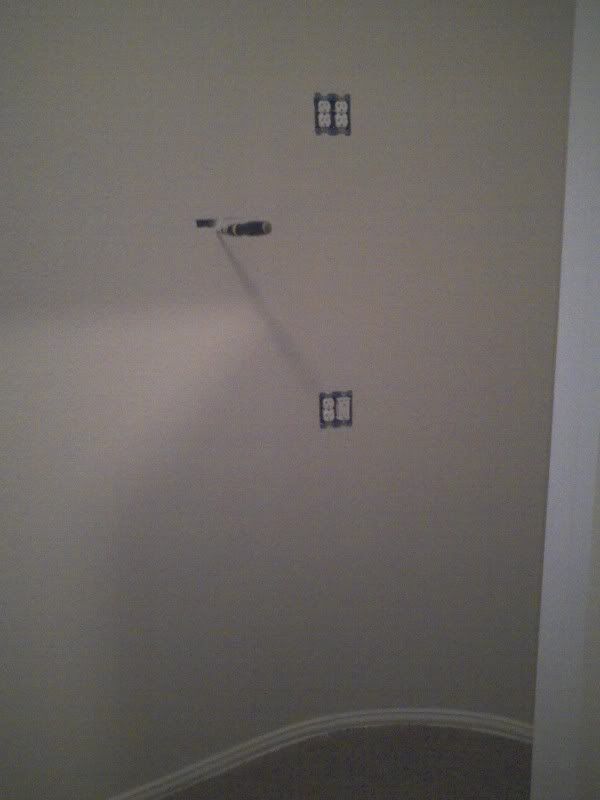
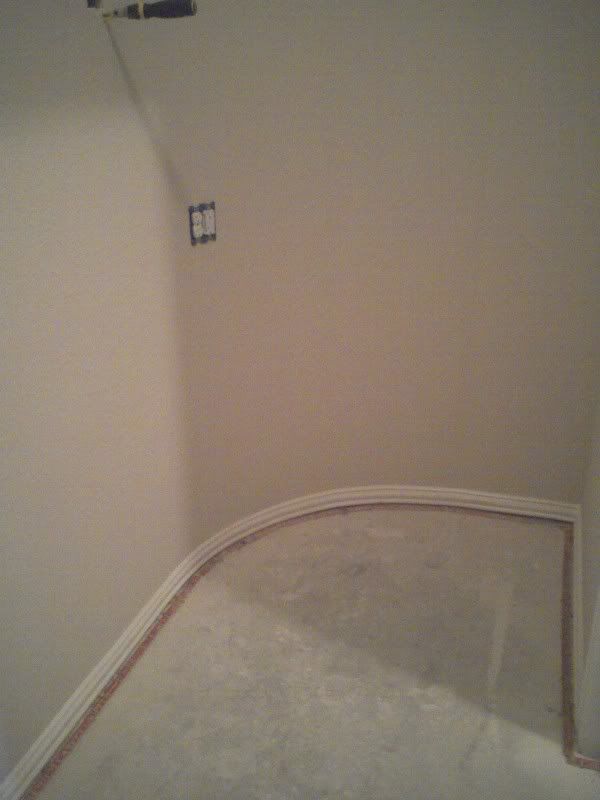
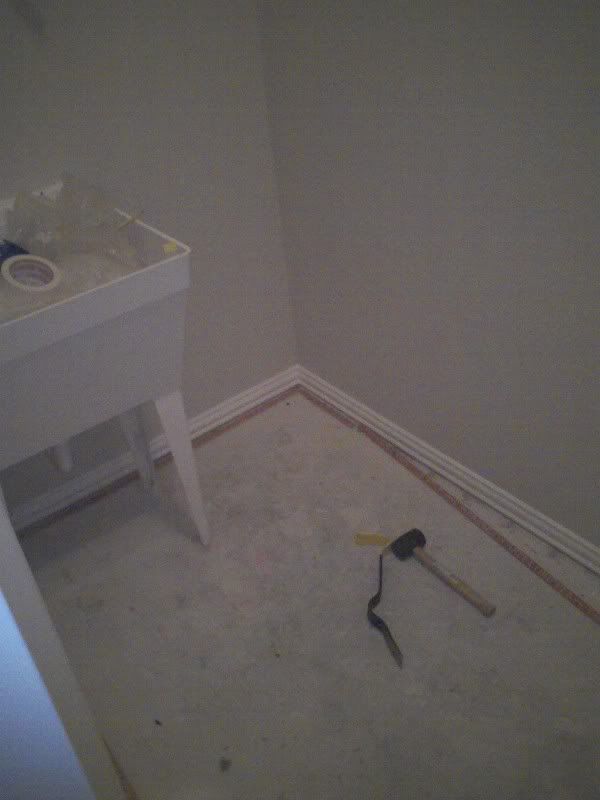
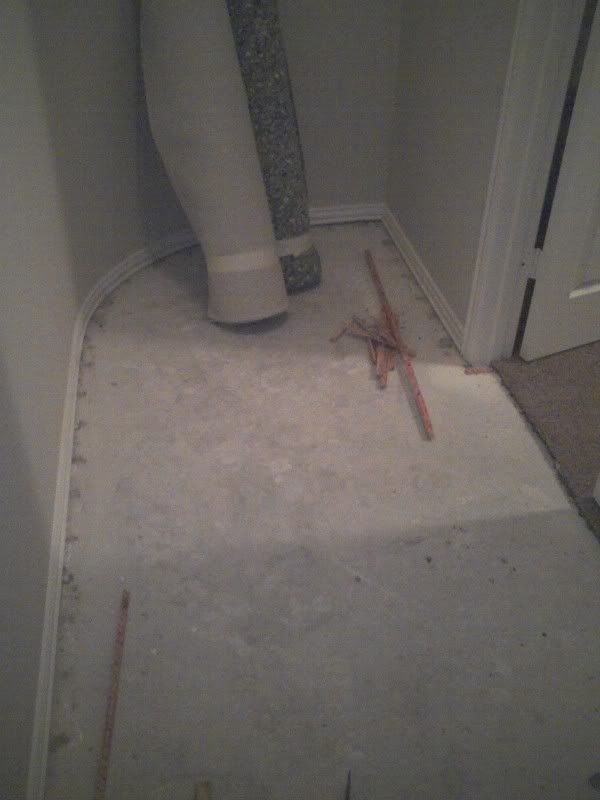
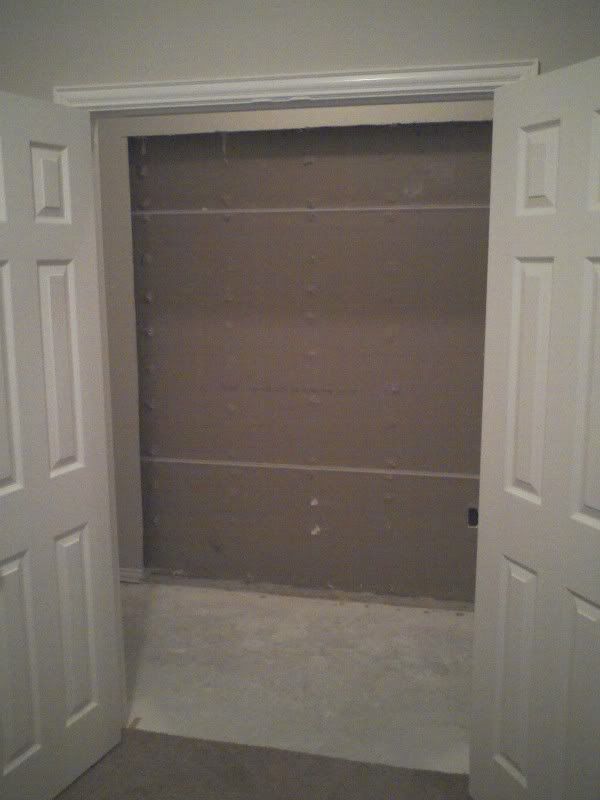
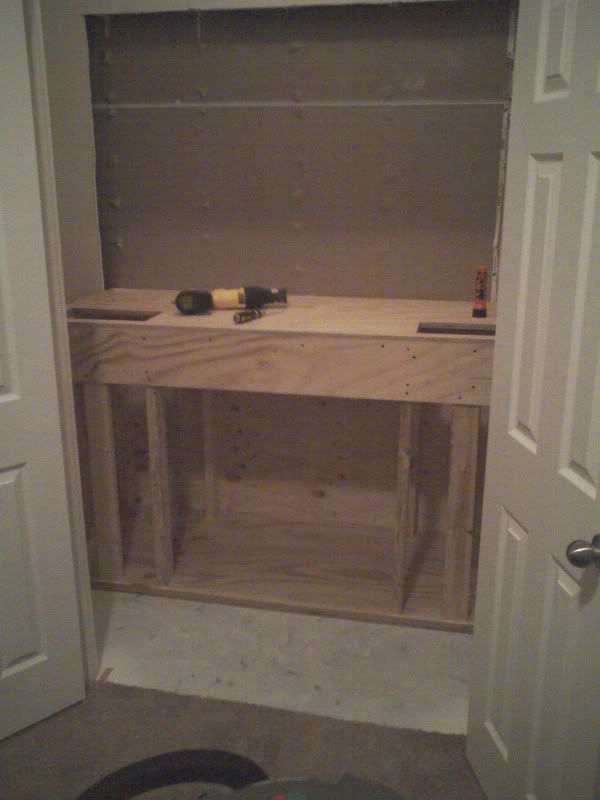
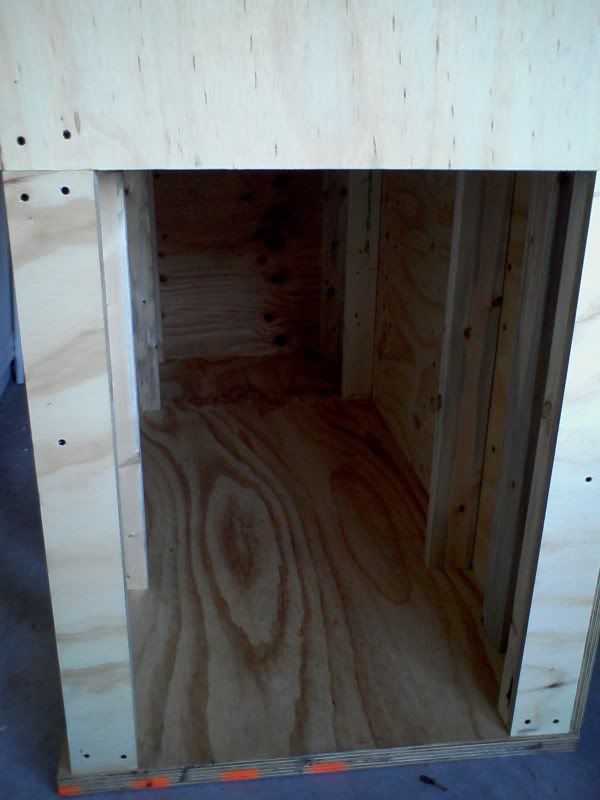
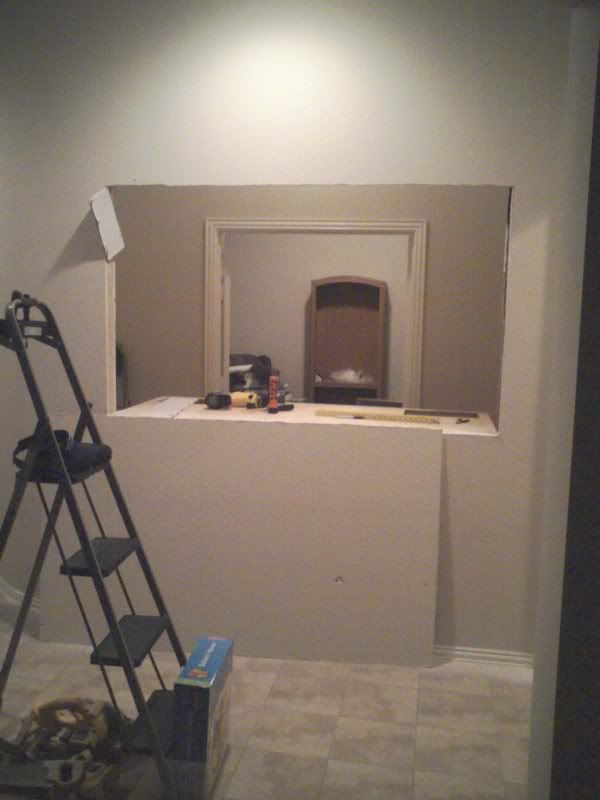
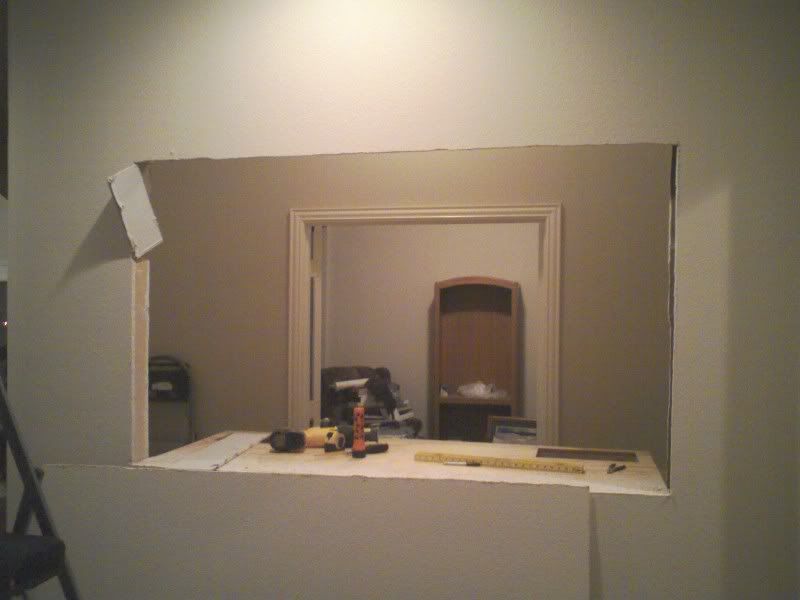
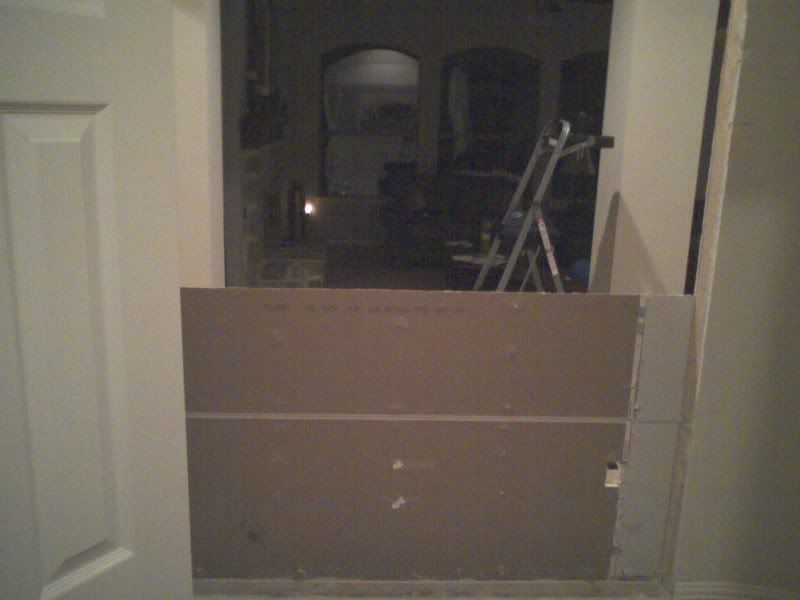
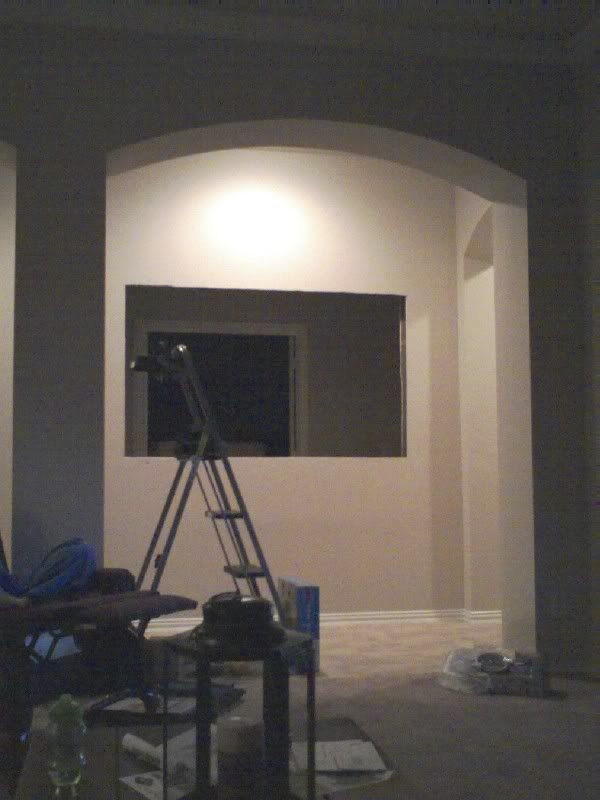
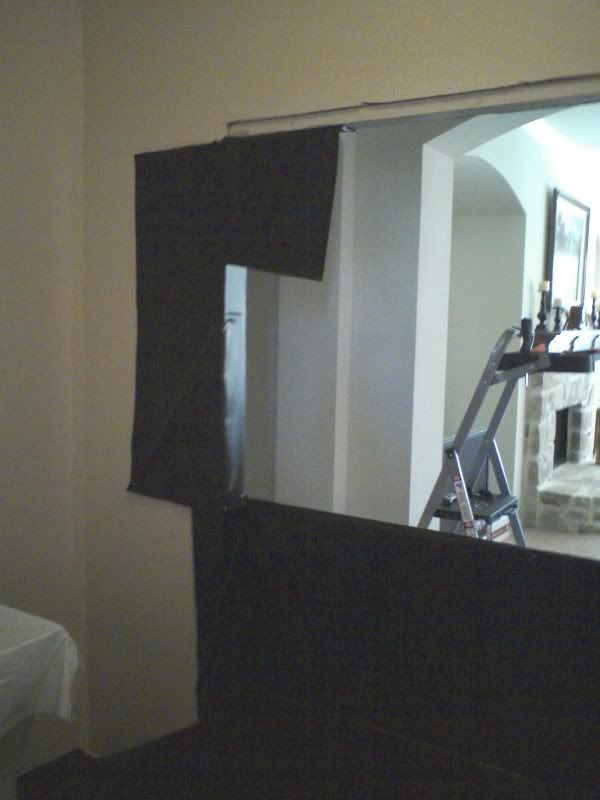
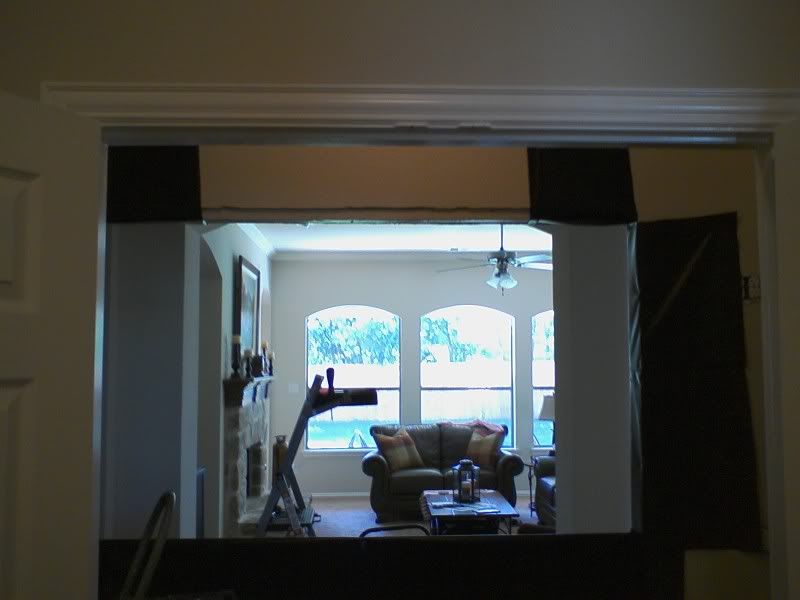
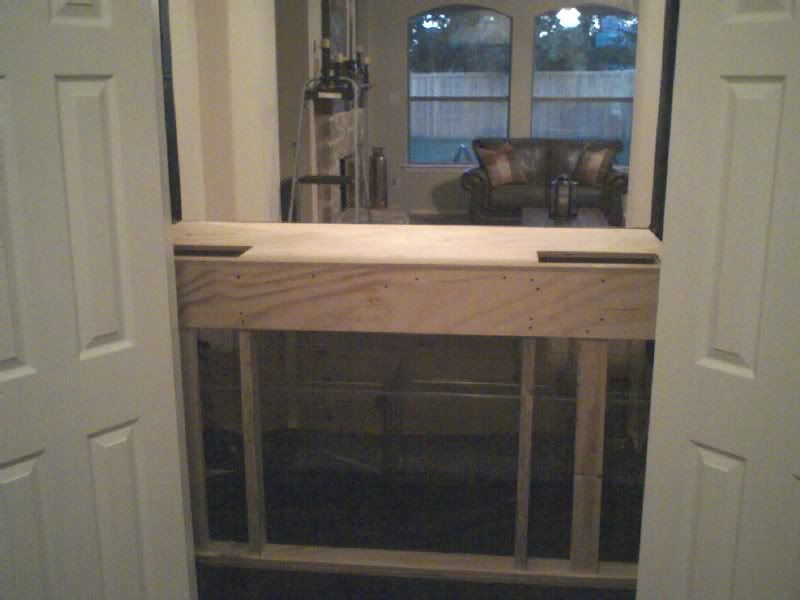
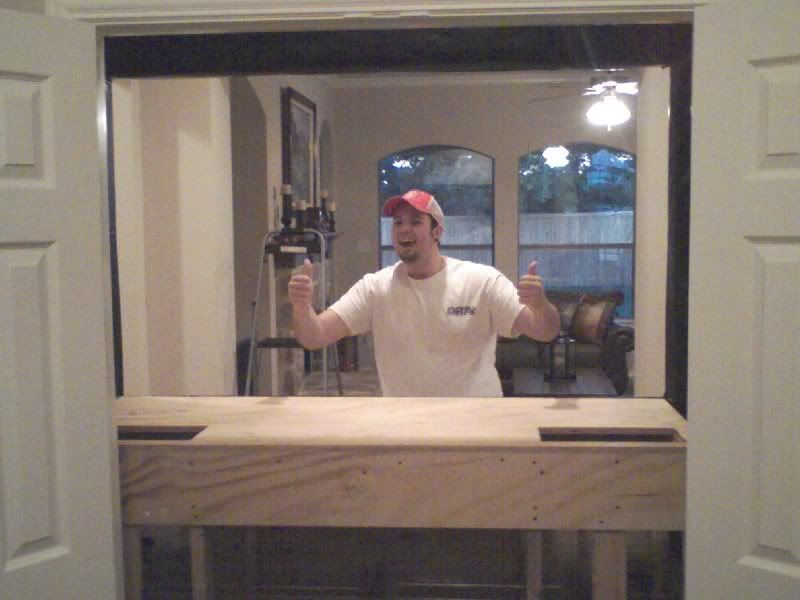
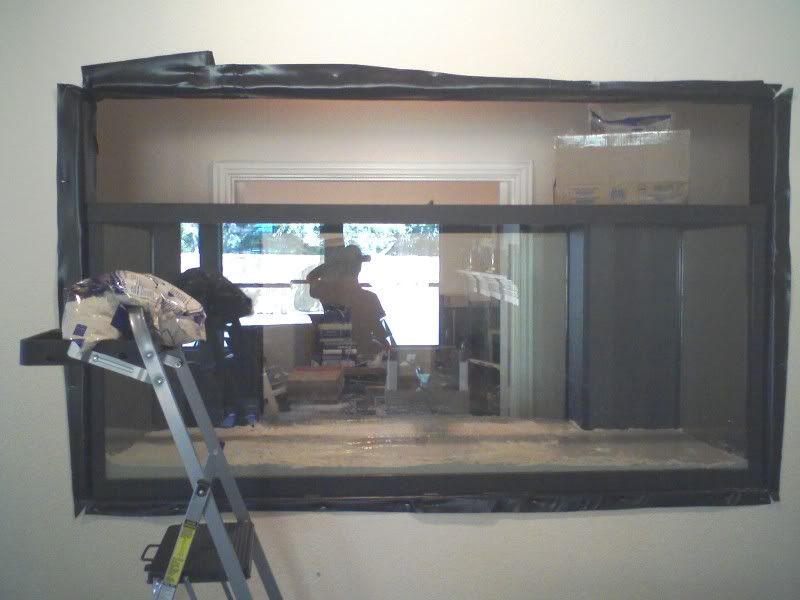
Here is the room during rough plumbing. As you can see there is double doors leading into the fish room leaving plenty of room to move in the big tank and stand. The fish room is 11' x 4' with one ending having a bullnose that kind of takes up some of the space.
DSC02717.jpg
alt="">
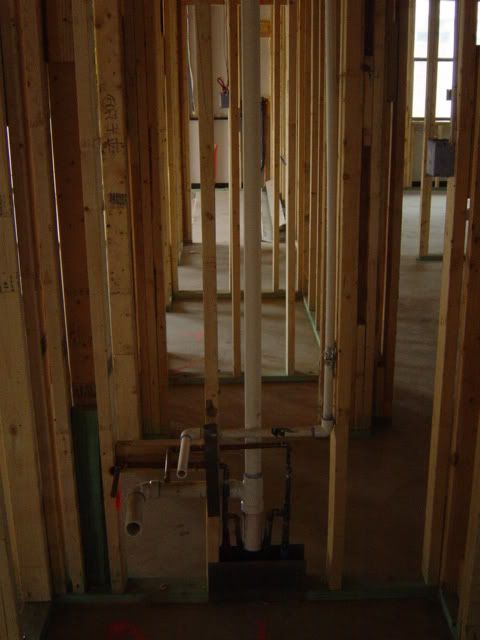
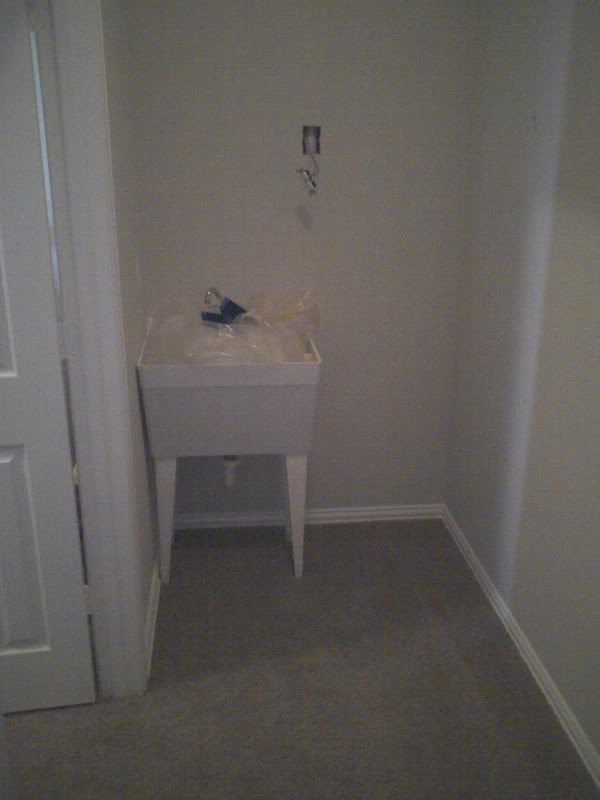
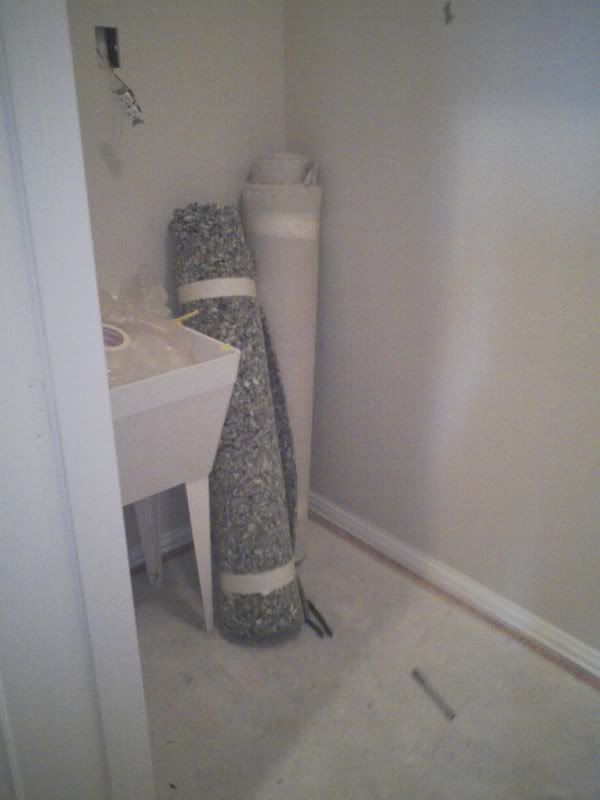
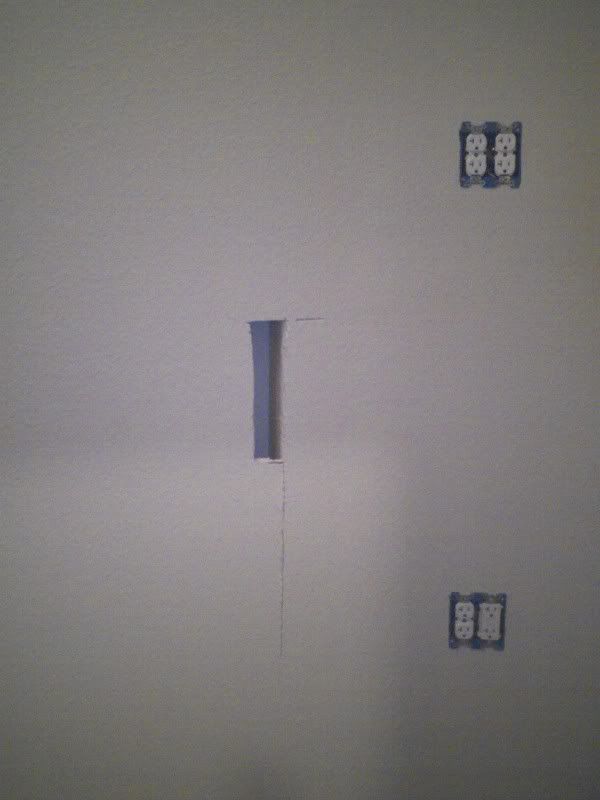
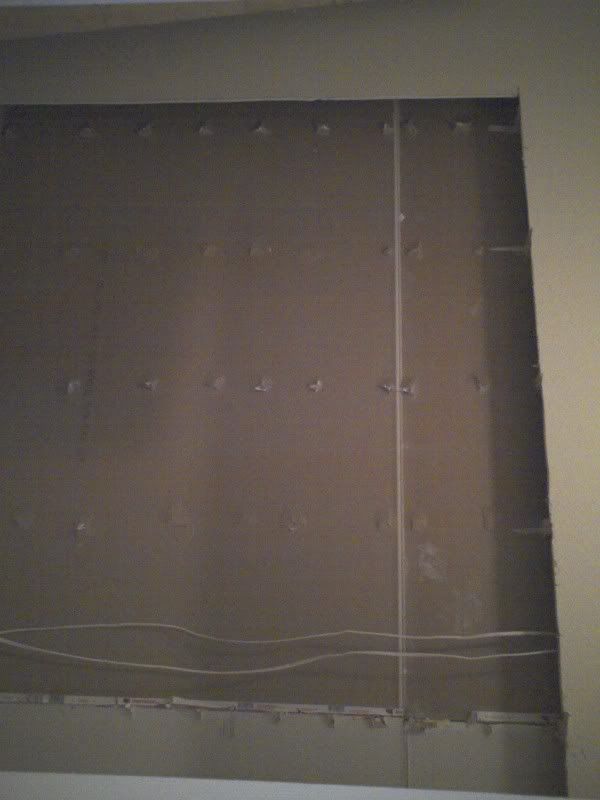
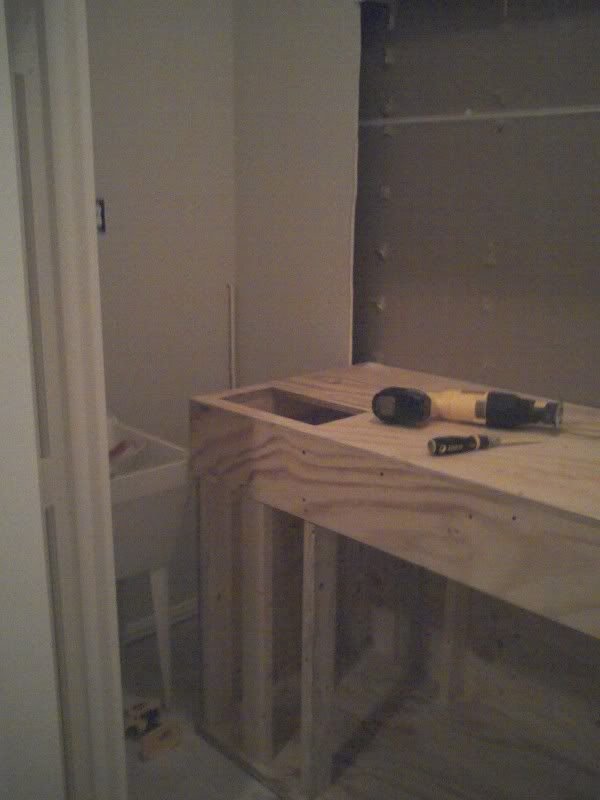
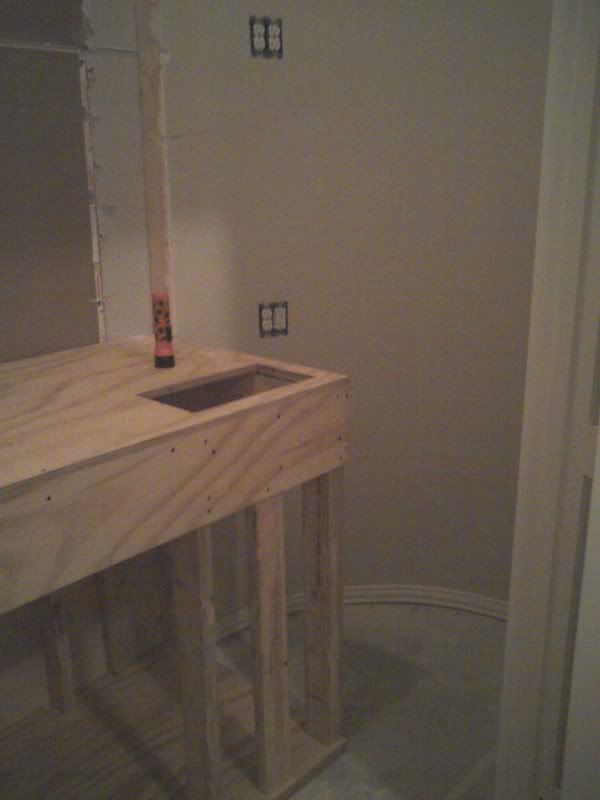
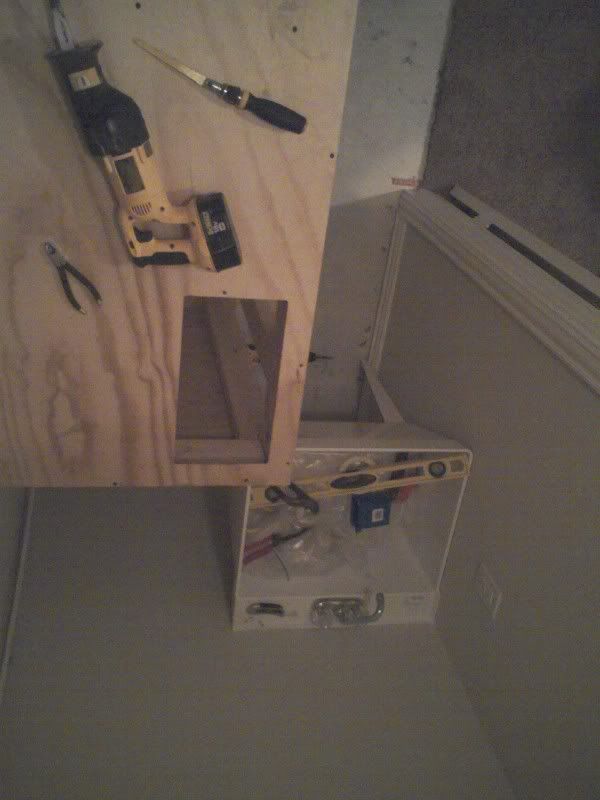
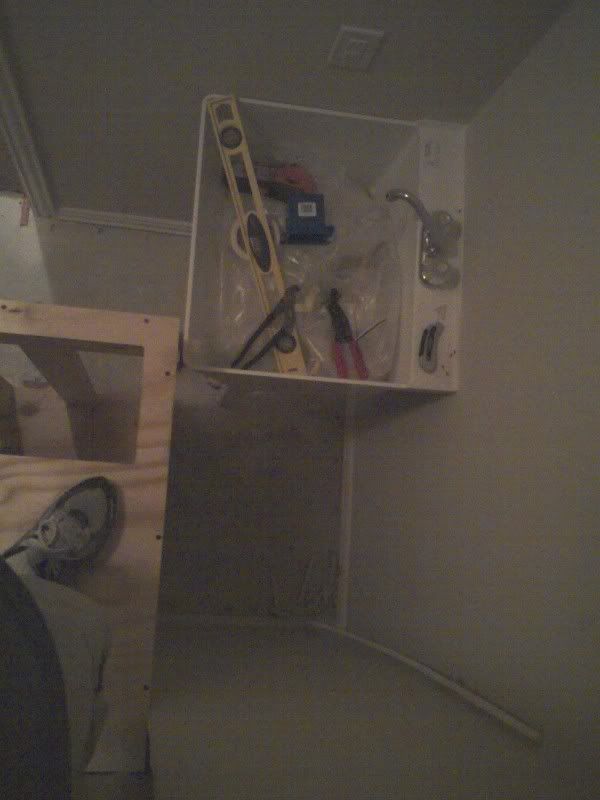
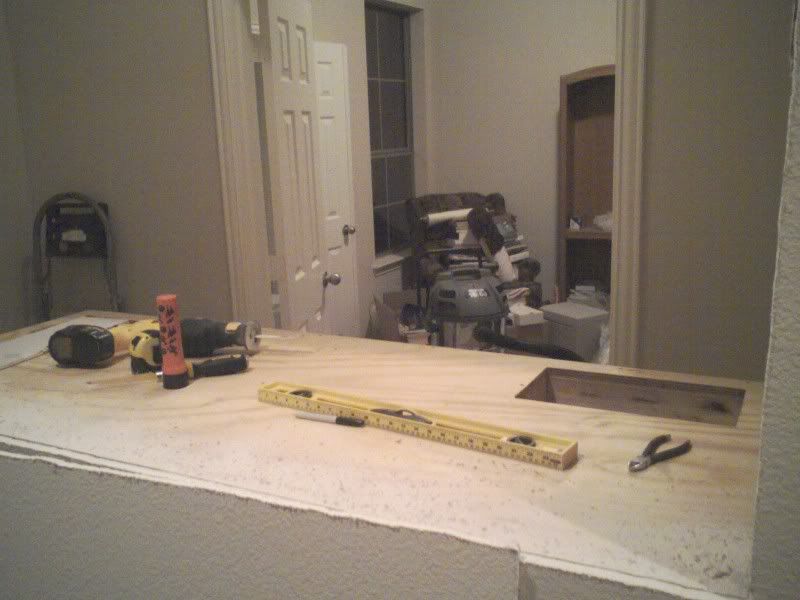
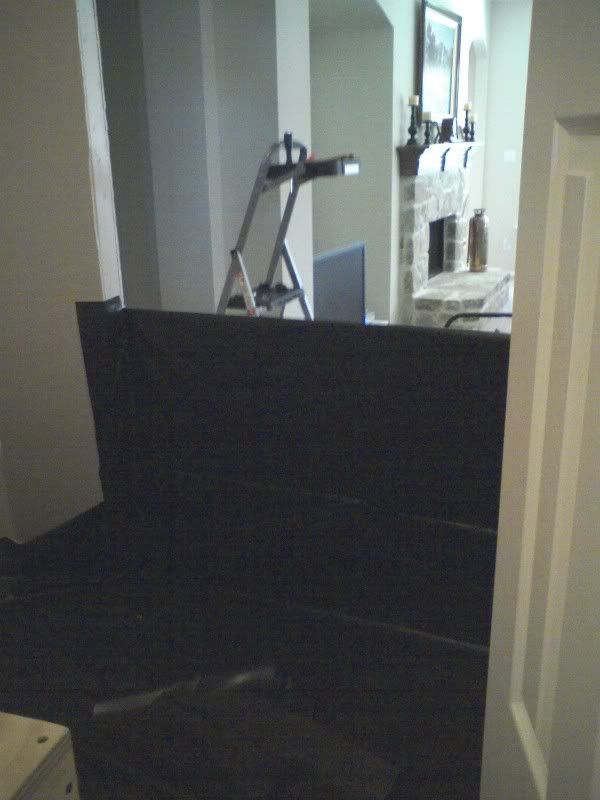
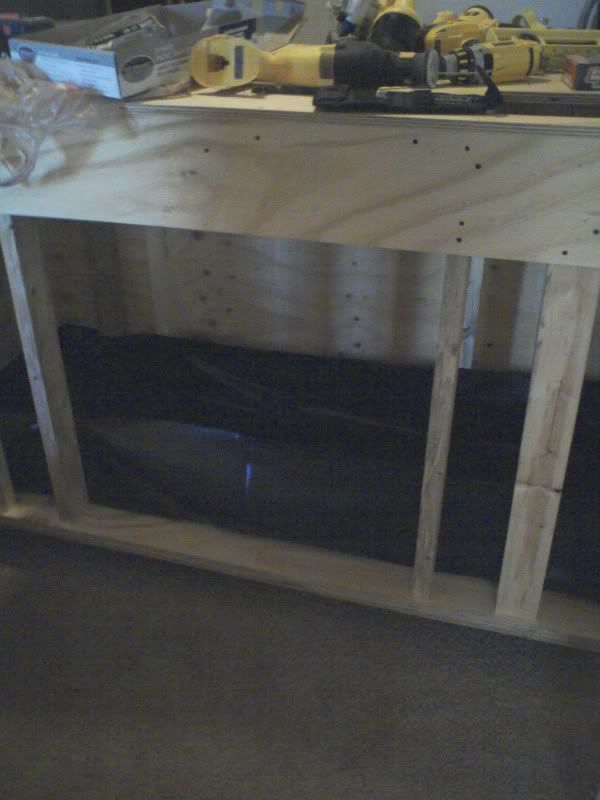
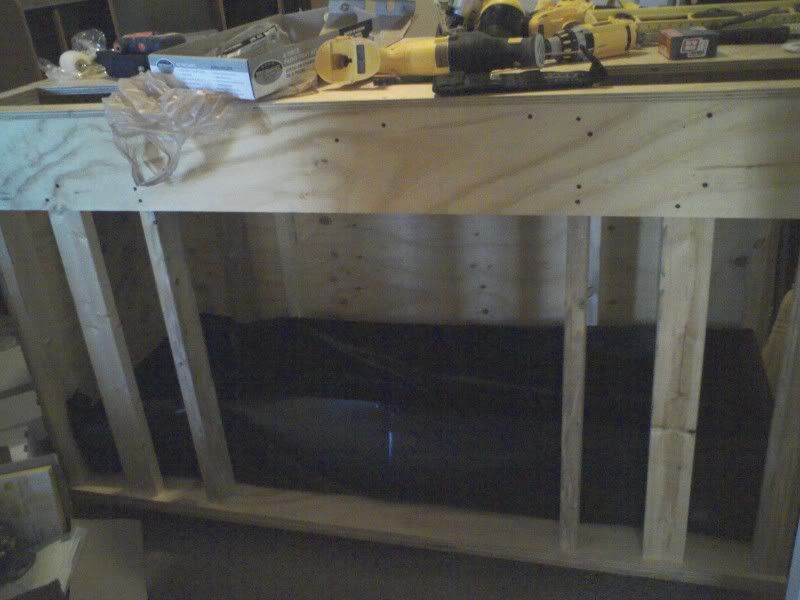
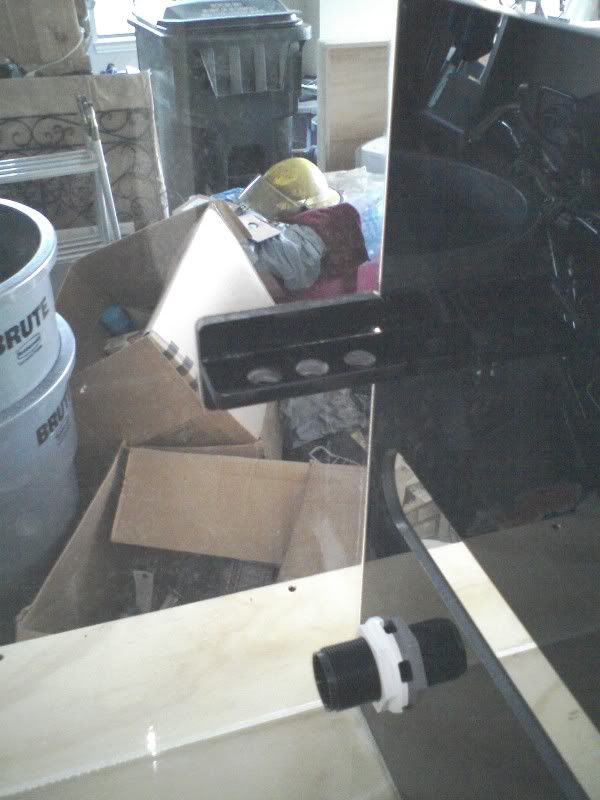
And the rough plumbing for the utility sink.
DSC02718.jpg
alt="">

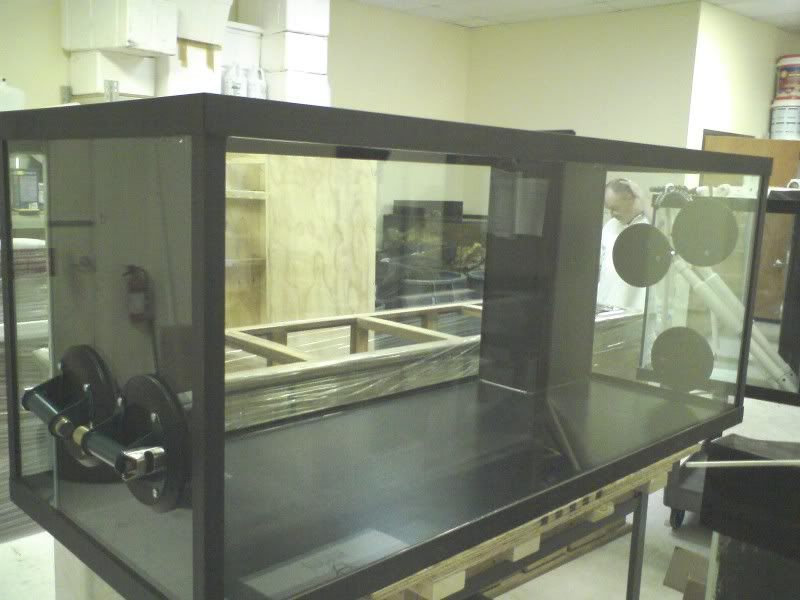
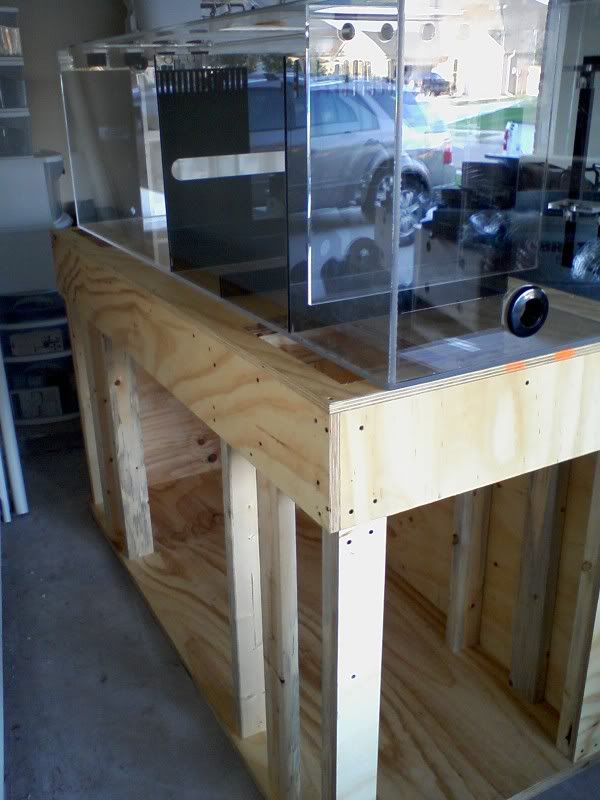
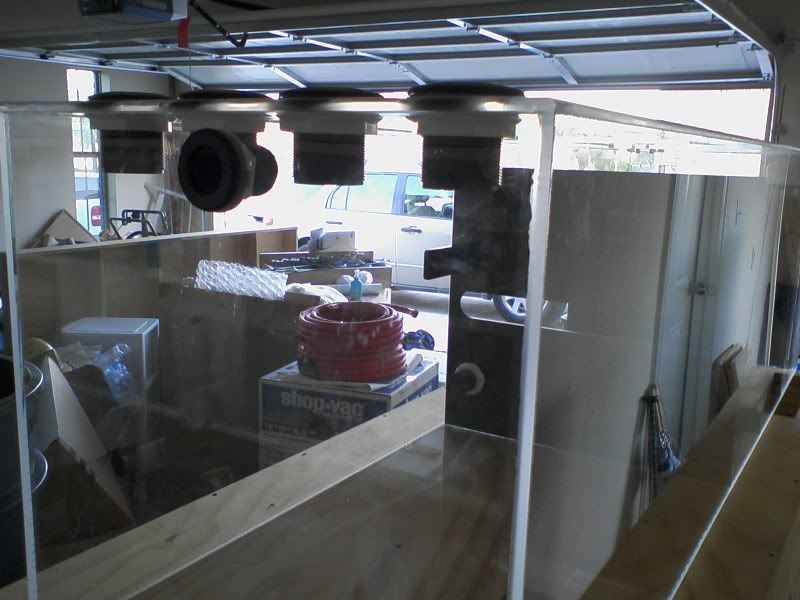
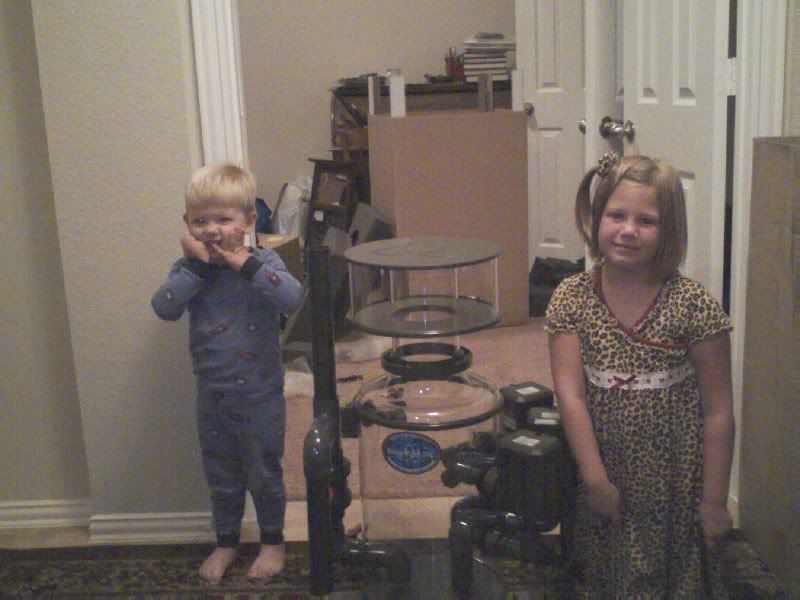
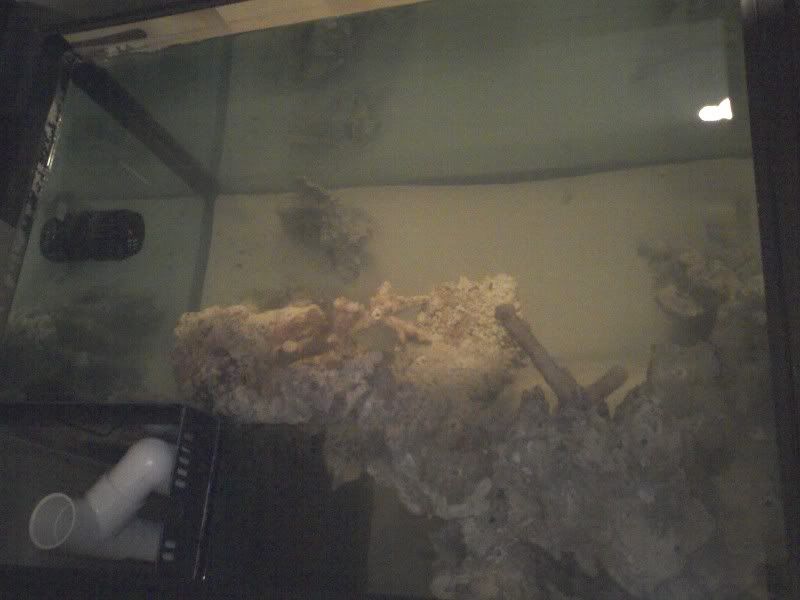
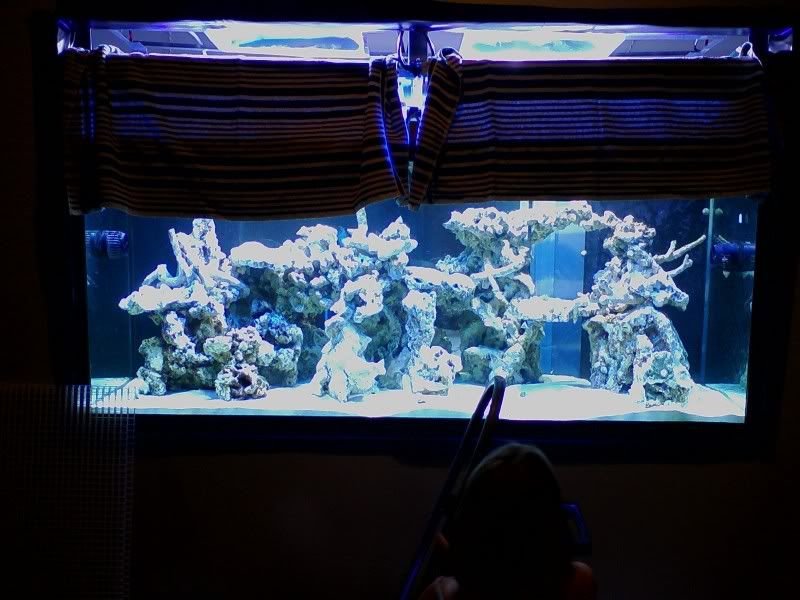
This has been a long build and still plenty to be done. It started pretty much in August of 2007. I got the tank on August 17th. It is custom built by Deep Sea Aquatics. They are the former custom tank builders from Oceanic that split off and made their own company instead of moving up north to Oceanics new location. I think they like the weather in Texas better. I picked this company cause they are the only ones that build stainless steel framed tanks. Their guarantee is also awesome at 7 yrs. They have never had one their stainless steel framed tanks ever leak even while they were building them with Oceanic. My tank is 72" x 30" x 31.5" and has a stainless steel frame. 30" from front to back is so nice to work with for aquascaping and adds a lot visually. It also has dual corner overflows that each contain 1.5" drain and two 1" returns. The tank has only one 2" metal cross brace which makes it a pleasure to work inside of.
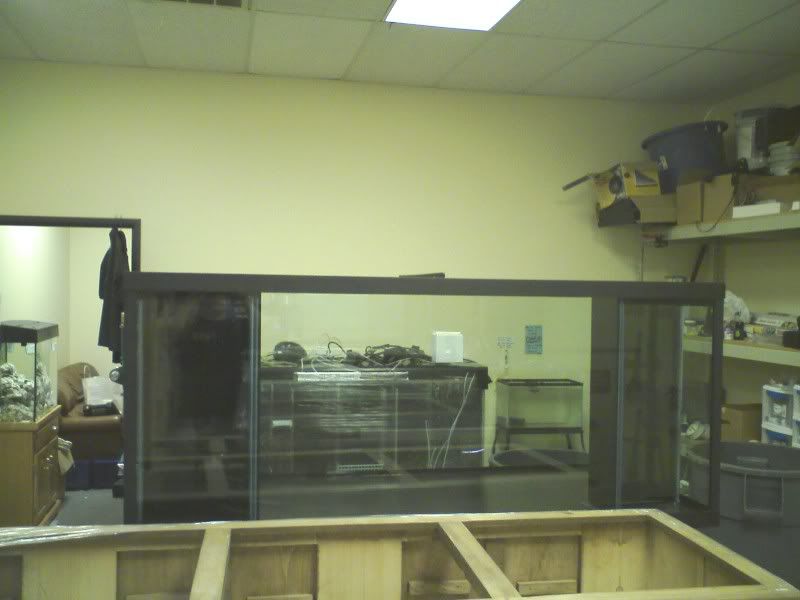
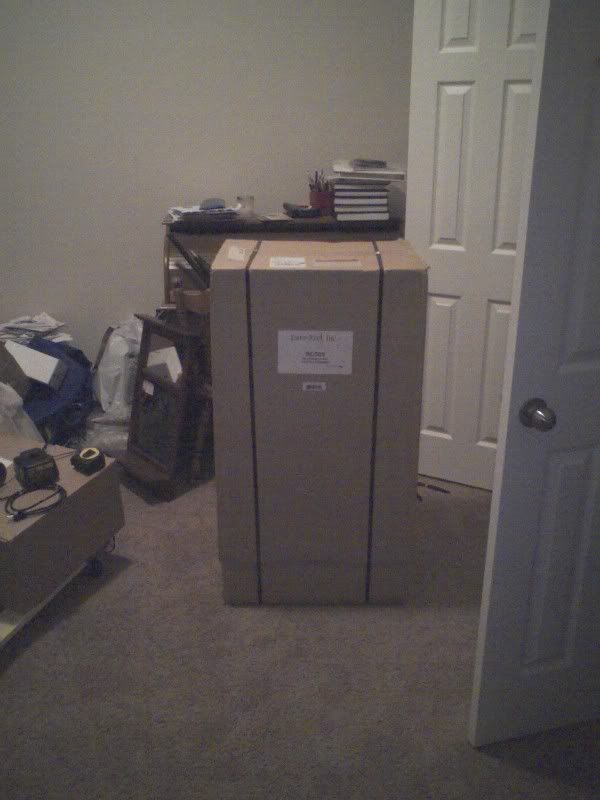
Here it is sitting in the Exotic Aquatics waiting for me to take it home.
M01A0274.jpg
alt="">
M01A0275.jpg
alt="">.
 
Once I got the tank I could start working on getting fish room ready. I started out by having a electrician friend(also known as tdapple) come over to help me add 2 x 20 amp circuits. One of those being a gfci circuit.
M01A0283.jpg
alt="">

The utility sink with an outlet from one of the 20 amp circuits installed.
M01A0284.jpg
alt="">

Time to rip up the carpet
M01A0287.jpg
alt="">
M01A0288.jpg
alt="">
M01A0344.jpg
alt="">

Then the carpet tack strips. Which can be hard sometimes.
M01A0345.jpg
alt="">

Now the nervous part but fun part starts. Cutting first inspection hole for stud location.
M01A0346.jpg
alt="">
M01A0347.jpg
alt="">
M01A0348.jpg
alt="">
M01A0349.jpg
alt="">
And the finished hole.
M01A0354.jpg
alt="">
M01A0353.jpg
alt="">

Then time to rip out the studs. I didn't want to remove all the sheetrock on the front only to put the bottom half back up so I hoped I could remove all the studs without to much damage.
M01A0366.jpg
alt="">
M01A0367.jpg
alt="">
All done except the problematic bottom plate. Which is nailed into concrete with a shotgun type thing. You can see how I needed to add a stud to the left side of the wall to finish out the hole. Along with a header to finish the top.
M01A0372.jpg
alt="">

More to be posted at another time. Plenty more to show.
 
very nice, this looks to be a great build. maria and i have already decided that we will not move again until we can do this...and it will be sooner than later...hopefully anyways...lol
 
Good to see you today Chris. Can't wait to see some more pics. Especially the aquascaping as you know i have never seen anyone do it like you do.
 
That's what I'm talking about Chris, build a house around your tank! Keep posting updates for us.

Mark
 
Looking good. Waiting for more pictures.

What kind of lighting are you going to install? The tank I'm building is 6' long also and I'm thinking about going with just two 400w'ers in the lumenarc reflectors. Supposed to be able to get 36" x 36" coverage with them.
 
Well back to it. Next was to try and fit the stand in the fish room to make sure I got the hole cut the right size. Luckily it all fit just fine which isn't typical for me to get something right the first time.
M01A0407.jpg
alt="">
M01A0408.jpg
alt="">
M01A0409.jpg
alt="">
M01A0410.jpg
alt="">
M01A0411.jpg
alt="">
And as you can see from the next and previous pic, there isn't much clearance on one side due to the utility sink. This is some good planning ensuring that it fit. You can also see another outlet put there during the build of the house by code that let me have a little more power off of a fourth circuit.
M01A0412.jpg
alt="">

The stand was made by Deep Sea Aquatics so that I could get their warranty which was a major selling point for me. It is 42 inches tall to give a proper viewing height so that I am not having to bend over.
It is fairly roomy and open on one end so that I could slide my sump in.
M01A0360.jpg
alt="">
M01A0362.jpg
alt="">

Well since it fit I was able to move on to the next step. I needed the stand in there to let me know exactly the dimensions for the tank cut on the viewing side. So cut away the sheetrock I did. I think my wife was real nervous about this part since this made it more real. Before I was just doing all the work in the closet and she didn't see it happening it didn't really make it seem real. While pulling out the studs the sheetrock held together well and only made a few flaws in the viewing side. Most of which were going to be taken out by the big hole of the tank. The rectangle hole used to be an outlet that I turned around and raised above the future tank inside the fish room. So that gave me a little more power on a third barely used hallway circuit. I just keep my wife's dyson vacuum off of that circuit.
M01A0414.jpg
alt="">
M01A0415.jpg
alt="">
M01A0416.jpg
alt="">
M01A0417.jpg
alt="">
M01A0418.jpg
alt="">
Out to living room. You can see where I need to put a header up and a stud on the left side to finish it out still.
M01A0419.jpg
alt="">
Stand removed.
M01A0420.jpg
alt="">
M01A0421.jpg
alt="">
 
Well do you remember that floor drain that they wouldn't let me put in? Well I didn't bust up the concrete myself and put one in but I did decide to make a moisture barrier between the fishroom and the rest of my house. I used pond liner to line the floor and walls around the tank. This will hopefully protect the sheetrock walls from moisture. On the floor it is about 5 inches deep so that any leak will be held off for a little while before spilling over into house. Also makes for easy cleaning.
M01A0439.jpg
alt="">
M01A0440.jpg
alt="">
M01A0443.jpg
alt="">
M01A0444.jpg
alt="">
CopyofM01A0445.jpg
alt="">
M01A0446.jpg
alt="">
I wrapped it around the edges to the front to protect the edge around the tank.
M01A0447.jpg
alt="">


I also lined the stand as well to protect the wood from any drips and spills. The sump is in there until the tank comes down and can't clean underneath it in case I have a water problem. I can vacuum out the water in the liner and it will eventually dry between sump and pond liner and not mess up the wood. I would always suggest lining your stand with pond liner to contain any spills. I did this in my 140 gallon and it made for an easy clean up. I think the one in my 140 held 25 gallons of water at one time due to a top off problem.
M01A0441.jpg
alt="">
CopyofM01A0442.jpg
alt="">
 
@psteeleb wrote:
that's going to be one sweet build I'd seriously consider relocating that sink on that other wall said:
The sink really isn't in the way. That corner next to sink is where I am going to have my water change set up with a 55 gallon container. In my sump I have a pump that pumps water out of sump right into drain of sink. Besides it would be way to big of a job to move that sink, water lines and don't even want to bust up concrete to move the drain.
 
September 17th came around and it was finally time to install the tank and stand into my fish room. I got a couple of friends to help me and we were able to do just the two of us. We had the use of a cart and some suction cups as well. Here are some of the pics of the move.
M01A0448.jpg
alt="">
M01A0449.jpg
alt="">
M01A0450.jpg
alt="">
M01A0451.jpg
alt="">
And of course of tank has to have a mermaid or merman shot.
M01A0452.jpg
alt="">
 
The custom sump was made triggersys and he did a very good job. I pretty much copied the design of a sump a friend has on a 560 gallon tank. I made few changes like mounts for probes, heaters and top off float valves.
The sump is approx. 70" x 20.5" x 21". It has three sections: drain/skimmer, refugium, return.
Here is the return end. I am using an external pump that hooks up this bulkhead.
M01A0362.jpg
alt="">

Another picture of the return section. Here you can see the float valve mounts. I am planning on having two valves, one for topping off and the other for a shut off in case of failure of first one. You can also barely see my drip container for my calcium reactor effluent. This drip container was built by Marc for my last system.
M01A0356.jpg
alt="">

Here in the refugium section I have a holder for heaters if I need them.
M01A0357.jpg
alt="">

These are probe holders for future additions if I need them. Also down below that is a bulkhead that I had put in for water changes. I have it set up so that my skimmer pump can be used to pump the water out of the sump right into utility sink drain and the bulkhead allows me to get a greater amount of water out of sump by combining the drain/skimmer section and refugium section together. I would rather do the water change out of sump so that if I have fish in the upper rock formation the aren't out of water during change. Which was a problem in my last set up.
M01A0358.jpg
alt="">

These are the drains from tank. This is the section that will house my skimmer. The bulkhead on the upper area of the side is for overflow of sump. If by chance something happens and the sump fills up to much water it will drain out that bulkhead into a drain right into sink drain so there won't end up being any water on the floor unless something stops up the bulkhead.
M01A0359.jpg
alt="">

The skimmer I am using is a Euro Reef RC 500. It should more than handle the load I will put on it. The thing was huge and very well put together. It was also custom made so that the three circulating pumps were on one side to fit in the 20.5" constraints that I had front to back.
M01A0497.jpg
alt="">
M01A0496-1.jpg
alt="">
M01A0499.jpg
alt="">
M01A0500.jpg
alt="">
 
This next part made me super nervous and worried. I am referring to aquascaping. To me aquascaping makes a huge difference and to me either makes or breaks the tank. I wanted to get it right the first time. I was planning on drilling the rock as I aquascaped to insert 1/2" acrylic rods to hold the rock in place. Well as I got aquascaping the rocks really hung together very well. I didn't have any worries about rocks not holding their place so I didn't use the acrylic rods at all. I did however drill the rocks when I was done for pegging corals. Basically the idea is to drill 1/4" holes in the rock work for corals mounted on 1/4" hardline tubing. You can see a video of the idea here as well as an example of a tank.
http://www.reefvideos.com/
You click on mounting/pegging link and the example is Carl's 150g reef. Very good videos on the page and nice tanks.
Here are a couple of pics of the sand install. I used aragonite figi pink sand.
M01A0505.jpg
alt="">
M01A0506.jpg
alt="">

This is all the rock I used. It was alot of big pieces weighing like 40- 60 pounds. This is approx. 350 lbs. This one rock by my foot alone is 65 lbs.
Don't pay any attention to my pasty white skin. It is the camera not the leg. haha
M01A0508.jpg
alt="">
M01A0509.jpg
alt="">
M01A0507.jpg
alt="">

Here is a top down of the right side.
M01A0532.jpg
alt="">
And the Left.
M01A0531.jpg
alt="">

Done.
M01A0561.jpg
alt="">
M01A0564.jpg
alt="">


More to come soon. I need to take a break.
 
Nice build. You obviously did a lot of research before starting. I've always wondered how it was possible to cut a large whole in a wall without destroying its structural integrity. Obviously, I'm not an engineer, but could you explain it?
 
Nice build but I would throw that mermaid back ! hahaha :lol:

Great work on the tank .
 
wow, alot of progress...very nice...i too like the pond liner idea, im gonna have to do that seeings how im in the middle of my 210 build na djust happen to be on sump plumbing...
 
This is awesome! What kind of reflectors are you using for your MH? They look really bright!

Have you considered anything about the moisture between the pond liner and the walls? There is no way to get it completely sealed off and the humididty in that closed is going to be pretty high. I'd think there will be a moisture buildup between the two. Just throwing that out there :oops:

Looks awesome though 8)
 
Top