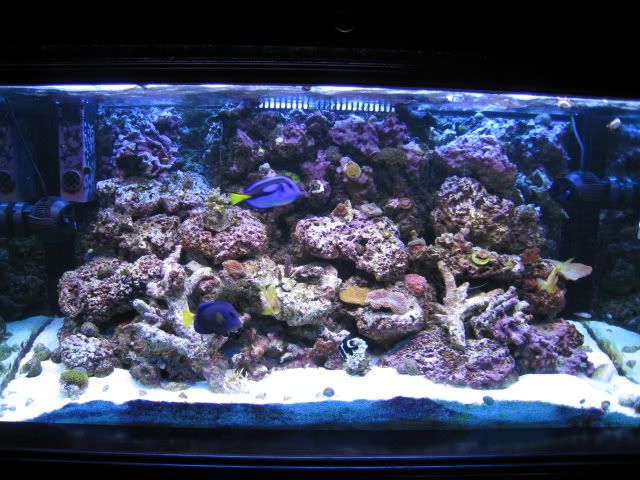
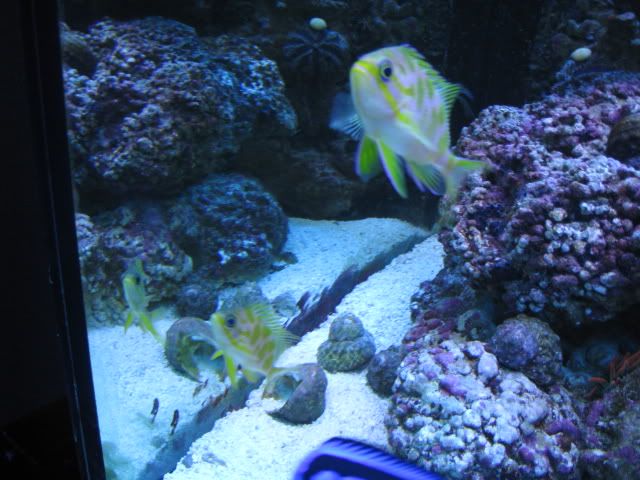
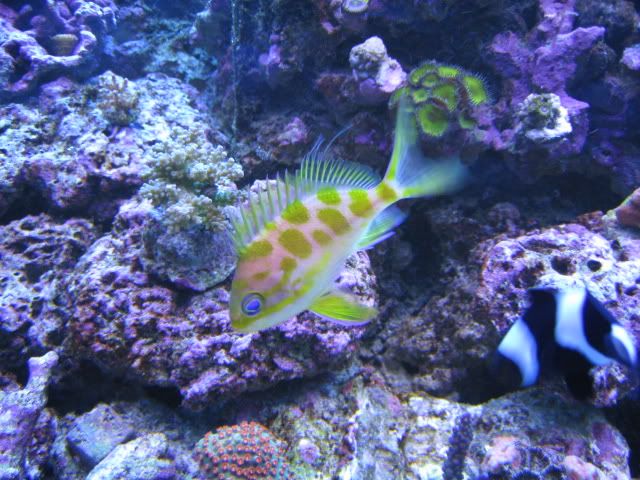
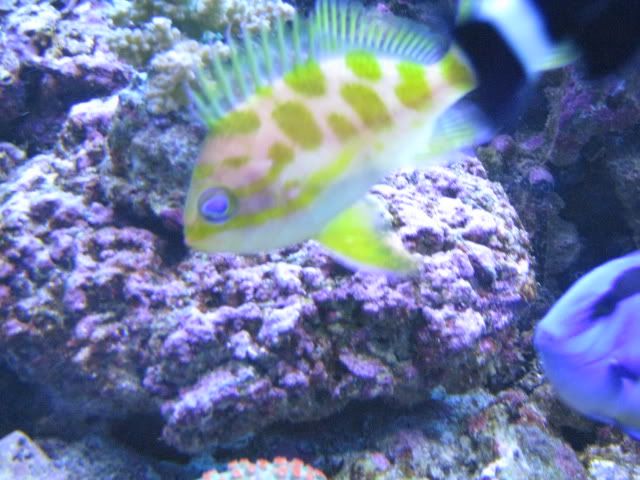
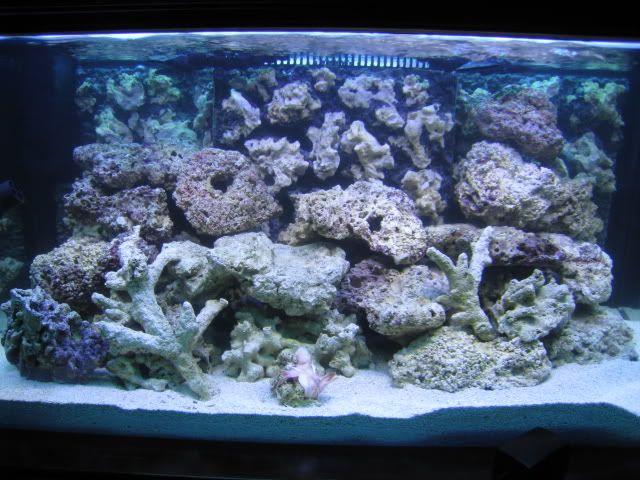
This one is long over due, but I wanted to get it rolling. Tank will be predominantly SPS with a few LPS as well. I dont have everything hooked up yet and functional, but the tank has been cycling for a few weeks and I am getting the smaller stuff done as time permits. Here are the specs thus far along with pictures.
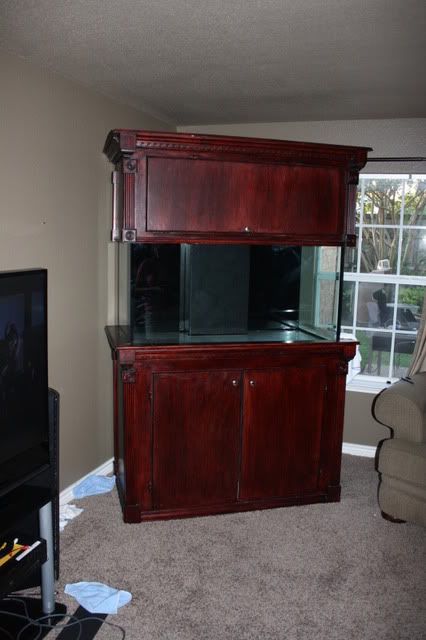
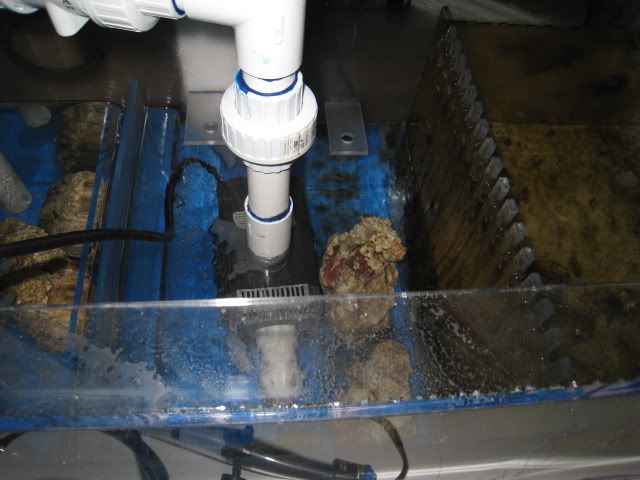
120 Gallon DSA 3/4" Glass
- Center overflow with 4 1" bulkheads
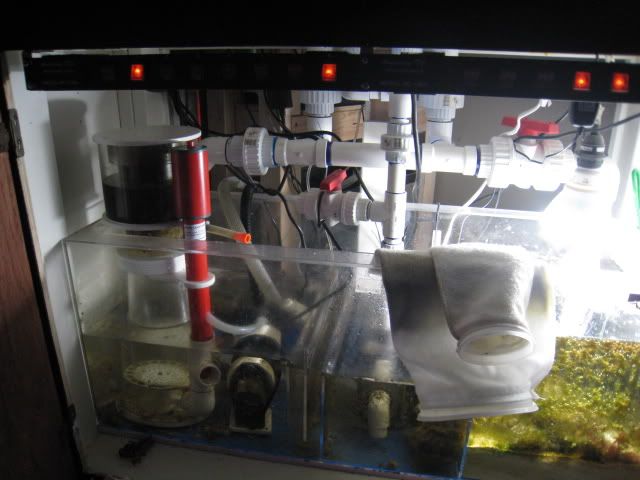
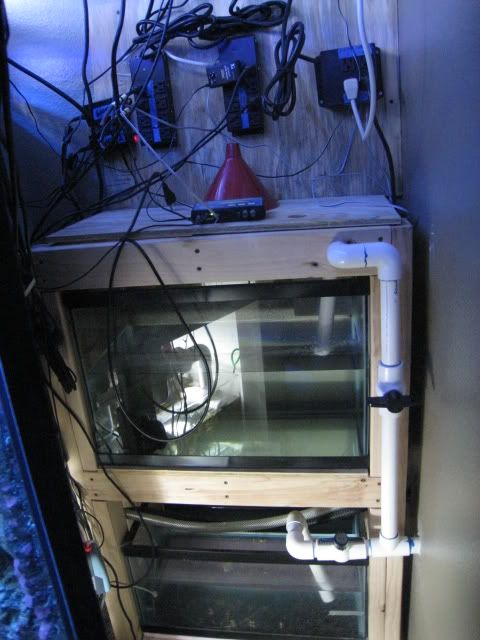
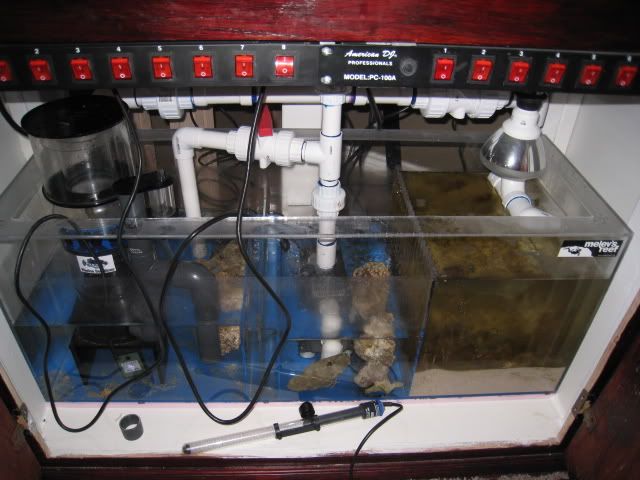
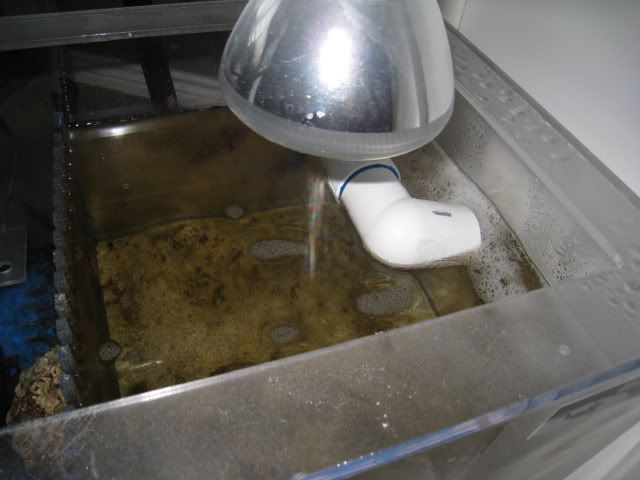
Melev Sump: Skimmer --> Return <-- Refugium
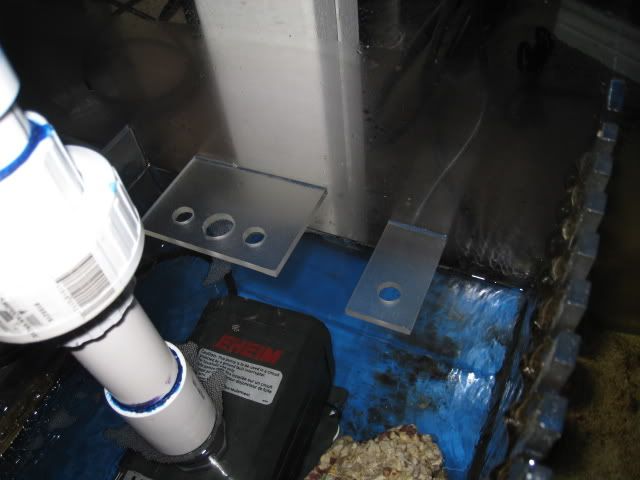
Eheim 1262 Return
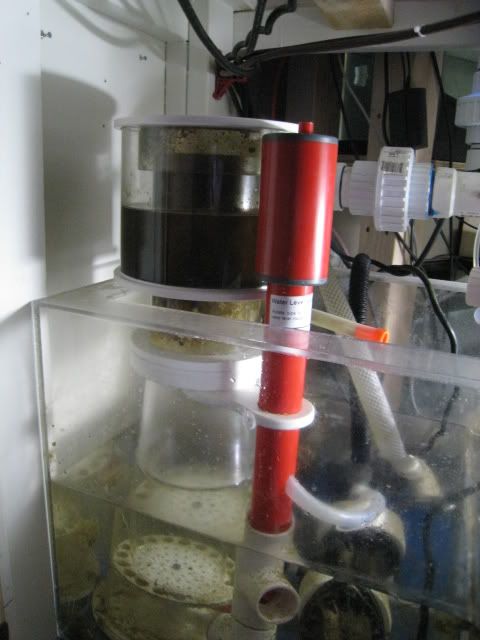
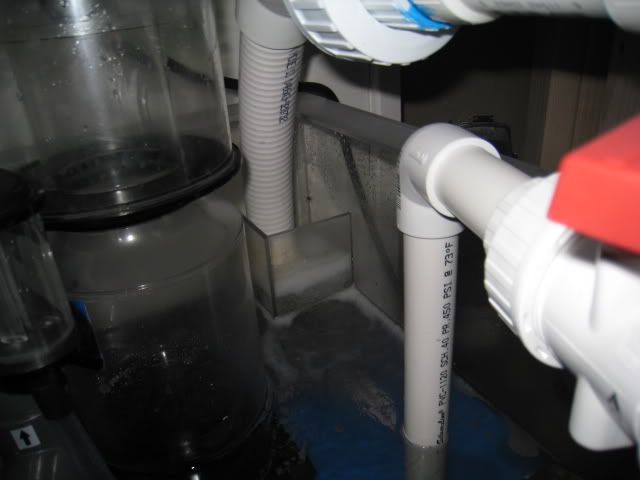
MSX 160 Skimmer
JBJ Arctica 1/4hp Chiller (emergency use only)
Aquacontroller III
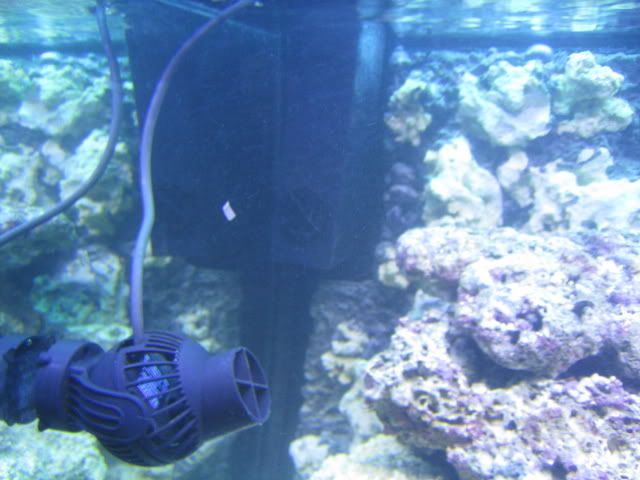
2 x Tunze 6055
Tunze Nano Wave Box
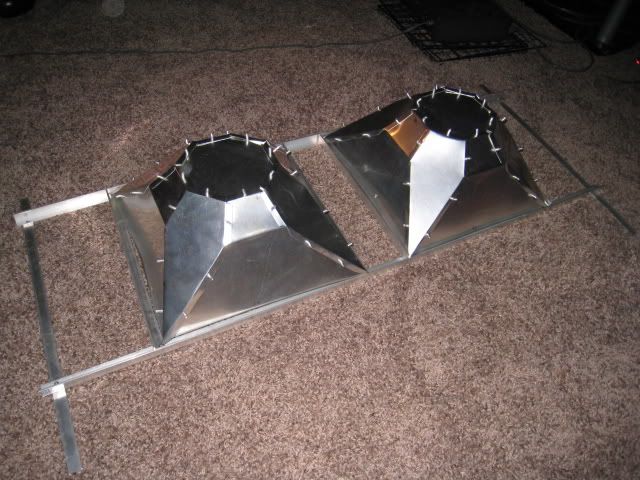
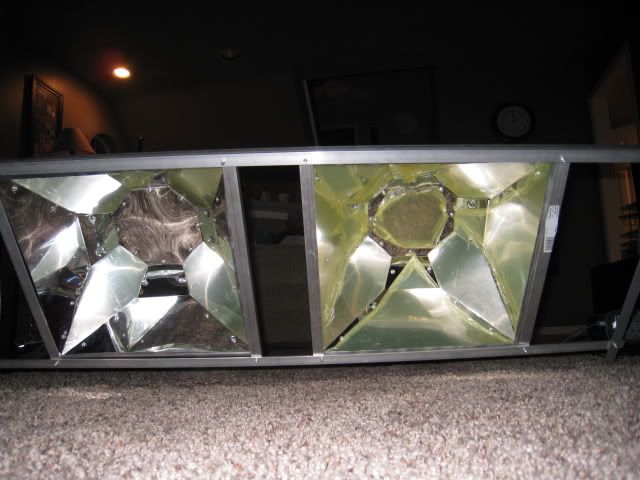
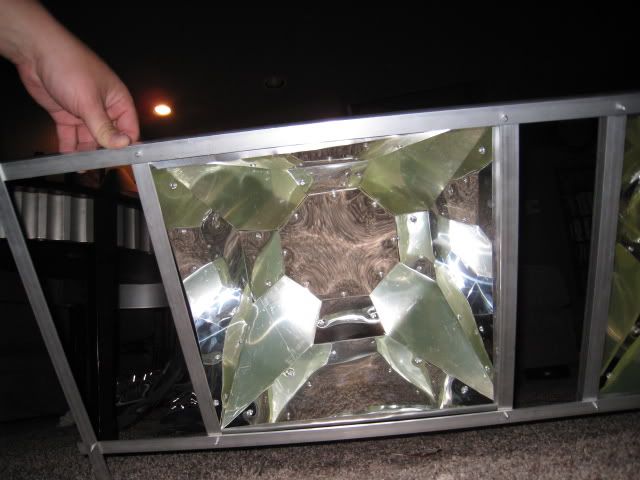
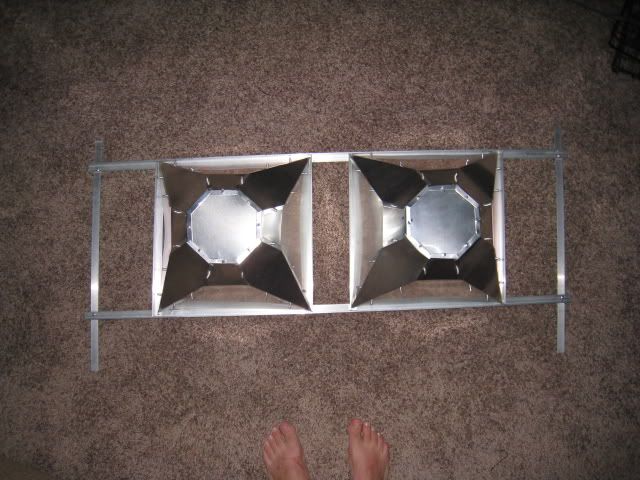
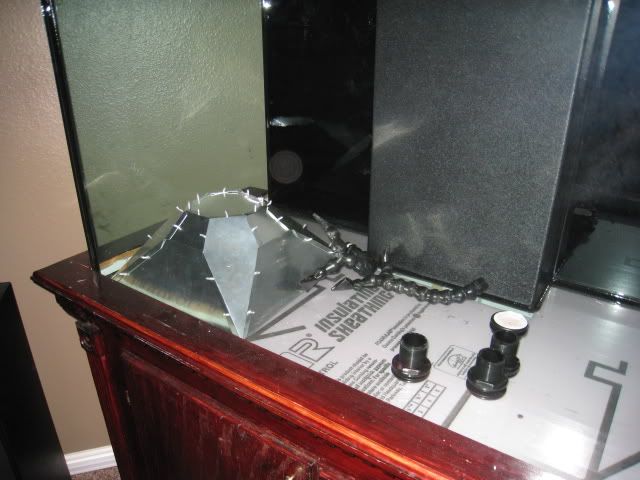
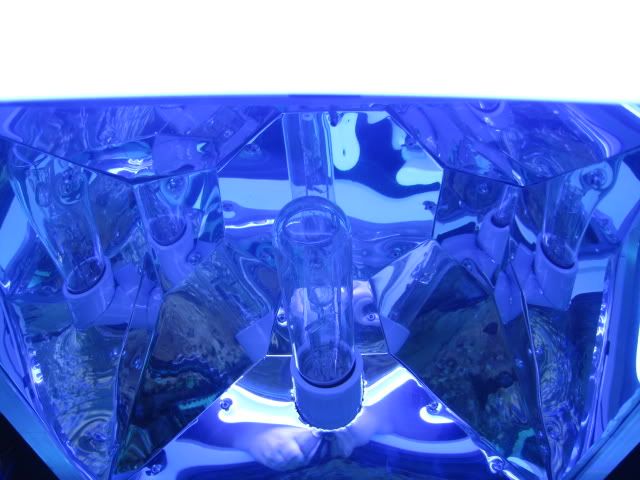
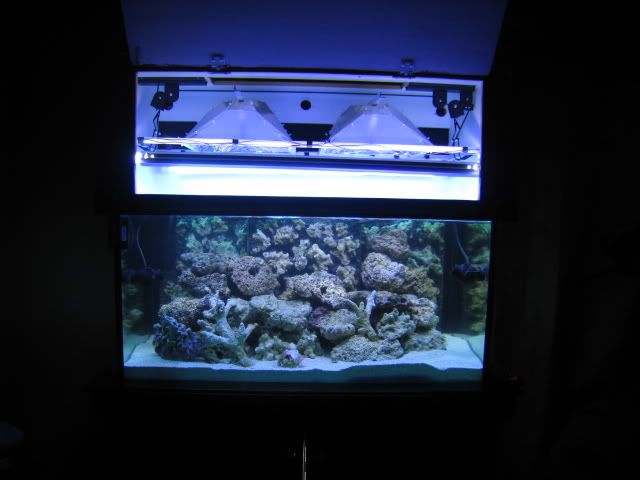
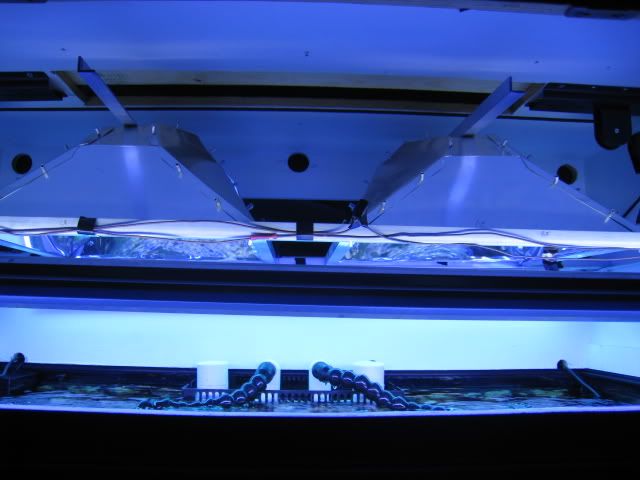
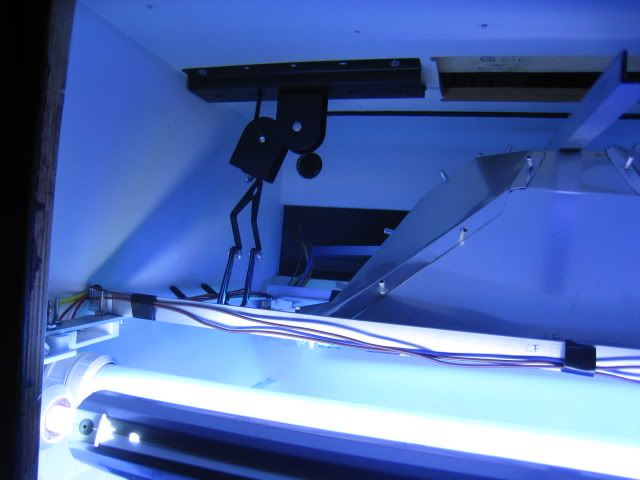
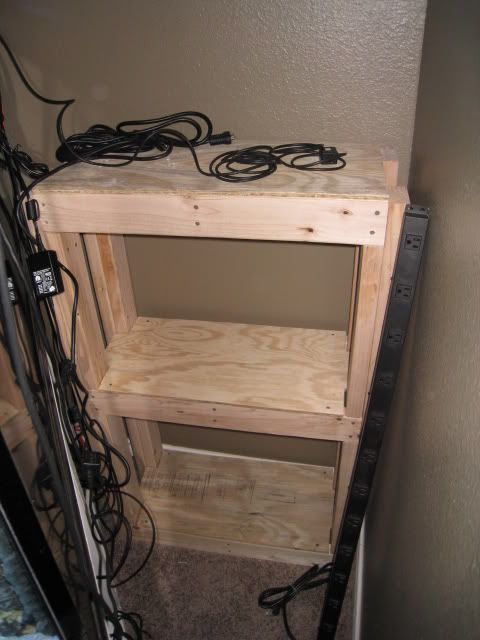
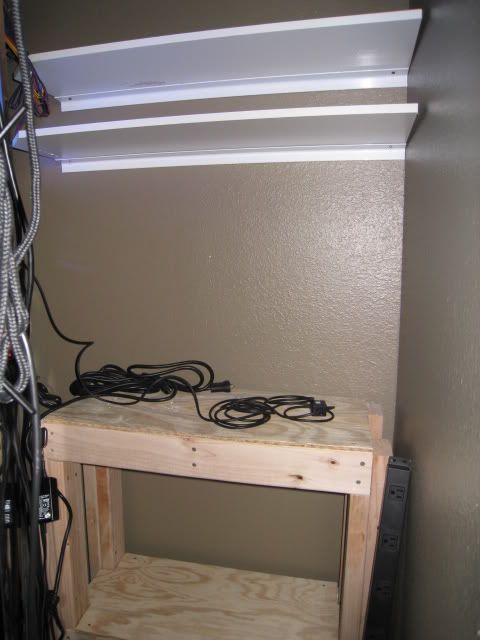
Lighting - DIY lightrack
-2 x 250w SE Halide w/ Lumatek Ballast and 14k Aquamaxx Bulbs
- 2 DIY Refectors
- 2 x T5
- 1 x VHO Super Actinic
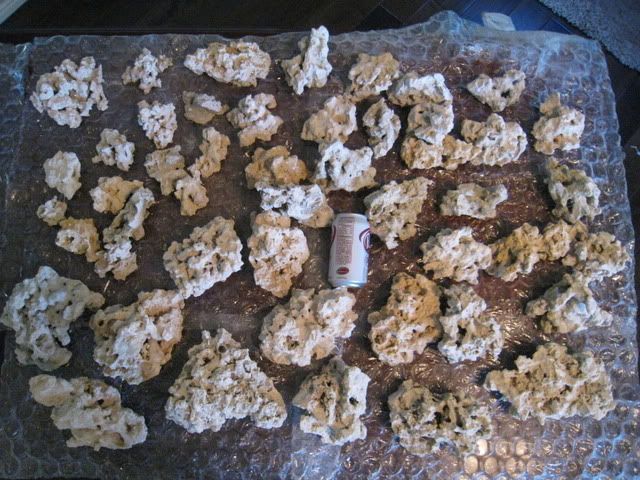
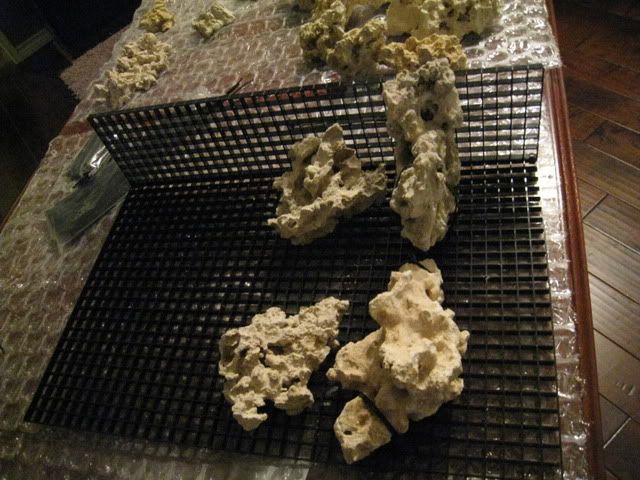
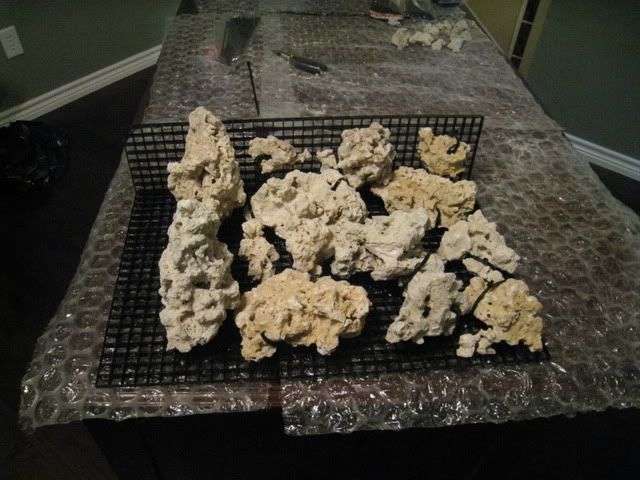
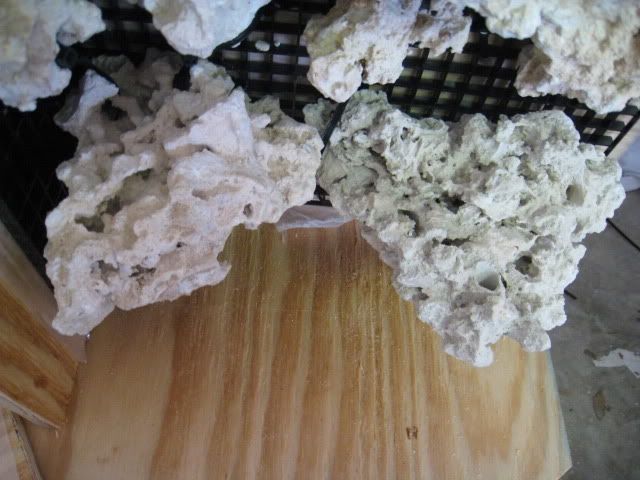
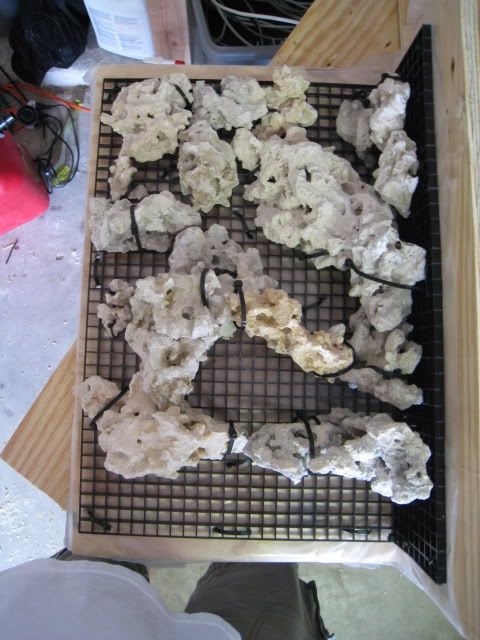
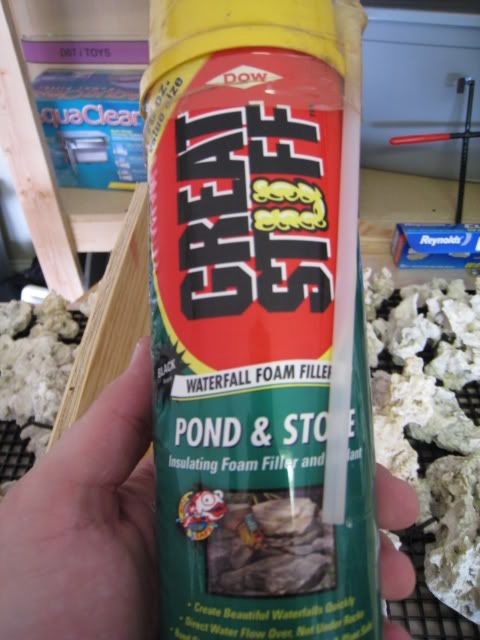
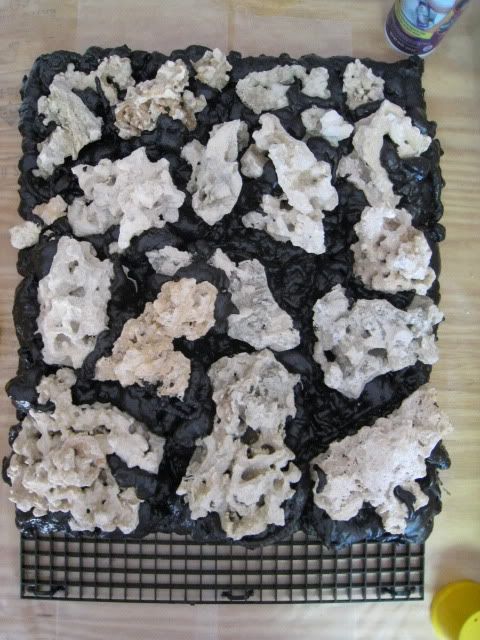
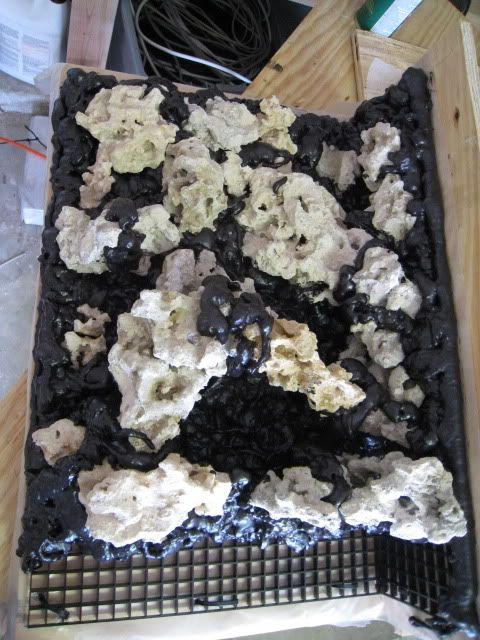
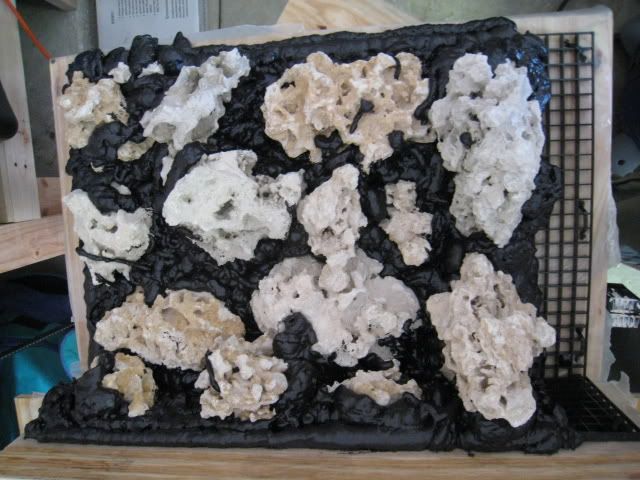
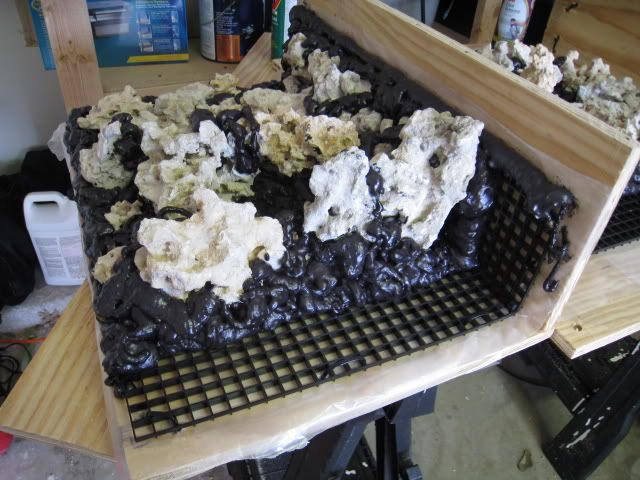
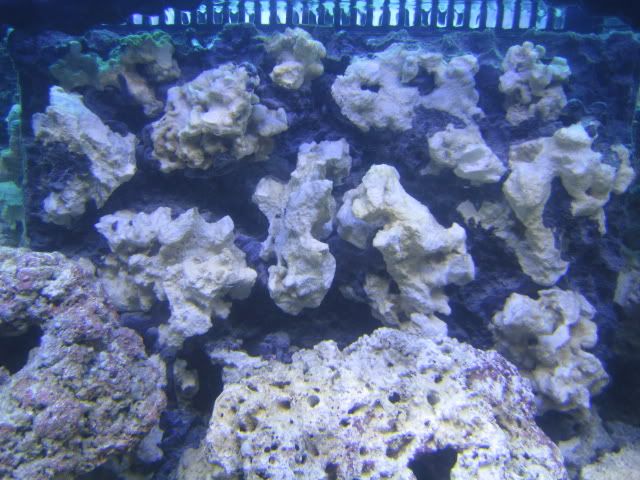
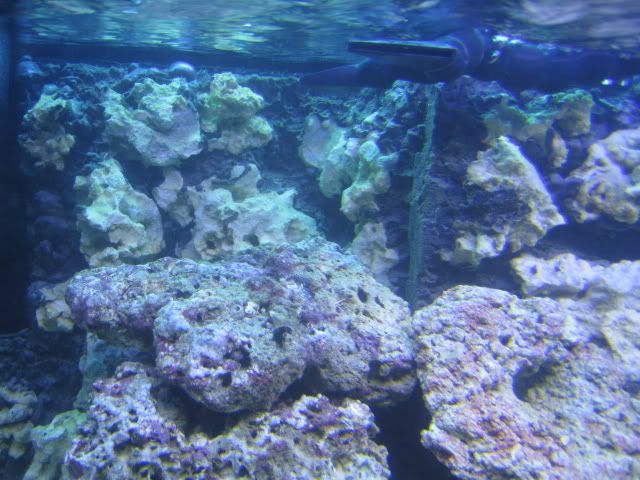
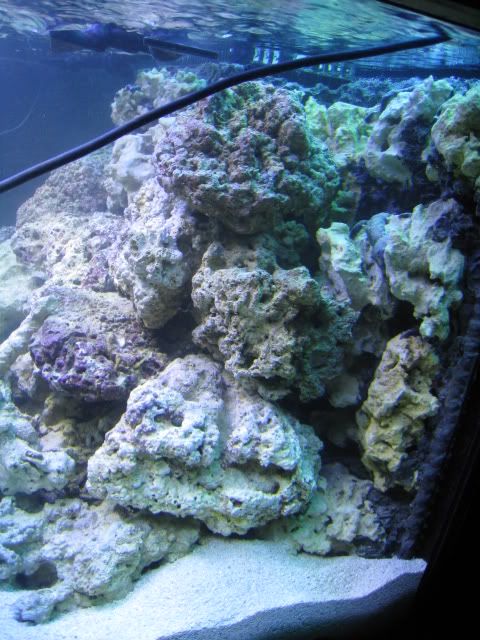
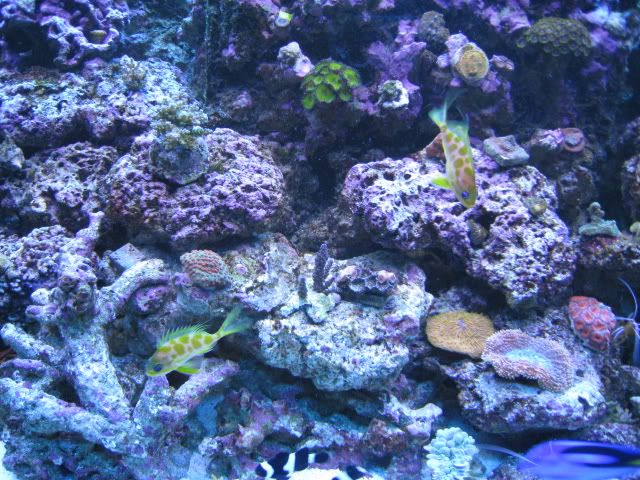
Two coolest parts about this tank thus far in my opinion are the DIY reflectors and teh DIY rockwall on the back glass.
Enjoy the pics and I'll do my best to update as often as possible. Let me know what you all think and if you have any suggestions.
 alt="">
 alt="">
 alt="">
 alt="">
 alt="">
 alt="">
 alt="">
 alt="">
 alt="">
 alt="">
 alt="">
 alt="">
 alt="">
 alt="">
 alt="">
120 Gallon DSA 3/4" Glass
- Center overflow with 4 1" bulkheads
Melev Sump: Skimmer --> Return <-- Refugium
Eheim 1262 Return
MSX 160 Skimmer
JBJ Arctica 1/4hp Chiller (emergency use only)
Aquacontroller III
2 x Tunze 6055
Tunze Nano Wave Box
Lighting - DIY lightrack
-2 x 250w SE Halide w/ Lumatek Ballast and 14k Aquamaxx Bulbs
- 2 DIY Refectors
- 2 x T5
- 1 x VHO Super Actinic
Two coolest parts about this tank thus far in my opinion are the DIY reflectors and teh DIY rockwall on the back glass.
Enjoy the pics and I'll do my best to update as often as possible. Let me know what you all think and if you have any suggestions.