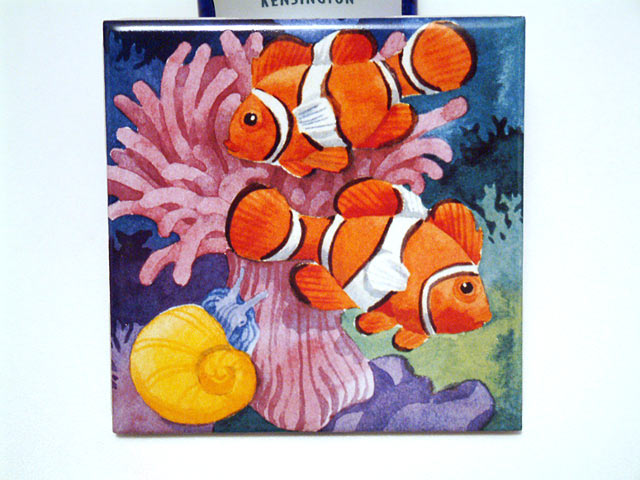
Diy beverage holder - You can do it!

melev

Club President
Staff member
Board of Directors
Sponsor
[1) Go to Home Depot.
2) Locate the ceramic tile section.
3) Find Nemo.
4) Bring it home.
5) Apply felt to base with contact cement (or simply place Nemo on felt).
6) Place on desk, counter, or coffee table. Ready for whenever you need to put a hot or cold beverage down. :D

Done!

coffee_tile.jpg
alt="">]
 
[Hey, those tiles do make great coasters, but they could be better, so, get out your router back out and make a little inset frame to fit the tile into. This frame should have a lip around the edge and be waterproofed. This is to catch the condensation from that icy brew and keep it from spilling onto the table. Just place a napkin in the frame and under the tile to sop up the slop! :D]
 
[well, if you route out the back til it's only .100" thick and add a peltier cooler and wire it to one of those 6v lantern batteries......]
 
[It's square and cans and bottles are round so you need a tile saw to cut the bugger down to 3 inches then take a piece of solid brass and cut out a 4 in circle that is 1/2 in thick. with your lathe bore 3 in hole 3/8 in deep into the brass. Then take your lathe and round the edges till smooth. Apply brasso until brightly shined. Apply 10 coats of polyurethane to the brass. Once done then apply a .125 in thick coat of epoxy cement into brass base and then carefully insert 3 in round Nemo tile. Now that is a coaster fit for a Heiniken or Bud light or Coca Cola or Dr. Pepper or whatever your choice of beverage might be.]
 
[Did you have to rain on our parade? Ok then, take 4 or the tile and mount on a piece of 1/4 in plywood. Then cut down to a 7" circle. Increase the size of the brass to accomodate the new size. Now then, you should be able to fit a a half gallon of milk on this one............]
 
Top